Mulch looks simple. You spread material over bare soil and the job appears finished. In practice, the type of mulch, the depth, the timing, and the way it is placed around stems can change whether it helps or harms the garden.
Used well, mulch can reduce evaporation, limit weed growth, protect soil from heavy rain, moderate temperature swings, and make beds easier to maintain. Used poorly, it can trap too much moisture around stems, hide irrigation problems, encourage weeds to root into a thick organic layer, or create a barrier that water struggles to pass through.
This garden mulching guide explains how to choose a mulch for the job, how much to use, how to prepare the soil first, and how to maintain the layer through the year. The goal is not to cover every surface. The goal is to protect soil while keeping roots, stems, water, and air in balance.
What Mulch Does in a Garden
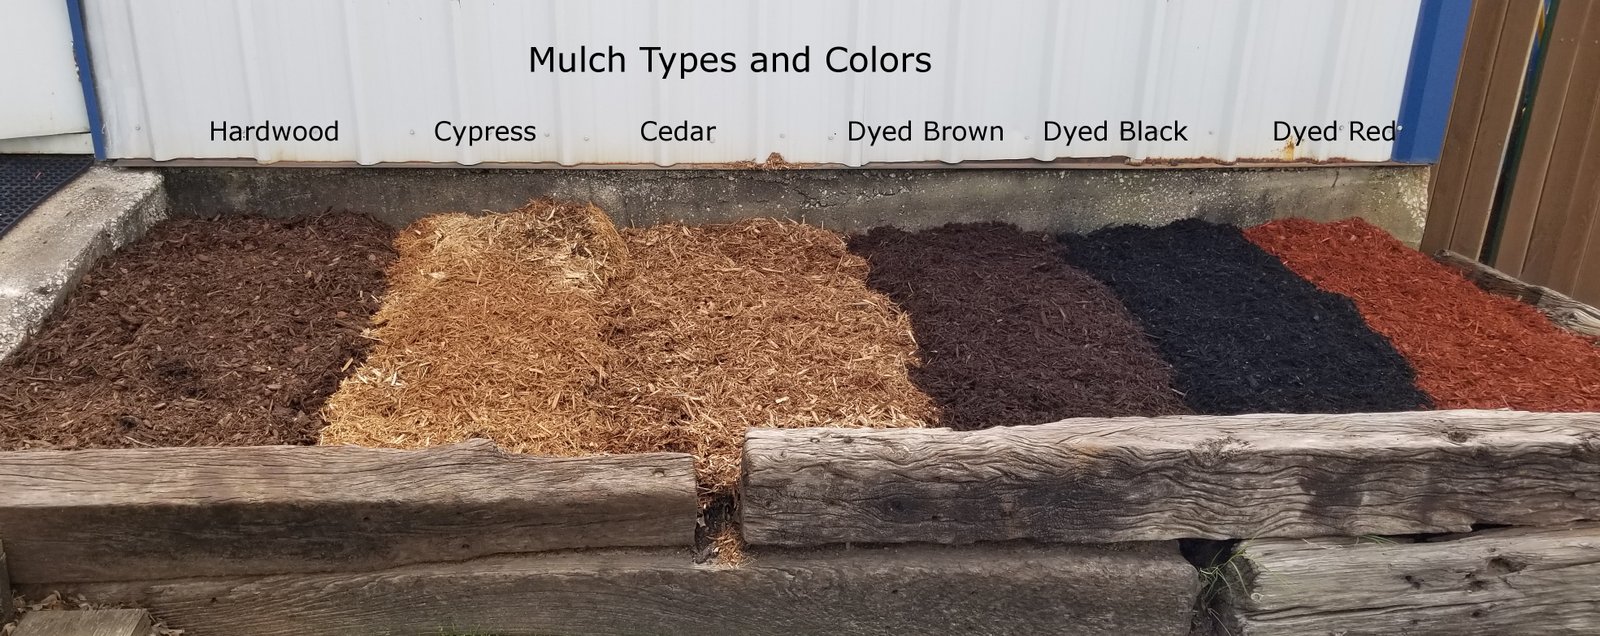
Mulch is a protective layer placed on top of the soil. It may be organic, such as shredded leaves or bark, or inorganic, such as gravel. Different materials behave differently, but most are used for one or more of these reasons:
- Slow water loss from the soil surface.
- Reduce weed germination by blocking light.
- Protect soil from crusting and erosion.
- Reduce soil splash onto leaves.
- Moderate rapid heating and cooling.
- Improve the appearance of planted beds.
- Add organic matter over time when organic mulch breaks down.
The EPA WaterSense program includes mulch among useful water-smart landscape practices because it can reduce evaporation around plants. It still needs to be paired with sensible watering. Mulch is not a substitute for checking soil moisture.
Organic vs Inorganic Mulch
| Mulch Type | Best Use | Main Advantage | Main Limitation |
|---|---|---|---|
| Shredded leaves | Vegetable beds, perennial beds | Readily breaks down | Can blow away if very dry |
| Wood chips | Paths, trees, shrubs | Long lasting | May be too coarse for tiny seedlings |
| Bark mulch | Ornamental beds | Neat appearance | Needs topping up over time |
| Straw | Vegetables, strawberries | Light and easy to move | May contain weed seeds if poor quality |
| Compost | Thin surface layer | Adds organic matter | Does not suppress weeds as strongly |
| Gravel | Dry gardens, paths | Durable | Does not add organic matter |
Choose the material based on the planting, climate, maintenance level, and the result you want. A wood-chip path and a seed-starting bed have very different needs.
Step 1: Fix the Soil Before Covering It
Do not use mulch to hide a soil problem. If a bed is compacted, badly drained, full of perennial weeds, or extremely dry, deal with that first.
Pull established weeds with roots where possible. Water dry soil before applying mulch if the root zone needs moisture. If you are preparing a new bed, add any needed compost or amendments before the mulch goes down.
The USDA Natural Resources Conservation Service soil health guidance emphasizes keeping soil covered and minimizing disturbance. Mulch can support that goal, but it works best when the underlying soil is already able to receive water and support roots.
Step 2: Match Mulch to the Planting
Vegetable beds
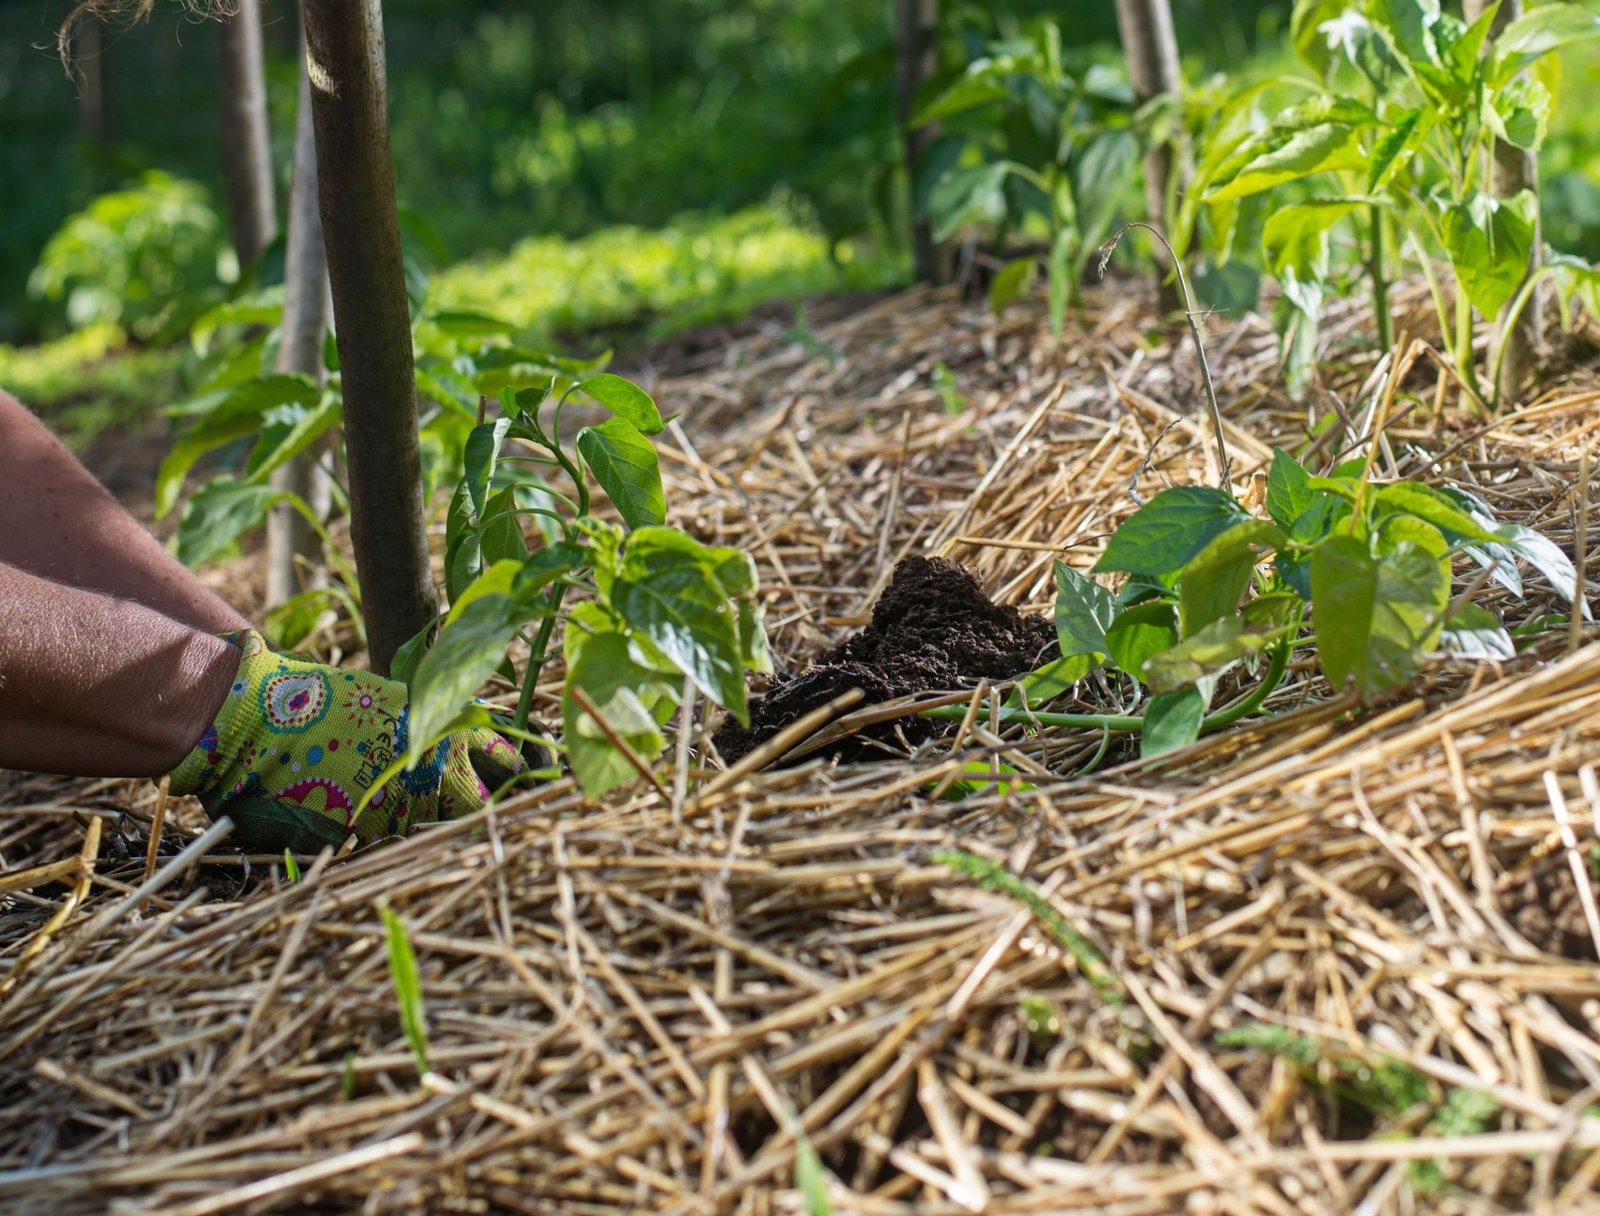
Use materials that are easy to move when you sow, transplant, or harvest. Shredded leaves, clean straw, and fine plant residues are practical because you can pull them aside without disturbing the bed.
Trees and shrubs
Wood chips or bark can work well because they last longer. Keep them away from direct contact with trunks and woody stems.
Perennial flowers
A medium-textured organic mulch can reduce weeds while allowing crowns to remain visible. Avoid burying small perennials under a thick layer.
Paths
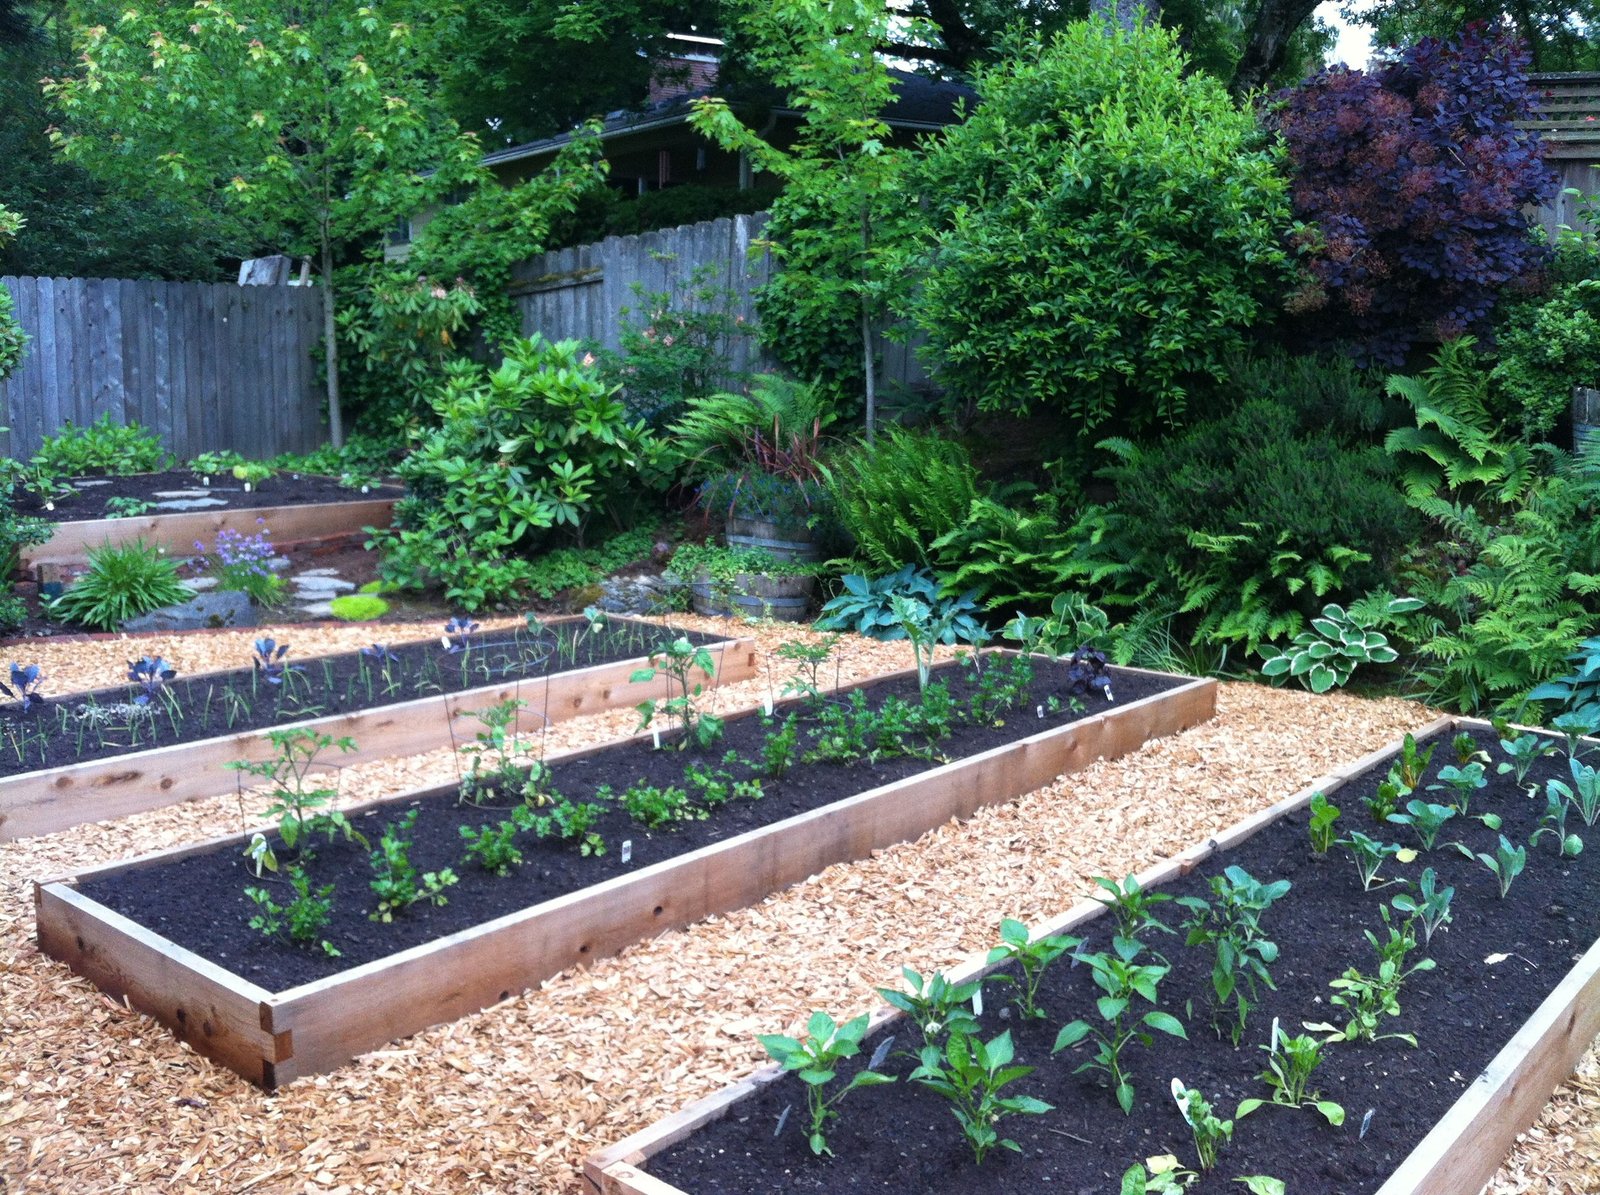
Paths can use a deeper, coarser material than planted areas because roots and stems are not emerging through it. Wood chips are often practical here.
Dry-climate planting
Gravel may suit plants adapted to dry, free-draining conditions. It can also absorb and release heat, so consider local temperatures before using it around sensitive plants.
Step 3: Apply the Right Depth
There is no perfect depth for every material. Fine mulch forms a denser layer than coarse mulch. A useful general target for many garden beds is roughly 5 to 8 centimeters, but adjust based on material, plant size, and climate.
Too little mulch may not suppress weeds or reduce evaporation. Too much can reduce airflow, keep the surface constantly wet, or prevent light rain from reaching the soil efficiently.
Use a thinner layer around small plants
Young seedlings can be smothered by deep mulch. Start thinner and increase the layer as plants become established.
Use a deeper layer in pathways
Paths have no crop stems to protect, so a thicker layer can help control weeds and reduce mud.
Step 4: Keep Mulch Away From Stems and Trunks
One of the most common mulching mistakes is piling material against a tree trunk or plant stem. This creates a damp zone where the bark or crown stays covered.
Leave a small clear ring around tree trunks, shrub stems, and plant crowns. The root zone benefits from mulch, but the stem does not need to be buried.
The shape should look more like a flat doughnut than a volcano. The highest point should not be against the trunk.
Step 5: Water Through the Mulch, Then Check the Soil
Do not assume that rain or irrigation penetrated because the mulch looks wet. Thick dry organic material can absorb water before it reaches the soil.
After watering, move a small section aside and check the soil underneath. If only the top of the mulch is damp, water more slowly or for longer. Drip irrigation can be placed under the mulch so water reaches the root zone directly.
Check the line occasionally. A hidden drip emitter can clog without being noticed.
When to Mulch
Spring
Wait until the soil has warmed enough for the plants you are growing. A deep mulch applied too early can keep cold soil cool for longer. Weed first, water if needed, then apply the layer.
Summer
Mulch is useful during hot weather because it reduces rapid surface drying. Add more only if the layer has become thin. Do not keep stacking new mulch on old mulch without checking total depth.
Autumn
Fallen leaves can become a useful resource. Shred large leaves with a mower or leaf shredder if they form a dense mat. Apply them to beds or save them for later use.
Winter
Mulch can moderate temperature swings around roots. In cold climates, timing matters. Some protective winter mulches are applied after the ground cools so they reduce freeze-thaw movement rather than keeping the soil warm.
Mulching Around Vegetables
Vegetable gardens change quickly through the season. A permanent-looking bark layer may make replanting difficult. Use a flexible material instead.
For tomatoes, peppers, squash, and similar warm-season crops, wait until the soil is warm and plants are established. Then add mulch while keeping space around the stems.
For direct-sown crops such as carrots or lettuce, keep the seed row clear until seedlings emerge. A heavy mulch over tiny seeds can block light and make emergence difficult.
Mulching Around Trees the Right Way
Start the mulch near, but not touching, the trunk. Extend it outward over as much of the root area as practical. Tree roots spread far beyond the trunk, so a broad, shallow mulch zone is more useful than a tall pile at the base.
Avoid building raised rings that trap water beside the trunk. If a tree is planted in lawn, a wide mulched circle also reduces competition and protects the trunk from mower and string-trimmer damage.
What About Cardboard Under Mulch?
Cardboard is often used to suppress grass when starting a new bed. It can work as a temporary barrier when used carefully, but it is not necessary in every situation.
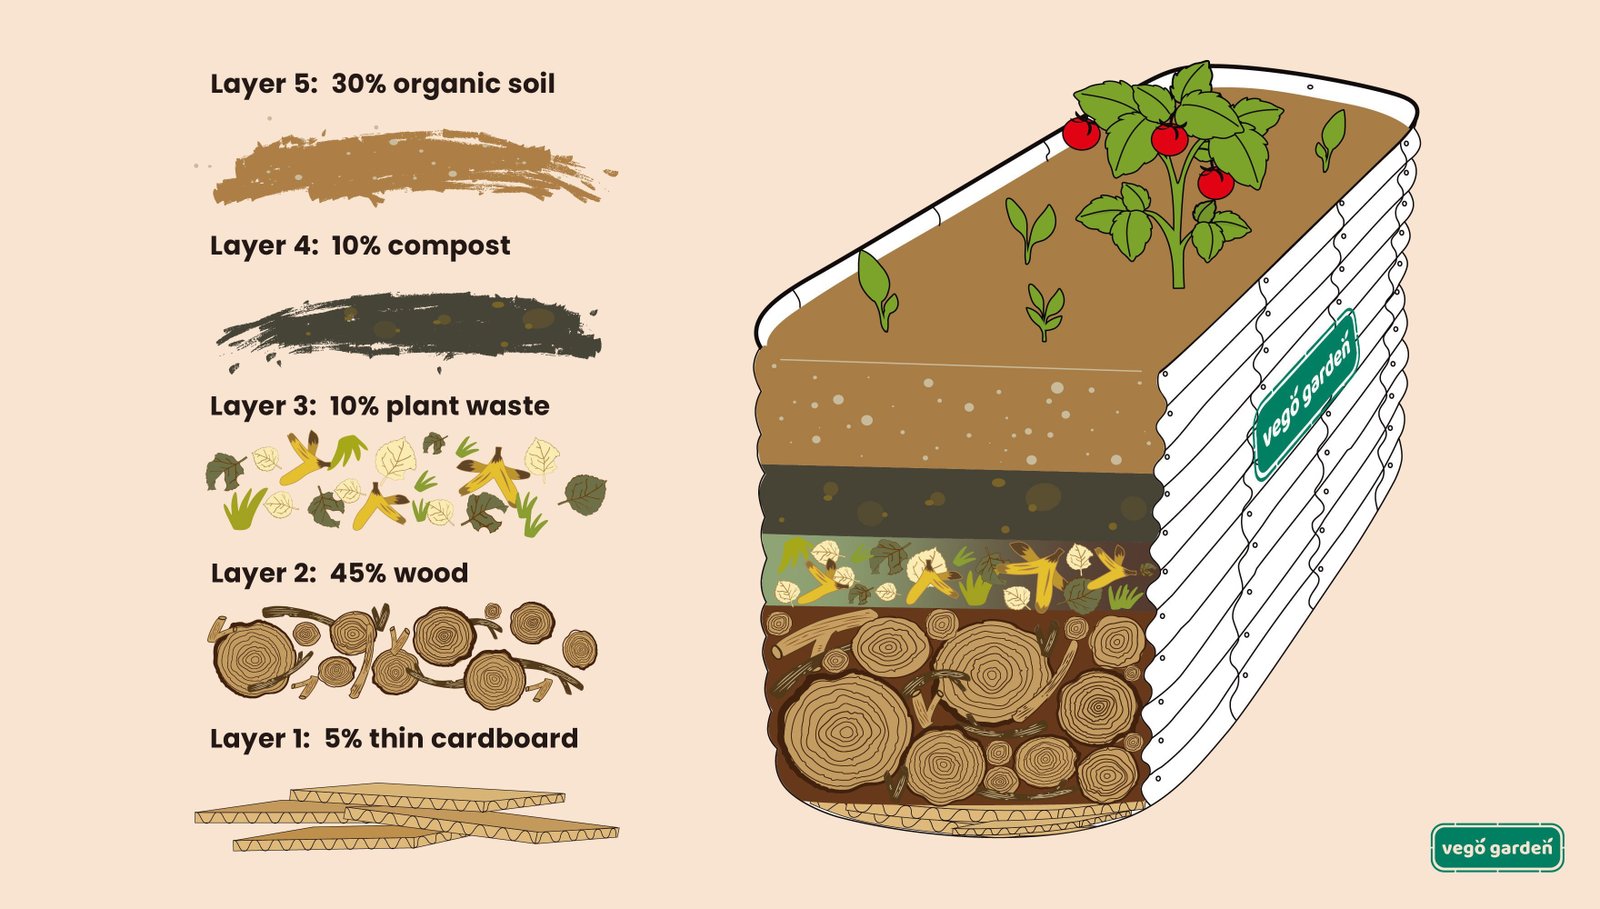
If you use it, remove plastic tape, labels, and staples. Use plain brown cardboard rather than coated material. Wet it so it stays in place, overlap seams, and cover it with organic material.
Avoid creating very thick, waterproof layers. Roots and soil organisms still need air and water movement. Also avoid cardboard around plants that need excellent surface drainage.
Real-World Example: A Mixed Backyard Bed
Imagine a 4-meter border with two shrubs, several perennial flowers, and a small herb section. The soil dries fast in summer and annual weeds appear after every rain.
A practical plan is:
- Pull the weeds before they set seed.
- Water the dry bed deeply.
- Add a thin layer of compost where the soil needs organic matter.
- Apply shredded bark around shrubs and established perennials.
- Use a lighter shredded-leaf mulch around the herbs.
- Leave a gap around every stem and crown.
- Check moisture below the mulch after the first irrigation.
Six weeks later, fewer new weeds appear and the bed needs watering less often. The gardener does not add more mulch simply because the surface looks thin. They first measure the remaining layer.
Common Mulching Mistakes
Mulch volcanoes
Piling mulch against trunks holds moisture where bark should remain exposed. Spread it outward instead.
Adding mulch every year without checking depth
Old mulch may still be present below the surface. Rake it lightly and measure before adding more.
Using fresh grass clippings in a thick pile
Thick wet clippings can mat, heat, and smell. If you use clippings, apply a thin layer and let it dry between additions.
Covering dry soil
A mulch layer can slow water penetration. If soil is already very dry, water first.
Burying plant crowns
Keep crowns and stems visible. Mulch should cover soil, not the plant itself.
Expecting mulch to stop all weeds
Mulch reduces many weeds, but wind-blown seeds can germinate on top. Pull them while they are small.
How to Maintain Mulch
- Check depth several times per year.
- Rake compacted surfaces lightly if water runs off.
- Pull weeds before they become established.
- Move mulch away from stems if it shifts.
- Top up only when the layer has broken down.
- Check irrigation under the mulch.
- Replace contaminated mulch if disease or chemicals are a concern.
Organic mulch should break down. That is not a failure. It becomes part of the soil surface over time. The goal is to renew it as needed, not keep the original material forever.
Quick Mulch Selection Guide
| Situation | Good Starting Choice |
|---|---|
| Vegetable bed | Shredded leaves or clean straw |
| Tree ring | Wood chips |
| Perennial border | Shredded bark or leaves |
| Garden path | Coarse wood chips |
| Seedling bed | Very light fine mulch after emergence |
| Dry ornamental bed | Gravel where plant needs allow |
Frequently Asked Questions
Can I put new mulch over old mulch?
Yes, if the old layer has become thin. First loosen compacted material and check the total depth. Do not create an excessively deep layer by adding a full new load every year.
Does mulch attract termites?
Wood mulch provides organic material and moisture, but termite risk depends on local conditions and construction. Keep landscape mulch away from direct contact with wooden building elements and follow local pest-management guidance.
Should mulch touch plant stems?
No. Leave a clear space around stems, crowns, and trunks so they stay exposed to air.
Can I use leaves as mulch?
Yes. Leaves are useful garden material. Shredding large leaves helps prevent them from forming a dense mat. Avoid leaves contaminated with herbicides or serious plant disease.
Will mulch improve clay soil?
Organic mulch can add organic matter to the surface as it decomposes, but it will not instantly fix drainage or compaction. Combine it with good soil management and avoid working clay when it is very wet.
How often should mulch be replaced?
There is no fixed schedule. Replace or top up when the protective layer becomes too thin for its purpose. Some organic materials break down in months, while coarse wood chips may last much longer.
Conclusion: Protect the Soil Without Smothering It
Good mulching is simple once you focus on the soil rather than the appearance. Prepare the bed first, choose a material that suits the planting, apply a sensible depth, and keep it away from stems and trunks.
Then check what happens underneath. Make sure water reaches the root zone. Watch for compacted layers, weeds, and excess moisture. Add more mulch only when the existing layer has actually thinned.
A well-managed mulch layer can reduce routine work and protect soil through heat, rain, and seasonal change. The best result is not the thickest layer. It is a balanced layer that supports healthy roots while keeping the garden easier to care for.