No-dig gardening is often presented as a shortcut: spread compost, stop digging, and let the soil improve itself. The idea is useful, but the best results come from understanding what no-dig can and cannot do. It reduces unnecessary soil disturbance, helps protect soil structure, and can make weed management easier. It does not remove the need for drainage, good compost, sensible watering, crop rotation, or occasional problem-solving.
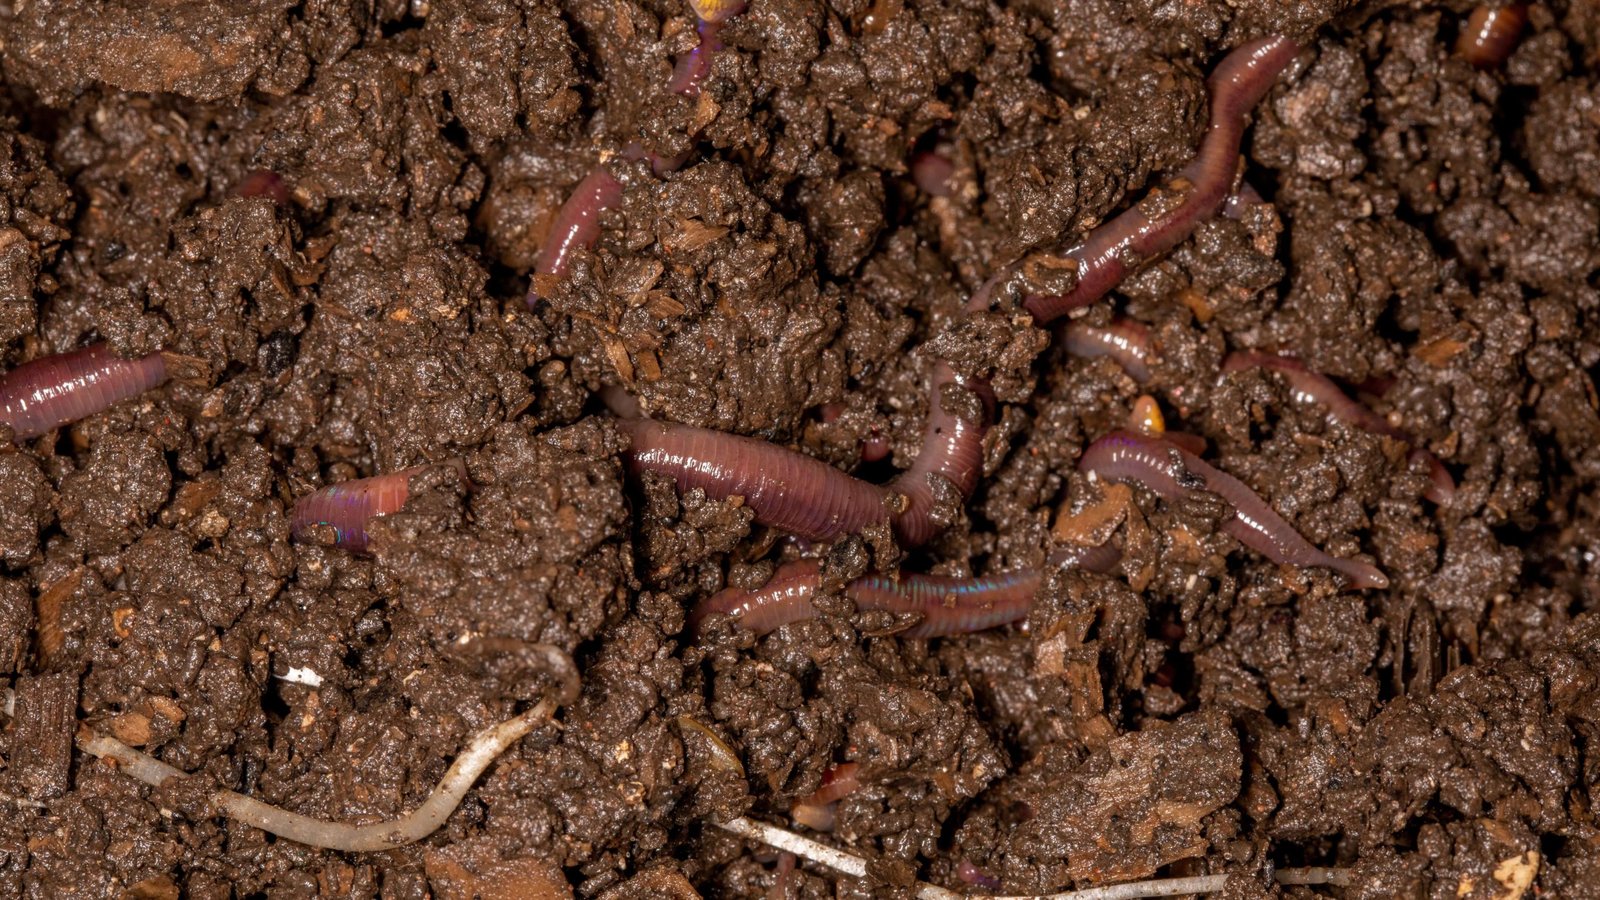
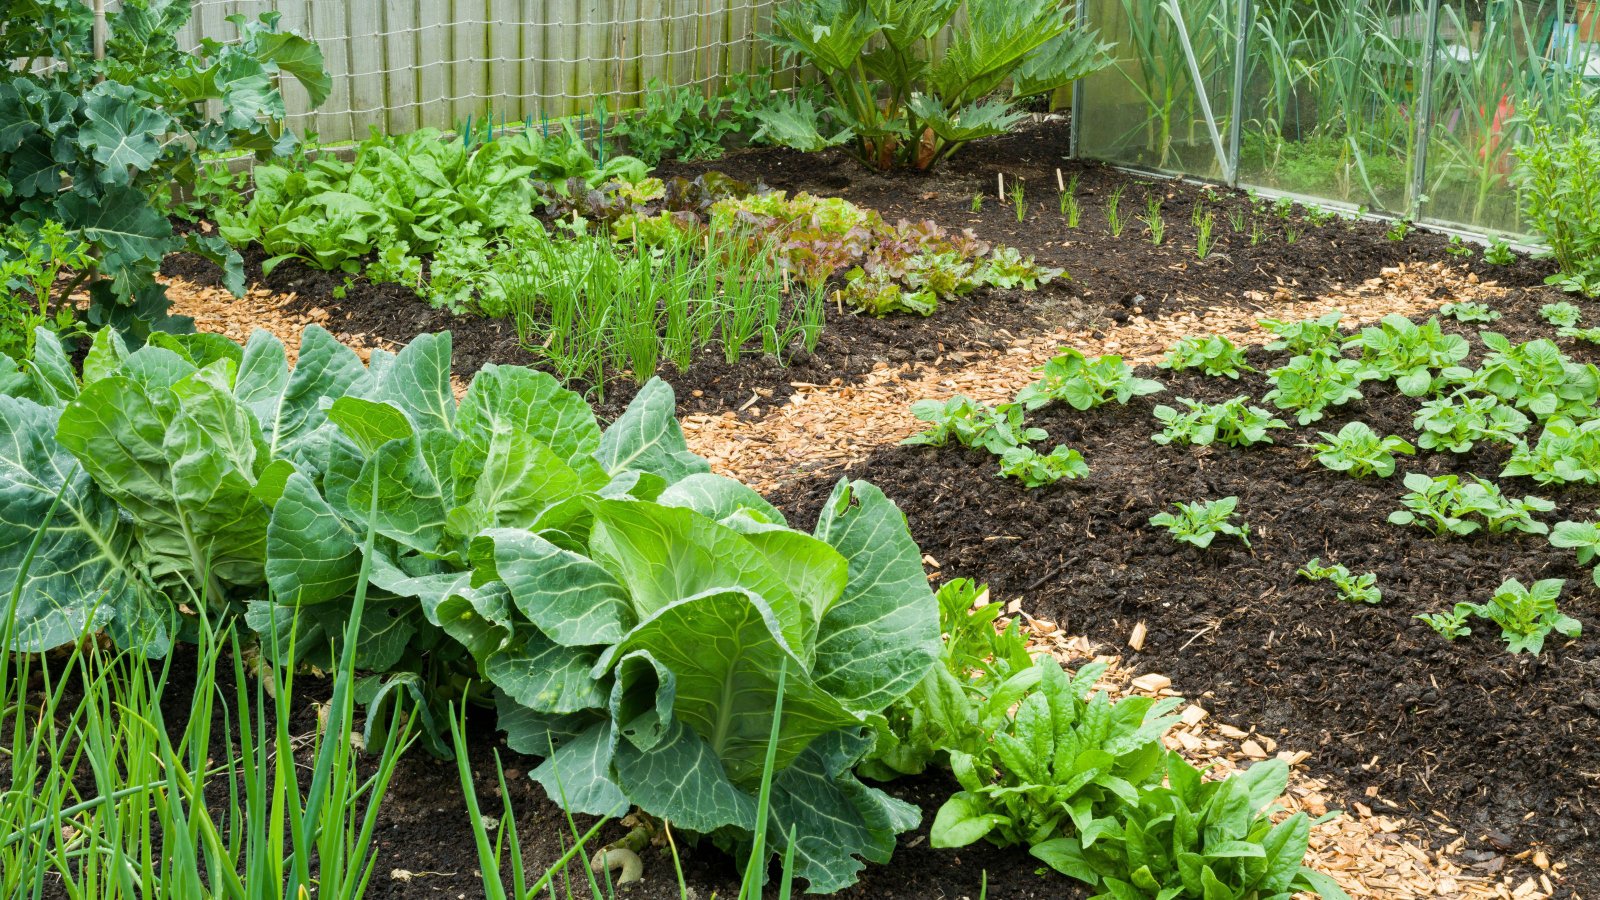
For a home gardener, the biggest advantage is practical. You can create productive beds without repeatedly turning the whole soil profile. Instead, you feed the surface with organic matter, keep the soil covered, pull or cut weeds with minimal disturbance, and let roots, earthworms, fungi, and other soil organisms do much of the mixing over time.
This guide explains how to start a no-dig garden from lawn, bare soil, or an existing bed. It also covers compost depth, cardboard use, perennial weeds, planting, paths, watering, maintenance, and realistic situations where some targeted digging may still be the best choice.
What No-Dig Gardening Actually Means
No-dig does not mean that a spade can never enter the garden. It means you avoid routine full-bed digging or tilling when there is no clear reason to disturb the soil.
In a no-dig system, you usually:
- Add compost or other suitable organic matter to the surface.
- Plant into the upper fertile layer.
- Leave old roots in place when practical.
- Control weeds by cutting, pulling, smothering, or shallow hoeing.
- Keep permanent or semi-permanent paths so growing areas are not compacted by foot traffic.
- Refresh the surface with compost rather than turning amendments deeply into the bed.
The USDA Natural Resources Conservation Service emphasizes soil-health principles such as minimizing disturbance, keeping soil covered, maintaining living roots, and increasing diversity. A home no-dig bed applies several of those ideas on a small scale.
Why Repeated Digging Can Be Unnecessary
Digging is not automatically harmful. Gardeners may need to dig for construction, drainage repair, invasive root removal, planting trees, or correcting a serious physical problem. The issue is repeated disturbance without a specific purpose.
Healthy soil contains aggregates, pores, fungal networks, roots, organic matter, and organisms working at different depths. Frequent tilling can break aggregates, expose protected organic matter to rapid decomposition, bring buried weed seeds to the surface, and leave fine-textured soil vulnerable to crusting.
No-dig gardening tries to keep that structure more intact while still giving plants a fertile surface layer.
Is No-Dig Suitable for Every Garden?
No-dig works well in many vegetable and flower beds, but it is not a magic fix for every site.
| Situation | No-Dig Fit | What to Consider |
|---|---|---|
| Existing productive bed | Excellent | Add compost and stop routine turning |
| New bed over lawn | Very good | Smother grass and add enough organic material |
| Heavy perennial weeds | Possible | May need repeated removal or targeted digging |
| Severely compacted construction soil | Mixed | Initial physical correction may be useful |
| Waterlogged site | Poor until drainage is solved | Organic matter alone will not fix bad drainage |
| Tree-root-filled bed | Challenging | Roots may compete strongly for water and nutrients |
Before building any bed, observe where water moves after rain. If the site stays saturated, fix the drainage problem instead of burying it under compost.
Choose the Right Location
Most vegetables need strong light. Pick a site that receives enough sun for the crops you plan to grow. Also think about water access, path width, nearby tree roots, and how you will reach the center of the bed without stepping on it.
A narrow bed that you can work from both sides is often easier to maintain than a very wide bed that requires walking through the growing area.
How to Start a No-Dig Bed Over Lawn
Step 1: Mow or cut the vegetation low
Short vegetation is easier to cover. Remove woody stems, seed heads, and persistent invasive plants that are likely to push through.
Step 2: Deal with difficult perennial weeds first
Plants that spread from strong underground roots or rhizomes can survive under mulch. Digging out a localized clump before bed construction may save months of frustration. No-dig is a management method, not a rule that forbids targeted removal.
Step 3: Add a weed-smothering layer if needed
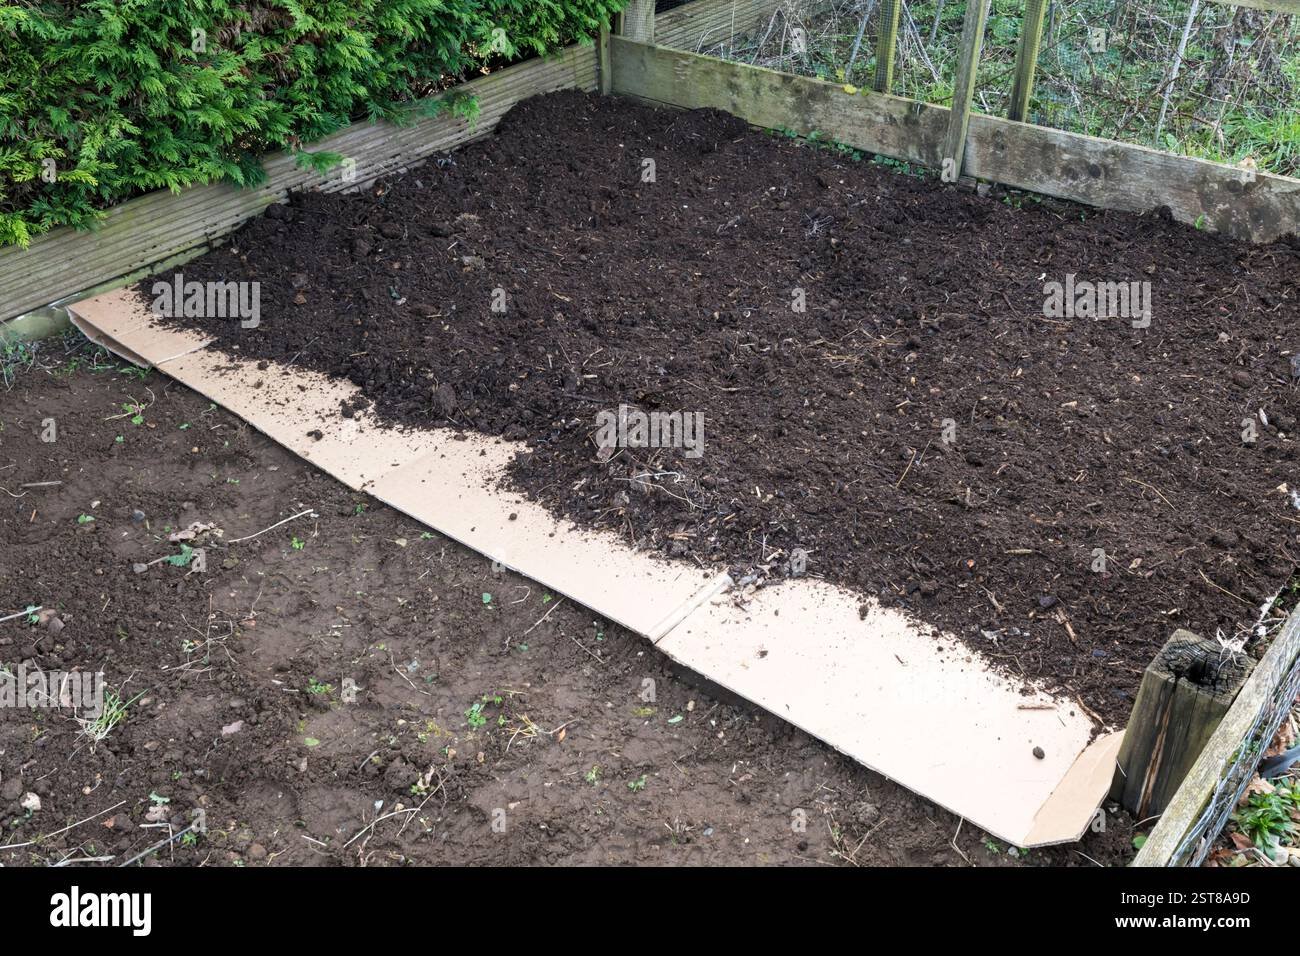
Plain brown cardboard without glossy coatings can be used as a temporary barrier over grass. Remove plastic tape, staples, and labels. Overlap pieces so grass does not immediately find open seams.
Cardboard is optional. If the site has few weeds and you can apply a deep compost layer, some gardeners skip it. If you use it, wet it after placement so it settles against the surface.
Step 4: Add compost
Spread mature, weed-free compost across the bed. The starting depth depends on the underlying vegetation, compost quality, crop, and budget. A new bed needs enough material for young roots and for effective surface coverage.
Do not use unfinished compost that is still hot, strongly ammonia-scented, or actively decomposing. Immature material can stress seedlings and make nutrient availability unpredictable.
Step 5: Shape the bed and paths
Keep the growing surface level enough that water does not run off. Mark paths clearly so nobody repeatedly walks on the planting zone.
Step 6: Plant into the compost layer
For transplants, make a planting hole through the compost. Small roots will grow downward as the barrier softens and underlying soil improves. For tiny seeds, create a fine surface with screened compost or a small amount of suitable seed-starting material if the compost is coarse.
Starting No-Dig on Existing Bare Soil
If the site is already weed-free and reasonably loose, the process is simpler. Remove perennial weeds, apply mature compost to the surface, rake it level, and plant.
There is usually no need to mix the compost deeply. Rain, roots, soil organisms, and normal cultivation around plants gradually integrate organic material into the upper soil.
How Much Compost Do You Need?
There is no universal depth that works for every garden. New beds over aggressive grass need more surface material than an established bed receiving its annual top-dressing.
Think in two stages:
- Initial establishment: enough compost to create a clean planting surface and suppress most annual weeds.
- Ongoing maintenance: a thinner top-dressing once or more each year based on crop demand and soil condition.
More compost is not always better. Excess nutrient-rich compost can lead to very high phosphorus or salt levels. If you add large amounts every year, occasional soil testing is sensible.
What Kind of Compost Works Best?
Good compost should look and smell mature. It is usually dark, crumbly, and earthy rather than hot or sour.
Sources include:
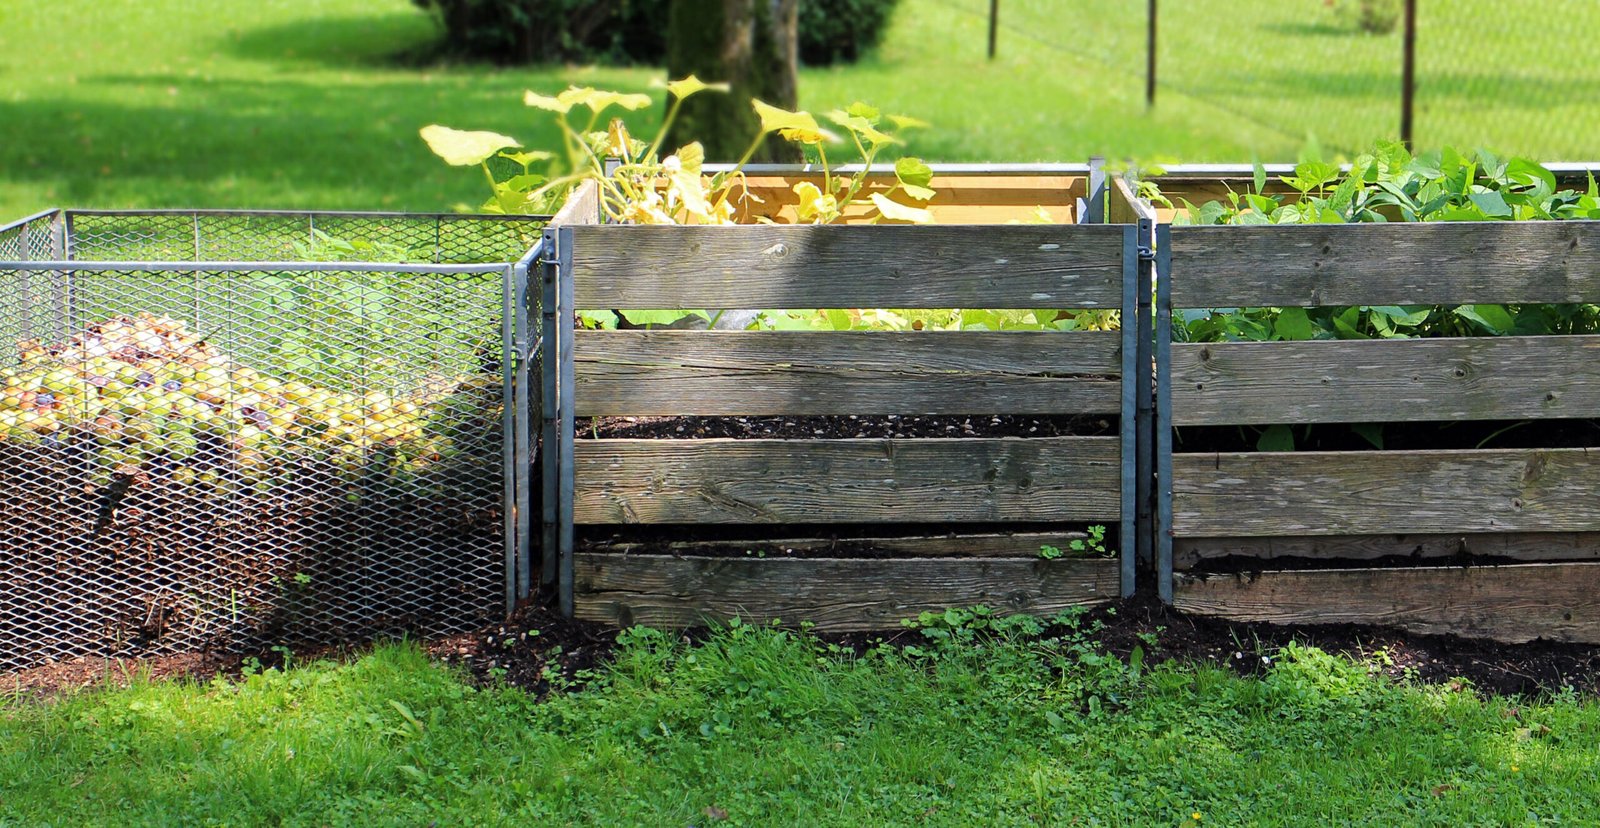
- Well-made home compost.
- Municipal green-waste compost where quality is monitored.
- Composted plant materials from reputable suppliers.
- Properly composted manure products used with awareness of nutrient content.
If buying in bulk, ask about the source material and whether the product has been tested for contaminants, salts, and maturity. Avoid using unknown material around edible crops simply because it is cheap.
Planting Seeds in a No-Dig Bed
Large seeds such as beans, squash, peas, and corn are easy to plant directly into the surface layer. Fine seeds need closer contact with a smooth, moist medium.
For small seeds
- Rake a shallow row.
- Break large compost clumps.
- Sow at the recommended depth.
- Cover with fine compost or suitable soil.
- Water with a gentle spray.
- Keep the upper layer consistently moist until germination.
If your compost is very woody or coarse, create a narrow seed drill filled with finer material instead of covering the entire bed with something different.
Planting Transplants
Transplants are straightforward. Pull compost aside, open a hole, set the root ball at the correct level, firm gently, and water well.
If the cardboard beneath a brand-new bed is still strong, cut a small opening for large transplants if needed. Do not create huge gaps that allow grass to surge through.
How No-Dig Changes Weed Management
One of the main benefits is that you stop bringing buried weed seeds to the surface every time you turn the soil.
New weed seeds will still arrive by wind, birds, compost, and nearby plants. The goal is to remove them when they are tiny.
A practical weed routine
- Walk beds once or twice a week during fast-growing weather.
- Pull young weeds before they flower.
- Use a shallow hoe on dry days for small annual weeds.
- Do not deeply cultivate around crop roots.
- Trace perennial weeds to their source and remove persistent crowns when practical.
Five minutes of frequent weed control is usually easier than a large cleanup every six weeks.
Do You Still Need Mulch?
The compost layer itself acts as surface cover, but additional mulch can be useful around some established crops. Straw, shredded leaves, or other locally suitable organic materials can reduce evaporation and soil splash.
For direct-sown beds, thick loose mulch can interfere with germination. Apply it after seedlings are established or keep seed rows open.
Watering a No-Dig Garden
Do not assume compost means the bed never dries. Fresh compost can behave differently from the soil beneath it. Check moisture in both layers during the first season.
Water slowly enough for moisture to move downward. If you only wet the top few centimeters, roots may remain shallow. Drip irrigation or soaker lines can work well because they place water near the crop instead of soaking paths.
As soil structure improves and organic matter increases, the bed may hold useful moisture longer. Adjust irrigation based on observation rather than keeping the same timer setting forever.
Feeding Crops in a No-Dig System
Mature compost supplies organic matter and some nutrients, but nutrient concentration varies widely. Heavy-feeding crops may still need supplemental nutrition if the soil is low in key nutrients.
Use plant growth, crop history, and soil tests to guide decisions. Pale leaves do not automatically mean nitrogen deficiency; root damage, cold soil, waterlogging, and pests can produce similar symptoms.
What to Do With Old Crop Roots
When a healthy annual crop finishes, cut the stem near soil level and leave fine roots in the ground. The roots decompose and create channels that help air and water move through the soil.
Remove diseased roots when a specific disease is known to persist in plant debris and local guidance recommends removal. No-dig should not override basic disease sanitation.
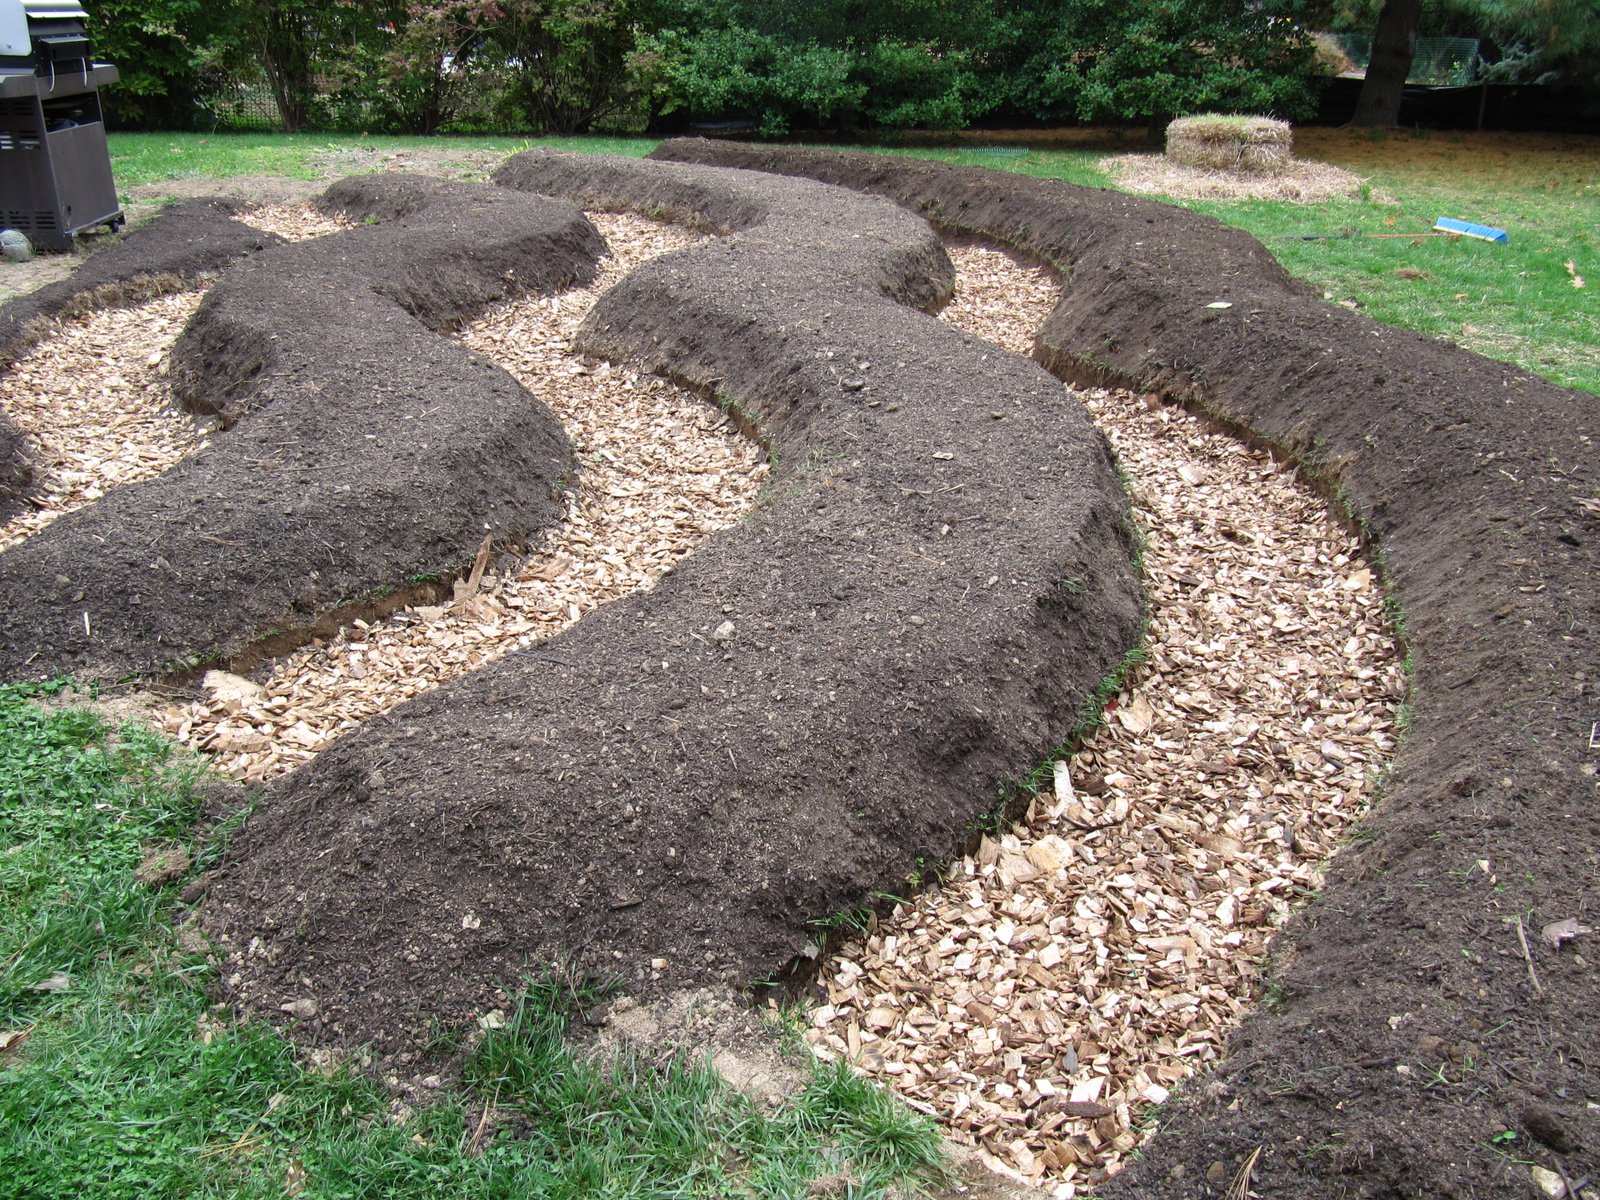
Managing Paths
Paths are a key part of no-dig design because they keep foot traffic off the growing area.
Useful path materials include:
- Wood chips.
- Gravel where appropriate.
- Stepping stones.
- Low-growing living paths in suitable climates.
- Compacted bare soil maintained separately from the bed.
Keep wood chips mainly on paths instead of mixing large amounts of fresh woody material into vegetable-bed soil.
Common No-Dig Mistakes
Using poor-quality compost
A no-dig bed depends heavily on its surface material. Immature, contaminated, or salty compost can cause immediate problems.
Ignoring perennial weeds
Smothering works well for many annual weeds, but persistent roots may require several rounds of control.
Building over waterlogged soil
A raised compost layer may look dry while the underlying soil stays saturated. Fix drainage first.
Walking on the bed
Repeated traffic compresses the very soil structure you are trying to protect.
Adding large amounts of rich compost every year without testing
Excessive nutrient buildup can create imbalances. Adjust inputs based on actual need.
Treating no-dig as a strict ideology
If you need to remove a buried construction layer, repair irrigation, dig out an invasive root, or plant a tree, dig where necessary. The goal is less unnecessary disturbance, not zero useful work.
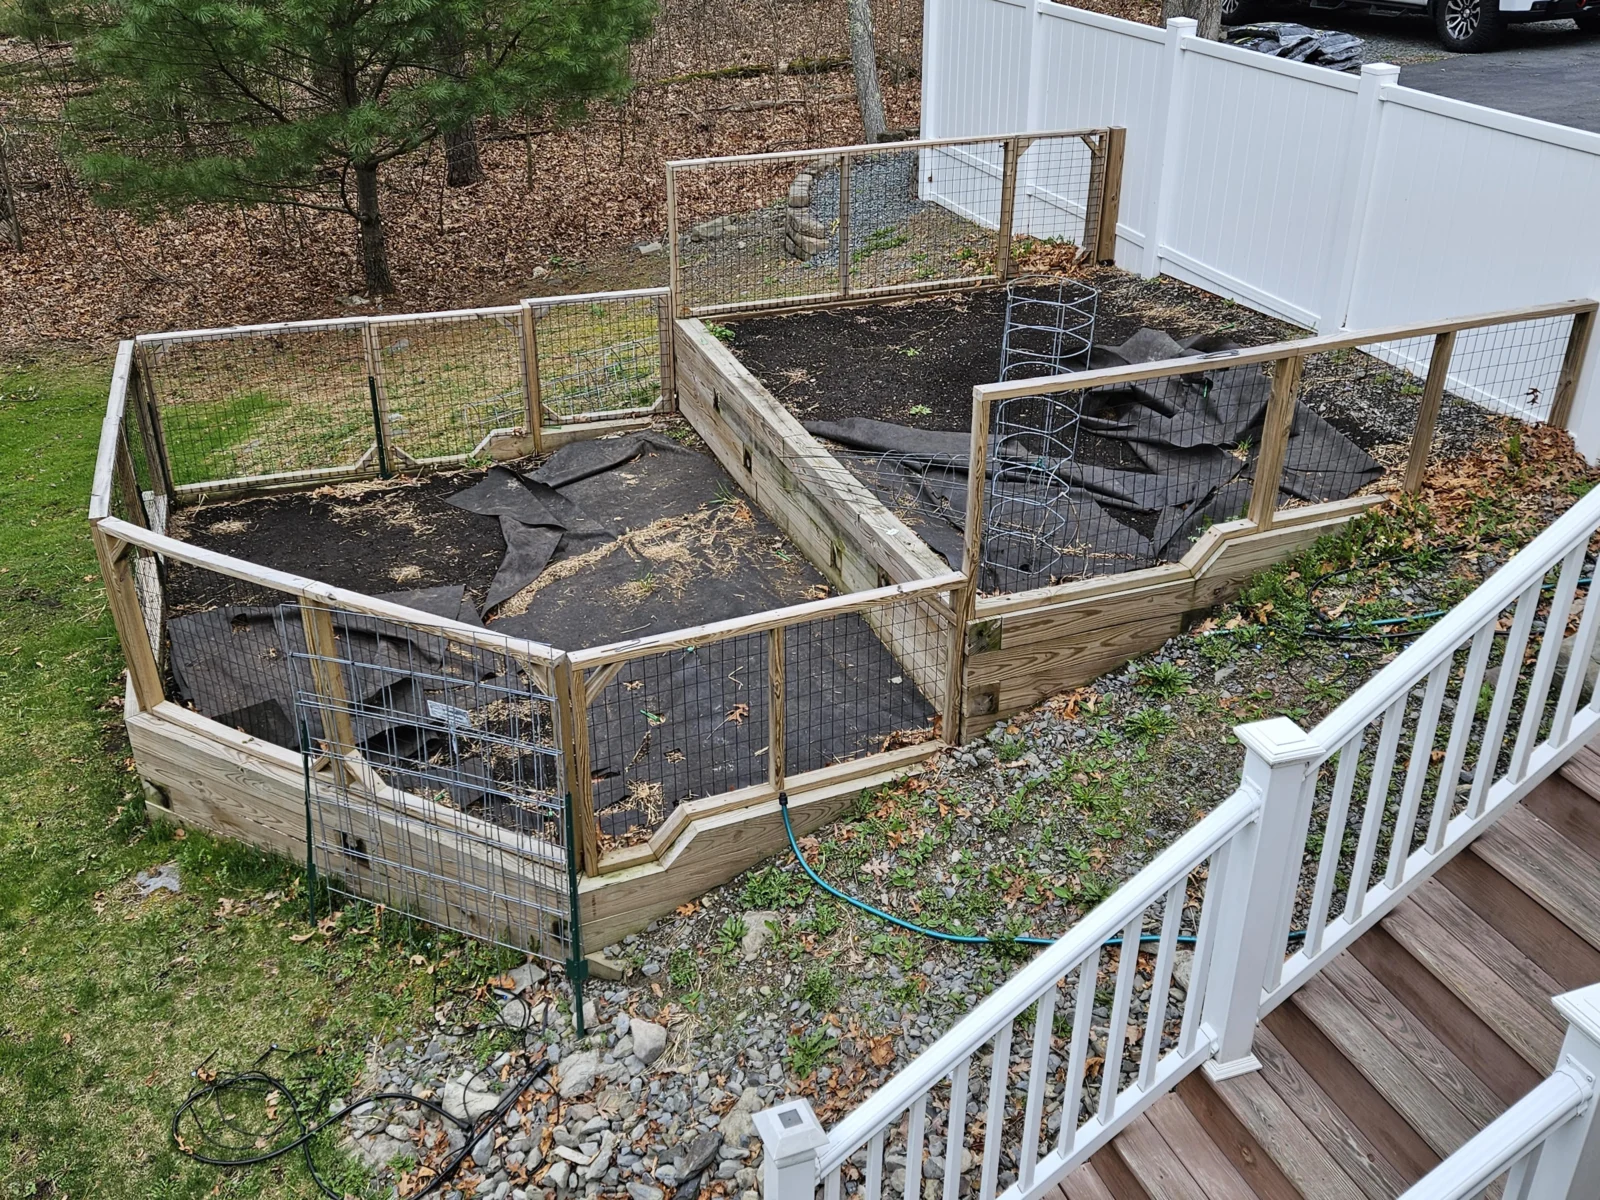
Real-World Example: Turning Lawn Into Two Vegetable Beds
A gardener has a sunny patch of lawn measuring roughly four by five meters. Instead of renting a tiller, they mow the grass short and mark two beds with a path between them.
They remove a few patches of aggressive perennial weed by hand, cover the remaining grass with overlapping plain cardboard, wet it, and add a generous layer of mature compost. Wood chips go on the path.
In the first season, they plant tomatoes, peppers, lettuce, and beans. Drip lines run over the compost. A few grass shoots appear around the edges and are pulled early.
At the end of the season, healthy annual stems are cut at soil level. The next spring, the gardener adds a thinner compost top-dressing rather than rebuilding the beds. Weed pressure is lower because the soil was not turned and buried seeds were not repeatedly exposed.
The system works because the gardener maintains it. No-dig reduced heavy soil work, but regular watering, weed checks, crop planning, and compost quality still mattered.
Seasonal No-Dig Checklist
Spring
- Top-dress beds where needed.
- Remove perennial weeds early.
- Repair path edges.
- Check irrigation.
- Prepare fine seed rows for small seeds.
Summer
- Keep the surface covered.
- Water deeply based on soil moisture.
- Remove weeds before seed set.
- Add mulch around established crops if useful.
Autumn
- Cut healthy finished crops at the surface.
- Sow cover crops where they fit your plan.
- Add mature compost if autumn is your preferred top-dressing season.
- Keep empty beds covered.
Winter
- Avoid walking on wet beds.
- Plan rotations and seed orders.
- Make or source compost for the next season.
- Inspect drainage during heavy rain.
Frequently Asked Questions
Can I start no-dig on clay soil?
Yes, if the site drains adequately. Surface organic matter, roots, and reduced disturbance can improve structure over time. If the clay is severely compacted or waterlogged, solve the underlying problem first.
Will cardboard harm the soil?
Plain, minimally printed cardboard is commonly used as a temporary smothering layer. Remove plastic tape, glossy coatings, and staples. It is not required in every no-dig bed.
Do I need raised-bed frames?
No. No-dig beds can be framed or unframed. Frames help define edges but add cost and may dry faster in hot climates.
Can I use manure instead of compost?
Use properly composted manure products with care. Fresh manure can burn plants, carry pathogens, and add excessive nutrients. Follow food-garden safety guidance and know the source.
How quickly will my soil improve?
Some benefits, such as reduced weed disturbance and an easier planting surface, appear quickly. Deeper structural changes take time and depend on climate, soil type, organic inputs, roots, and management.
Can I grow root vegetables in no-dig beds?
Yes, if the soil beneath is not badly compacted and the surface layer is suitable. Carrots and parsnips need enough loose depth to form straight roots, so diagnose physical barriers if roots fork or stop.
Conclusion: Reduce Disturbance, Then Manage the Bed Well
No-dig gardening is useful because it replaces routine soil turning with a simpler pattern: feed the surface, protect structure, keep soil covered, manage weeds early, and let roots and soil organisms do more of the mixing.
Start with the site, not the method. Make sure drainage and sunlight are suitable. Remove persistent weeds where necessary, use mature compost, create permanent paths, and plant without repeatedly walking on the bed.
During the season, keep checking moisture, pests, crop nutrition, and weed pressure. At the end of a healthy crop, leave fine roots in place and refresh the surface only as much as needed.
The best no-dig garden is not the one where a spade is never used. It is the one where soil is disturbed only for a clear reason and every other task supports healthy roots, useful organic matter, and practical long-term maintenance.