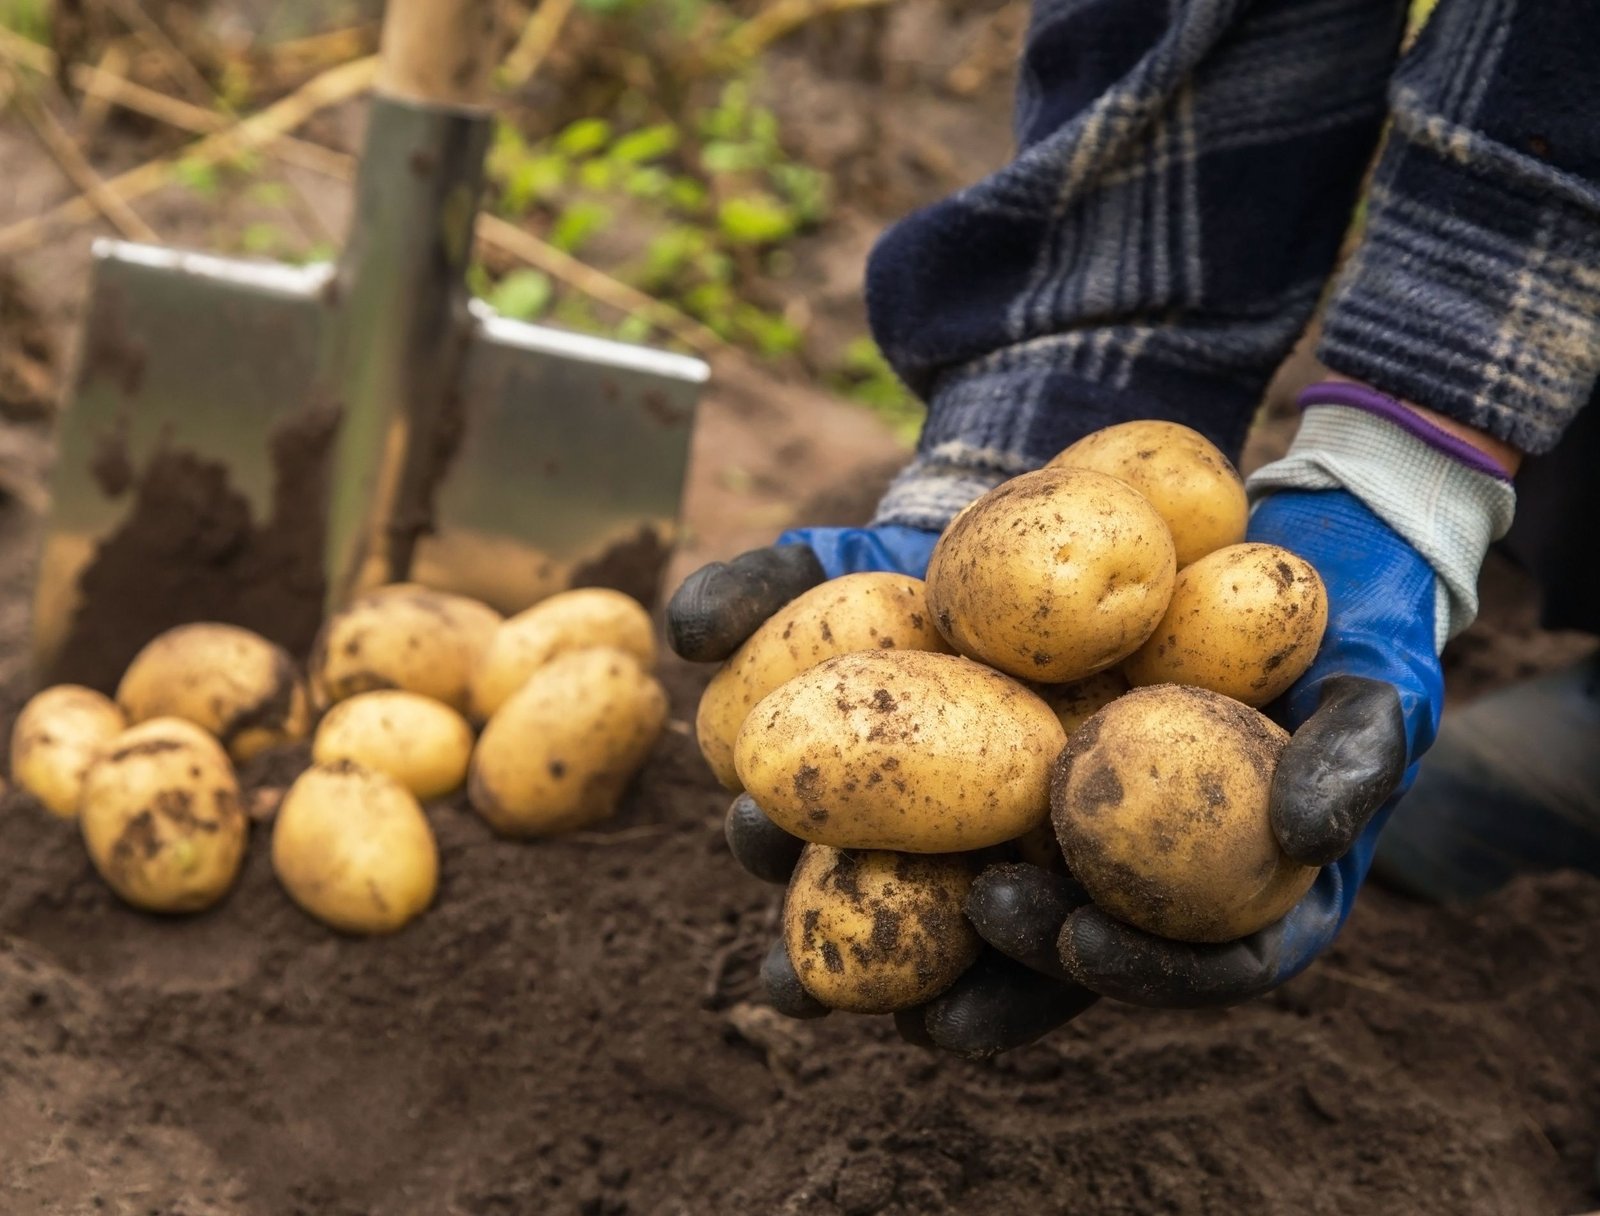
Potatoes are unusual vegetables because the part you harvest is not a root. Potatoes are underground stems called tubers. New tubers form above the original seed piece, which is why gardeners hill soil or mulch around growing stems.
Potatoes grow well in garden beds, raised beds, and large containers. They prefer cool weather, loose soil, and consistent moisture during tuber formation. The main challenges are late blight, Colorado potato beetles, green tubers, and irregular watering that causes hollow centers or misshapen potatoes.
This guide explains how to grow potatoes from certified seed potatoes, including chitting, planting depth, hilling, watering, fertilizing, pest control, harvest timing, curing, and storage.
Choose the Right Potato Type
Potatoes are grouped by maturity and texture.
| Type | Days to Maturity | Best Use |
|---|---|---|
| Early | 60–80 days | New potatoes |
| Midseason | 80–100 days | General cooking |
| Late | 100–130 days | Long-term storage |
| Waxy | Varies | Boiling, salads |
| Starchy | Varies | Baking, mashing |
Choose early varieties for short seasons and late varieties if you want storage potatoes.
The Royal Horticultural Society vegetable-growing resources provide general guidance for potatoes and other home crops.
Use Certified Seed Potatoes
Do not plant grocery-store potatoes. They may carry disease or be treated to prevent sprouting.
Buy certified disease-free seed potatoes from a nursery or seed supplier.
Each seed potato should have at least two strong eyes.
What Is Chitting?
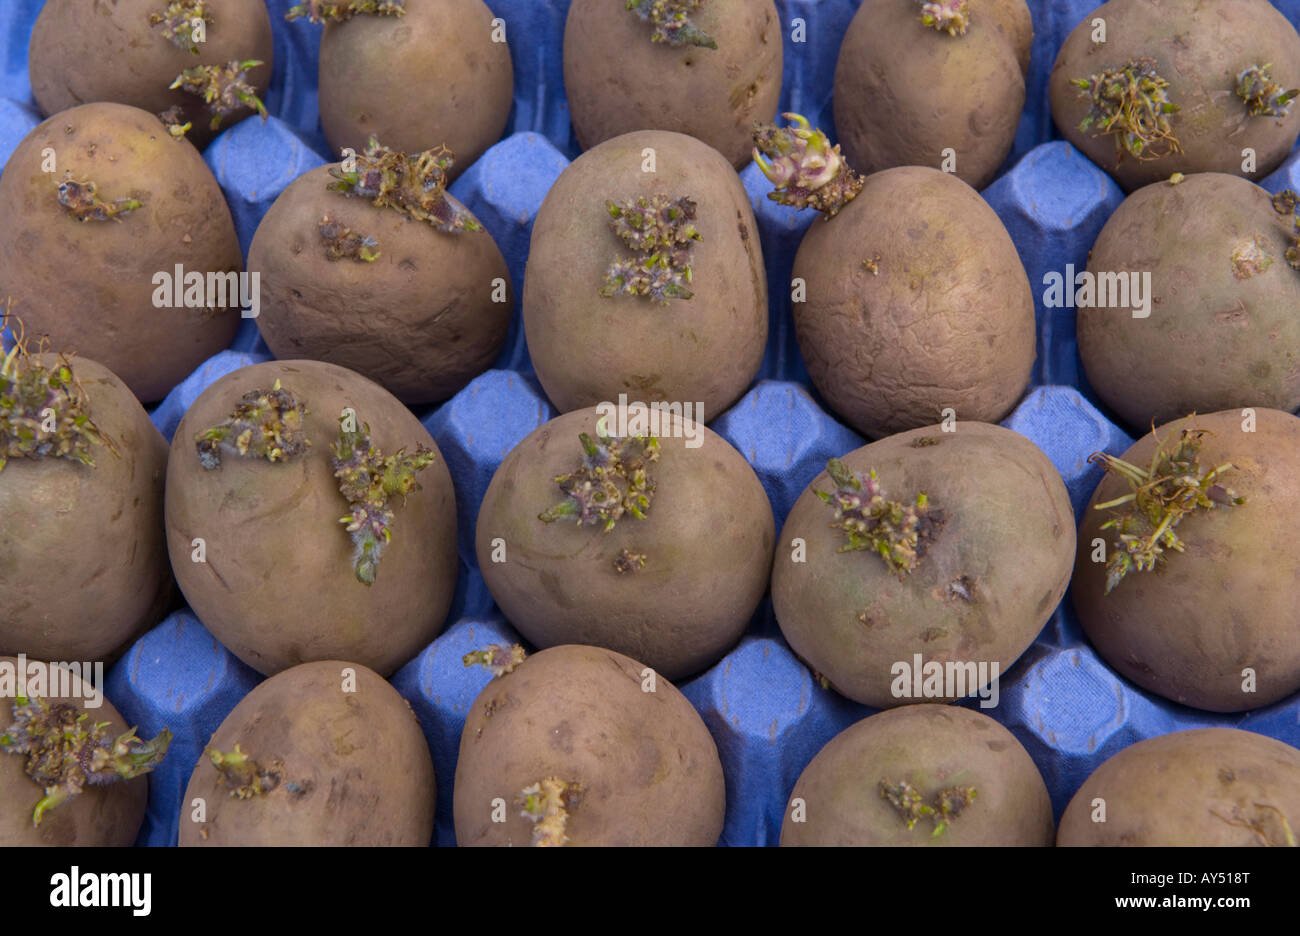
Chitting means sprouting seed potatoes before planting.
- Place potatoes in egg cartons with eyes facing up.
- Keep them in a bright, cool room around 10–15°C.
- Wait three to four weeks.
- Plant when sprouts are 2–3 centimeters long.
Chitting gives early varieties a head start, especially in cool climates.
When to Plant Potatoes
Plant potatoes two to four weeks before your last spring frost when soil temperatures reach at least 7°C (45°F).
Young shoots tolerate light frost but can be damaged by hard freezes.
For fall harvests in mild climates, plant 12 to 14 weeks before the first expected frost.
Step 1: Prepare Loose, Well-Drained Soil
Potatoes need loose soil so tubers can expand.
- Loosen soil 25–30 centimeters deep.
- Add 5–8 centimeters of finished compost.
- Remove stones.
- Check drainage after rain.
- Aim for pH 5.0–6.5.
Slightly acidic soil reduces common potato scab.
Step 2: Cut Large Seed Potatoes
Small seed potatoes can be planted whole. Large potatoes can be cut into pieces.
Each piece should weigh 40 to 60 grams and contain at least two eyes.
Let cut surfaces dry for one to two days before planting. This forms a protective callus.
Step 3: Plant Seed Potatoes Deeply
Dig trenches 10 to 15 centimeters deep.
Place seed pieces cut-side down and eyes up.
| Potato Type | Spacing | Row Spacing |
|---|---|---|
| Early | 25–30 cm | 60 cm |
| Maincrop | 35–40 cm | 75 cm |
Cover with 10 centimeters of soil.
Step 4: Hill Potatoes as They Grow
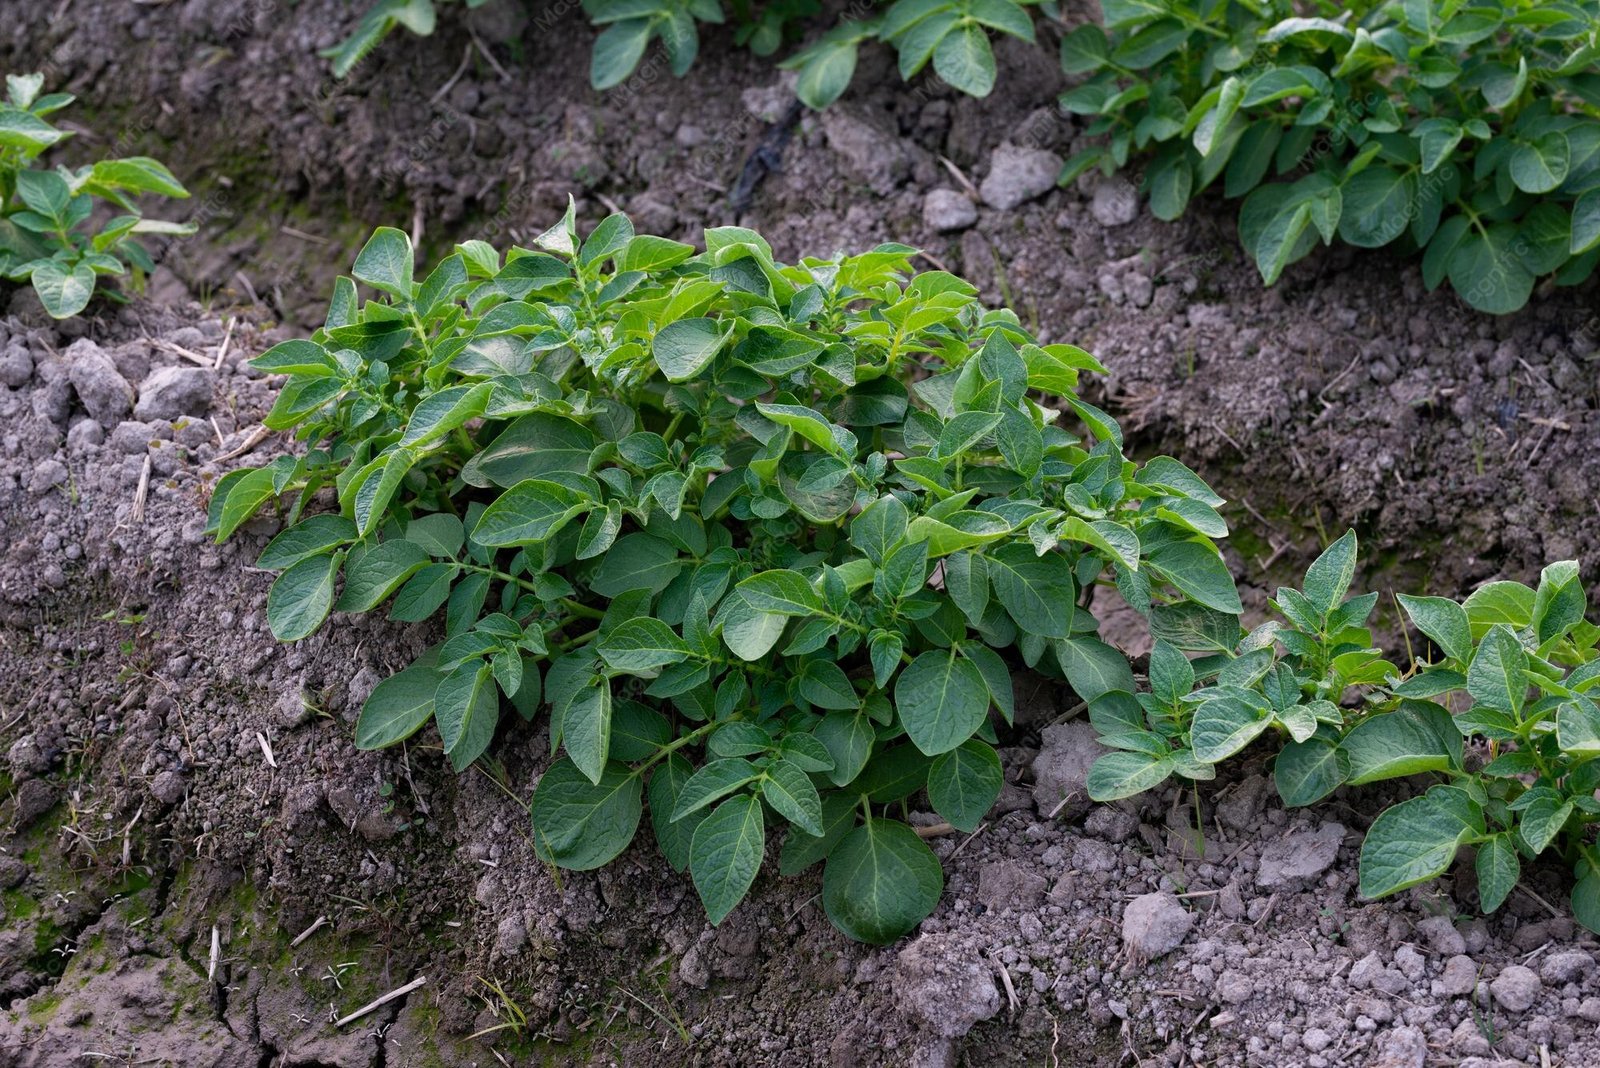
When shoots reach 15 to 20 centimeters tall, pull soil around the stems, leaving the top 10 centimeters exposed.
Repeat every two weeks until hills are 20 to 25 centimeters high.
Hilling protects developing tubers from sunlight and creates more loose soil for growth.
Why Potatoes Turn Green
Potatoes exposed to sunlight produce chlorophyll and solanine, a toxic alkaloid.
Green potatoes taste bitter and should not be eaten.
Prevent greening by keeping tubers covered with soil or thick mulch.
Watering Potatoes
Potatoes need the most water during flowering and tuber formation.
Provide 2.5 to 4 centimeters of water per week, including rainfall.
Water deeply once or twice per week rather than lightly every day.
Stop watering when foliage begins yellowing two weeks before harvest.
Fertilizing Potatoes
Potatoes need moderate nitrogen and high potassium.
Before planting, apply a balanced vegetable fertilizer according to a soil test or product label.
Do not use fresh manure. It encourages scab and excessive top growth.
Side-dress with a low-nitrogen fertilizer when plants reach 20 centimeters tall.
Potato Flowers and Berries
Potato plants may produce white or purple flowers followed by small green berries.
These berries are poisonous and should not be eaten.
You do not need to remove flowers. Tubers develop underground regardless of flowering.
Common Potato Pests
Colorado potato beetle
Yellow-and-black striped beetles and red larvae eat leaves quickly.
Hand-pick adults and crush orange egg clusters under leaves.
Wireworms
Thin brown larvae bore holes in tubers. Avoid planting potatoes in newly converted lawn.
Aphids
Aphids transmit viruses. Spray with water or use insecticidal soap.
Common Potato Diseases
Late blight
Dark water-soaked spots appear on leaves during cool wet weather. White fungal growth develops underneath.
Remove infected plants immediately and do not compost them.
Early blight
Brown spots with concentric rings develop on older leaves. Rotate crops and remove debris.
Potato scab
Rough corky patches form on tubers. Maintain soil pH below 6.5 and avoid fresh manure.
Crop Rotation for Potatoes
Do not grow potatoes, tomatoes, peppers, or eggplants in the same bed more than once every three years.
These plants belong to the nightshade family and share diseases such as blight and verticillium wilt.
Rotate with beans, carrots, lettuce, or brassicas.
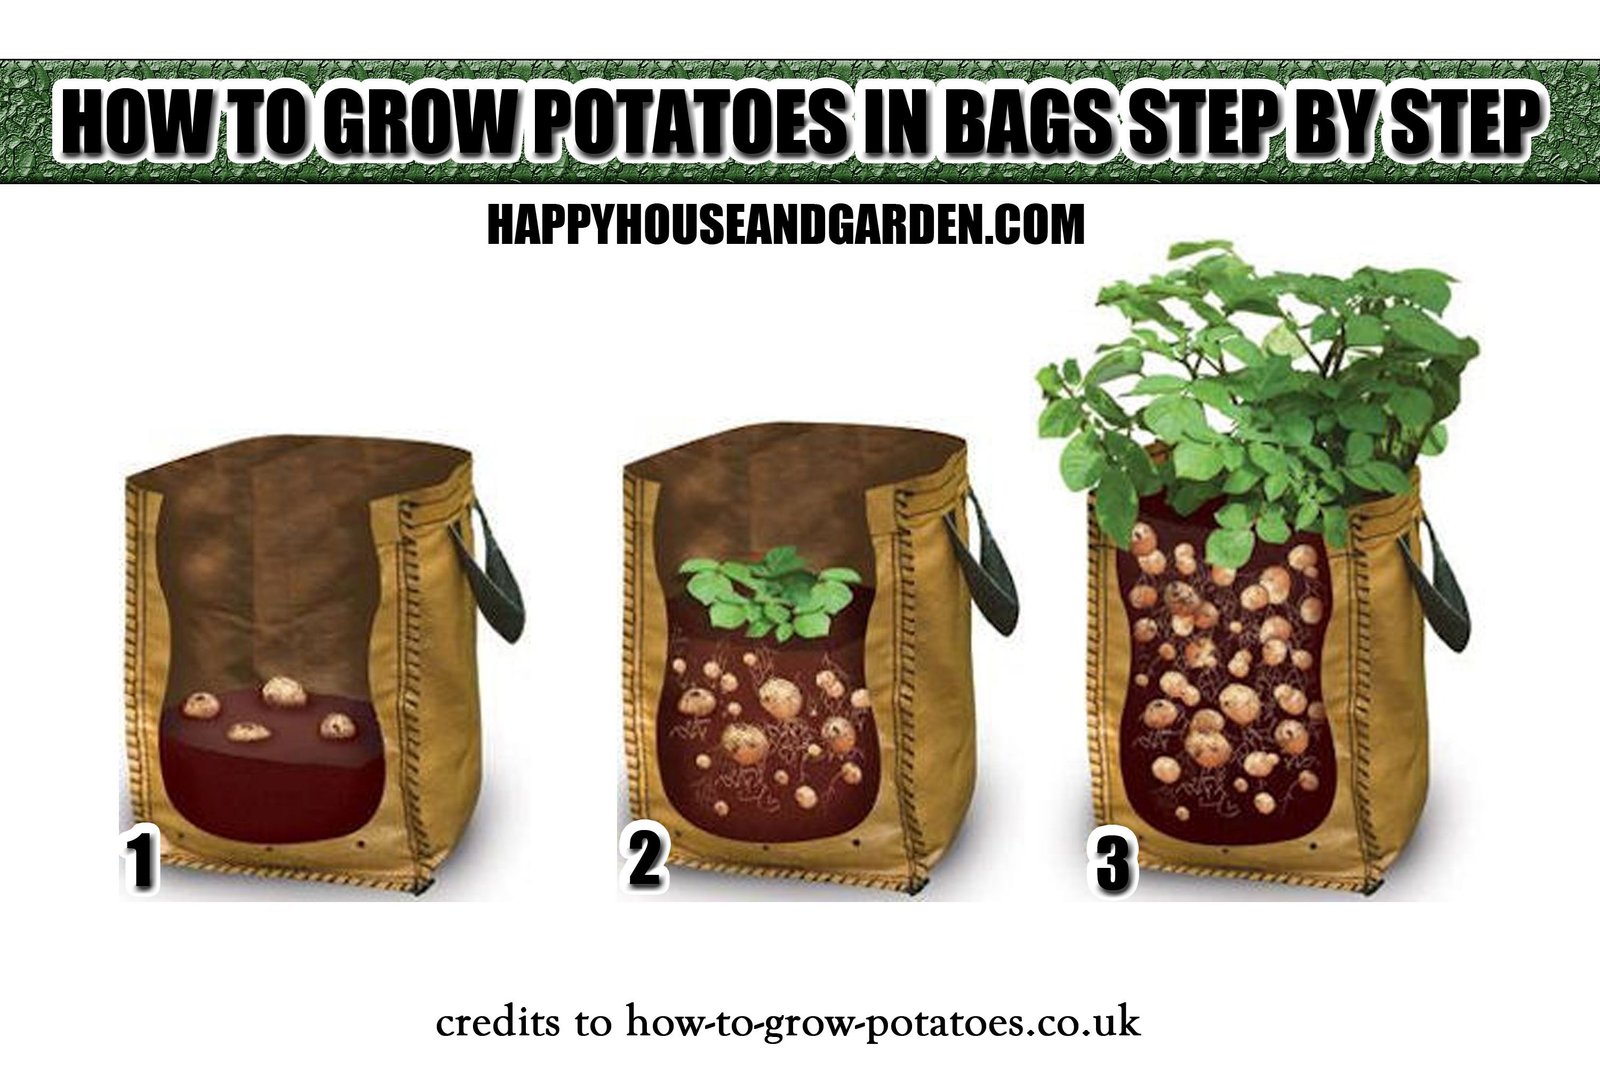
Growing Potatoes in Containers
Use a 40- to 60-liter container at least 40 centimeters deep.
- Add 15 centimeters of potting mix.
- Place three seed potatoes on top.
- Cover with 10 centimeters of mix.
- When shoots reach 15 centimeters, add more mix.
- Repeat until the container is full.
Do not cover all leaves. Leave the top 10 centimeters exposed.
Container potatoes dry quickly, so check moisture daily.
Do Potato Grow Bags Work?
Yes. Fabric grow bags provide good drainage and make harvesting easy.
Choose bags at least 40 liters in volume.
Dark bags can overheat in hot climates, so provide afternoon shade when temperatures exceed 30°C.
When to Harvest New Potatoes
New potatoes are immature tubers harvested 7 to 8 weeks after planting, shortly after flowers appear.
Gently dig beside the plant and remove a few small potatoes without disturbing the main roots.
New potatoes have thin skins and should be eaten within one week.
When to Harvest Storage Potatoes
Wait until foliage turns completely yellow and dies back.
Stop watering two weeks before harvest.
Choose a dry day and dig carefully with a garden fork 30 centimeters away from the plant.
Avoid cutting or bruising tubers.
How to Cure Potatoes
Curing thickens skins for storage.
- Spread potatoes in a single layer.
- Keep at 10–15°C with high humidity.
- Keep completely dark.
- Cure for 7–14 days.
- Discard damaged tubers.
Do not wash storage potatoes before curing.
Storing Potatoes
Store cured potatoes at 4–7°C (40–45°F) in complete darkness.
Use ventilated crates, paper bags, or burlap sacks.
Do not store potatoes with apples. Apples release ethylene gas that causes sprouting.
Check monthly and remove soft or sprouting tubers.
Real-World Example: Potatoes in a 50-Liter Grow Bag
A balcony gardener plants three Yukon Gold seed potatoes in a 50-liter fabric bag in March.
They add potting mix every two weeks as shoots grow, eventually filling the bag.
The plants flower in May. The gardener harvests six new potatoes by reaching through a side flap.
In July, foliage dies back. The bag is tipped onto a tarp, revealing 5 kilograms of mature potatoes.
The crop uses less than one square meter of balcony space.
Common Potato-Growing Mistakes
Planting grocery potatoes
They may carry disease.
Skipping hilling
Tubers turn green in sunlight.
Overfertilizing with nitrogen
Plants grow leaves instead of tubers.
Watering irregularly
Dry-wet cycles cause hollow heart and cracks.
Harvesting too early
Storage potatoes need mature skins.
Potato Growing Checklist
- Buy certified seed potatoes.
- Chit for 3–4 weeks.
- Plant when soil reaches 7°C.
- Space 30–40 cm apart.
- Hill plants every two weeks.
- Water consistently during flowering.
- Avoid high-nitrogen fertilizer.
- Check for Colorado potato beetles.
- Harvest new potatoes after flowering.
- Harvest storage potatoes after foliage dies.
- Cure 7–14 days.
Frequently Asked Questions
How many potatoes grow from one seed potato?
One seed potato produces 5 to 10 tubers, or 1 to 2 kilograms depending on variety and conditions.
Can potatoes grow in shade?
They need at least six hours of sun for good yields.
Why are my potatoes small?
Common causes include drought, overcrowding, poor soil, or harvesting too early.
Should I remove potato flowers?
No. Removing flowers does not significantly increase yields.
Can I eat green potatoes?
No. Green potatoes contain elevated solanine and should be discarded.
How long do potatoes take to grow?
Early varieties mature in 60–80 days. Late storage potatoes take 100–130 days.
Early, Midseason, or Late: Match Potatoes to Your Goal
Maturity class affects more than harvest date. Early potatoes are useful where summers become very hot or late blight regularly arrives later in the season. Maincrop and late varieties stay in the soil longer and are usually better for storage, but they need a longer period of healthy foliage.
If space allows, plant one early and one storage variety. You can begin eating new potatoes while the later crop continues bulking. This also spreads risk if weather becomes unfavorable during one part of the season.
Hilling Is Mainly About Coverage and Weed Control
Garden advice sometimes implies that endlessly burying stems creates unlimited layers of tubers. In practice, the safest reason to hill is to keep developing tubers covered, protect them from light, suppress weeds, and provide loose material around the plant. Yield response varies by variety and growing method.
Add soil or clean mulch gradually. Do not bury the entire canopy. If heavy rain washes a hill down, rebuild it before exposed tubers turn green.
Manage Container Potatoes Differently From Bed Potatoes
Grow bags and containers warm and dry faster than garden soil. Check moisture several centimeters below the surface rather than watering only because the top looks dry. During tuber formation, a container that repeatedly dries completely can produce small or misshapen potatoes.
At the same time, never let the bottom remain saturated. Elevate containers slightly if drainage holes sit flat against a hard patio, and empty any saucer that holds stagnant water. A large container with stable moisture usually outperforms a small pot packed with too many seed pieces.
Flowering Does Not Give an Exact Harvest Date
Flowers are a useful sign that tubers are developing, but some varieties flower very little and others flower heavily. Do not wait for flowers if the variety normally lacks them.
For new potatoes, carefully feel beside the plant or harvest one test hill. For storage potatoes, foliage maturity is more important. Wait until tops naturally yellow and die, then allow a short period for skins to toughen before digging if weather is dry.
Diagnose Small Yields Before Adding More Fertilizer
If you harvest many tiny potatoes, review plant spacing, light, moisture, and the length of the growing season first. Excess nitrogen can create impressive foliage while delaying tuber development. Drought during flowering and bulking can also limit size.
Cut one healthy-looking tuber after harvest and inspect the inside. Hollow heart, internal browning, or cracking can point to rapid changes in growth conditions. Keep notes so next year’s watering and spacing can be adjusted rather than simply increasing fertilizer.
Protect Harvested Potatoes From Light Immediately
Potatoes can begin greening after harvest if they sit in sunlight. Move dug tubers into shade as you work. Do not leave crates on a bright porch for the afternoon while finishing the bed.
Brush off loose soil but leave skins intact. Cure only sound potatoes. Tubers cut by a fork, damaged by insects, or showing rot should be separated and used promptly if safe, rather than mixed with the storage crop.
Build a Better Storage Routine
A cool dark room with airflow is more important than an airtight container. Use ventilated boxes or paper sacks and check them every few weeks. Remove any potato that becomes soft or develops rot before it affects nearby tubers.
Do not refrigerate potatoes for long-term home storage unless guidance for your intended use recommends it; very cold storage can change starches to sugars and affect cooking quality. A dark location around the recommended storage range is generally better.
Plan the Next Bed With Disease Prevention in Mind
Potatoes share major diseases with tomatoes and other nightshades. After harvest, remove diseased foliage and avoid immediately planting another nightshade in the same spot. A rotation with beans, leafy greens, carrots, or another unrelated family reduces repeated disease pressure.
If late blight affected the crop, follow local extension guidance for volunteer potatoes and infected debris. Tiny tubers left in the soil can sprout the next year and carry problems forward.
Conclusion: Keep Tubers Covered and Soil Evenly Moist
Potatoes are productive and forgiving when planted in loose soil with good drainage. Start with certified seed potatoes and hill plants regularly to protect developing tubers from sunlight.
Water consistently during flowering, avoid excess nitrogen, and stop watering before harvest.
With proper curing and dark storage, one spring planting can provide potatoes for months after the garden season ends.