Garlic is one of the easiest vegetables to plant because each clove already contains the energy needed to start a new plant. The challenge is patience. Garlic is usually planted in autumn, spends winter developing roots, grows rapidly in spring, and is harvested the following summer.
Large bulbs come from large healthy cloves, fertile well-drained soil, proper spacing, consistent spring moisture, and early removal of weeds. Small bulbs usually result from planting too late, using tiny cloves, crowding plants, or letting the bed dry during rapid growth.
This guide explains how to grow garlic from cloves, including hardneck and softneck varieties, planting depth, winter mulch, spring feeding, scape removal, harvest timing, curing, and long-term storage.
Hardneck vs Softneck Garlic
| Feature | Hardneck | Softneck |
|---|---|---|
| Climate | Cold winters | Mild winters |
| Cloves | 4–12 large cloves | 10–20 smaller cloves |
| Flower stalk | Produces scape | Usually no scape |
| Storage | 4–6 months | 8–12 months |
| Flavor | Strong, complex | Mild to strong |
Hardneck varieties need several weeks of cold temperatures to form good bulbs. Softneck garlic performs better in warm climates and stores longer.
The Royal Horticultural Society vegetable-growing resources include practical advice for garlic and other edible crops.
When to Plant Garlic
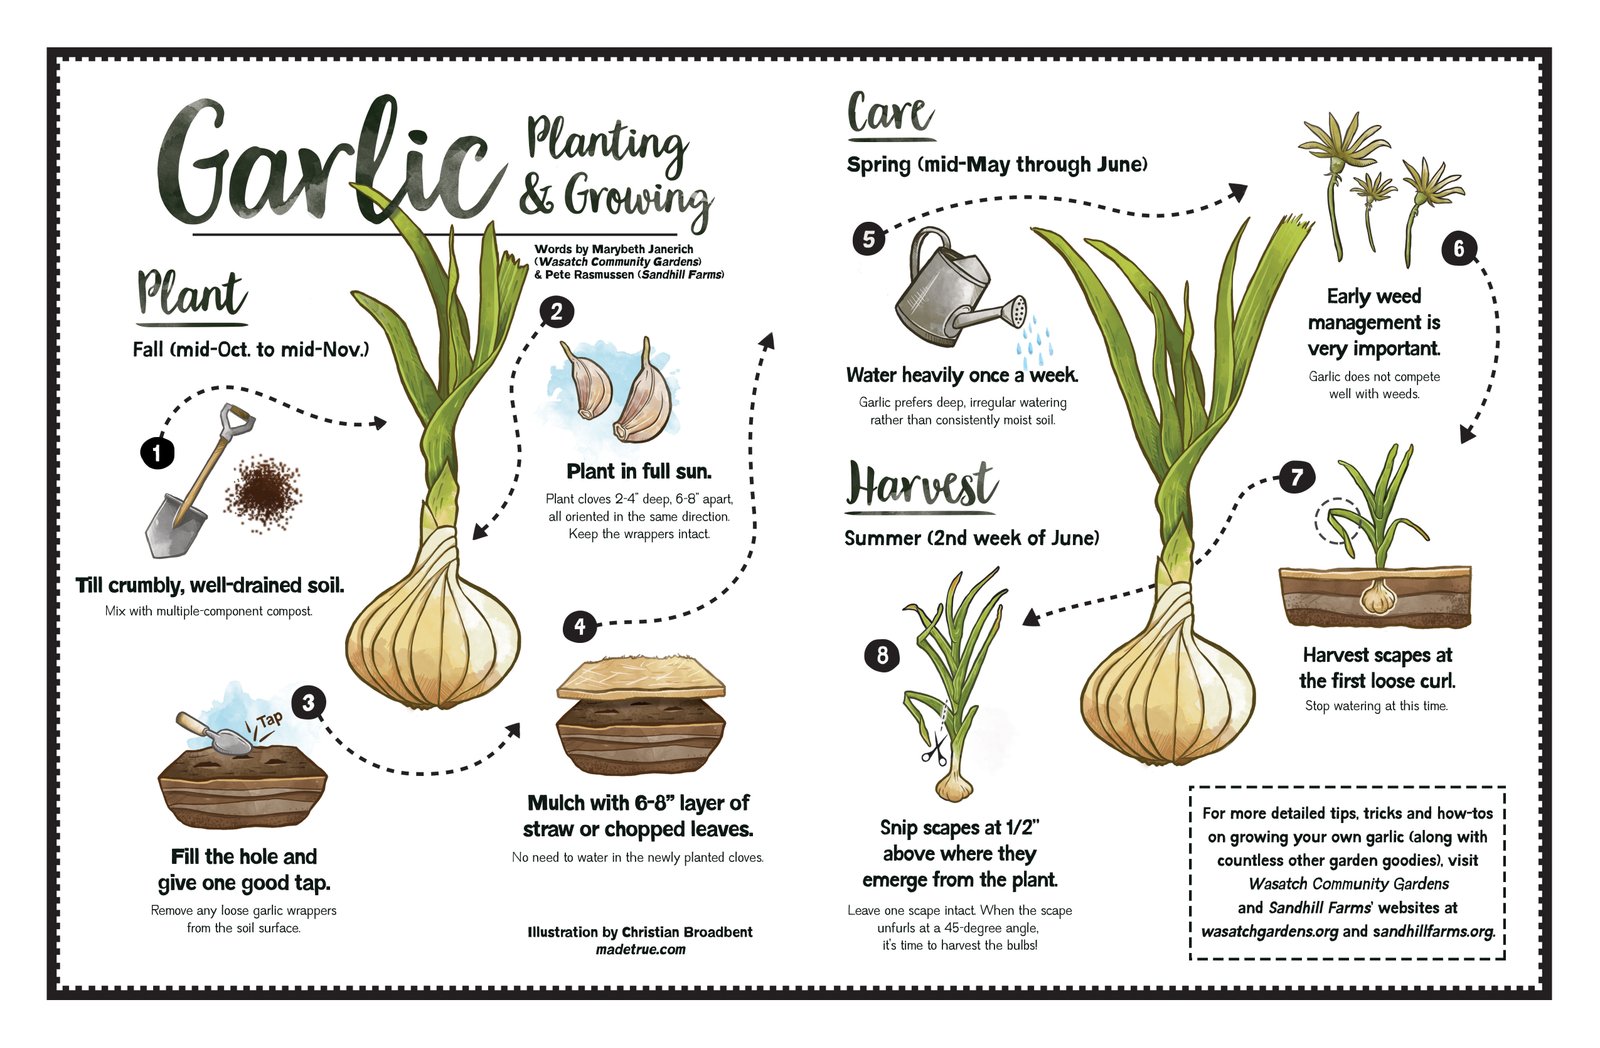
In cold climates, plant garlic four to six weeks before the ground freezes, usually October or November.
Roots begin growing during autumn, but shoots remain small until spring.
In mild climates, plant from November through January. Garlic needs 6 to 8 weeks below 10°C (50°F) to form large bulbs.
Spring planting is possible, but bulbs are usually smaller because plants have less time to develop.
Choose Quality Garlic for Planting
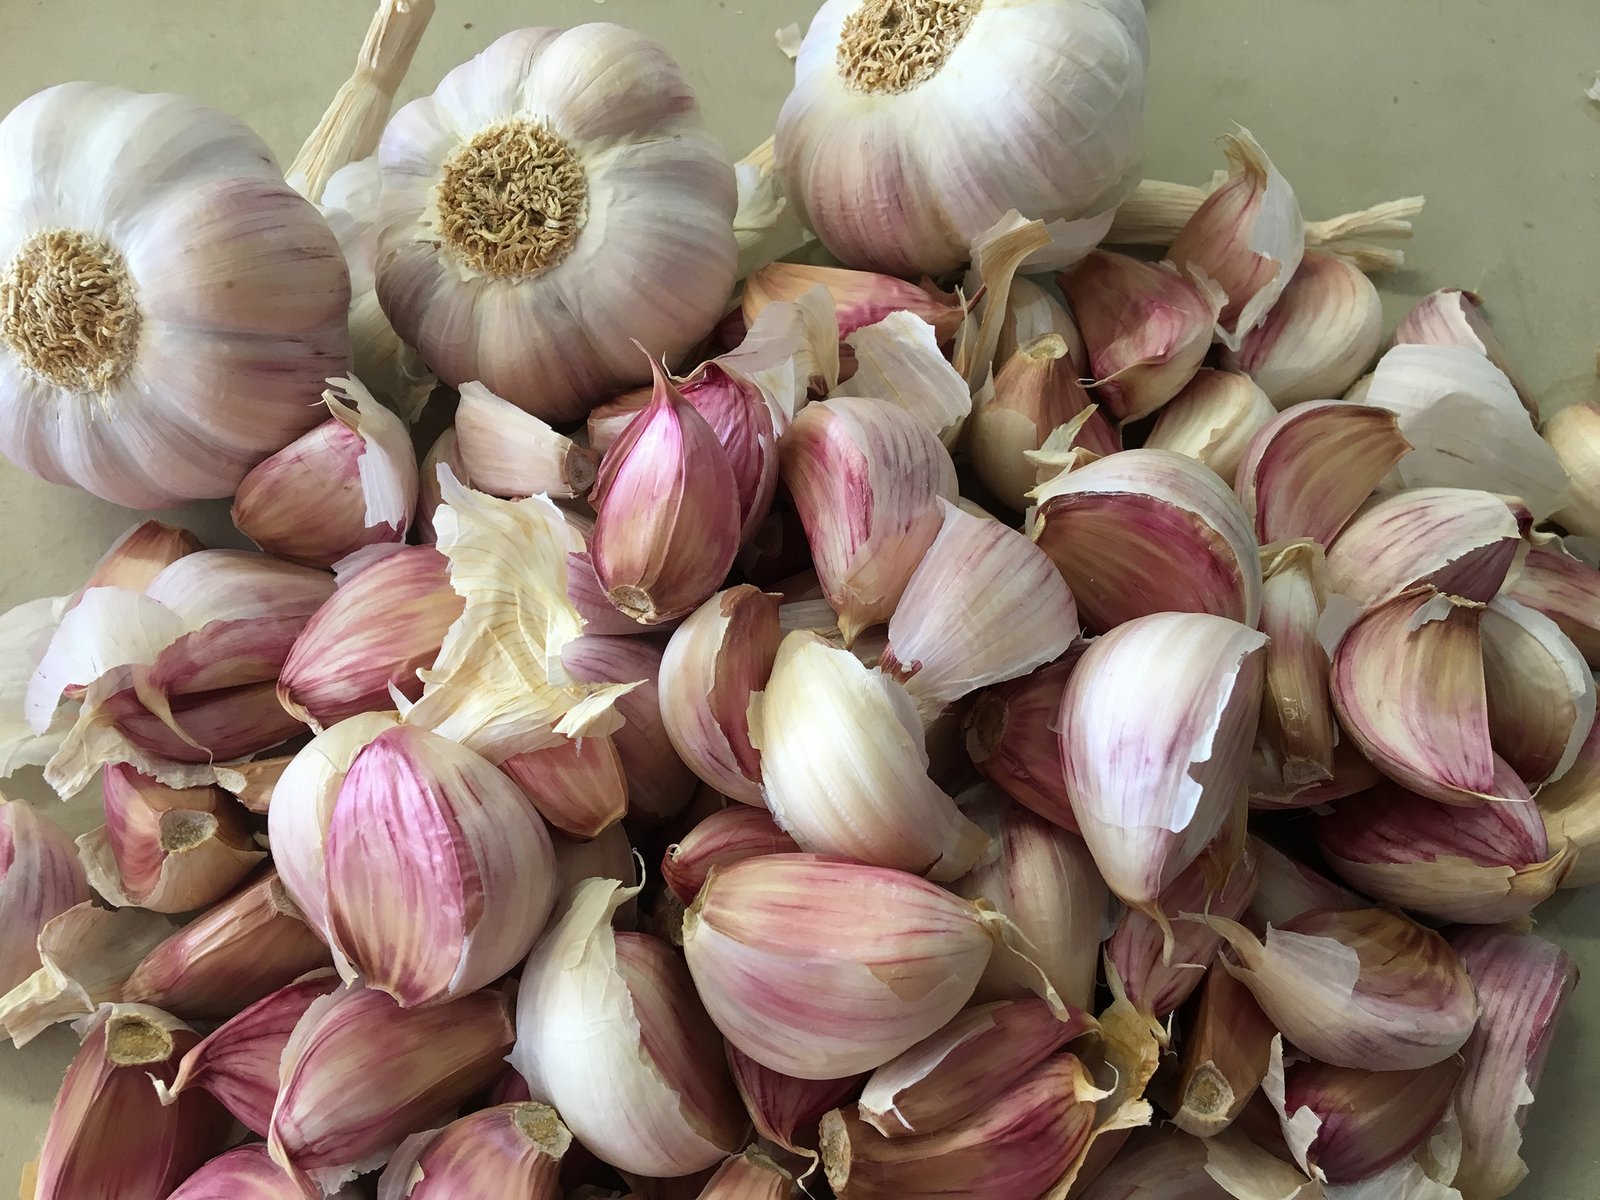
Use certified seed garlic from a nursery or reputable supplier rather than grocery-store bulbs.
Supermarket garlic may be treated to prevent sprouting or grown in a different climate.
Select bulbs that are:
- Large and firm
- Free from mold
- Free from soft spots
- Free from insect damage
Large cloves produce larger bulbs.
Step 1: Prepare Well-Drained Soil
Garlic grows best in loose, fertile soil with a pH between 6.0 and 7.0.
- Loosen soil 20 to 25 centimeters deep.
- Add 5 centimeters of finished compost.
- Remove stones and perennial weeds.
- Form raised rows if drainage is poor.
Garlic rots in waterlogged soil. Raised beds are useful in heavy clay.
Step 2: Separate Cloves Just Before Planting
Break bulbs into individual cloves one or two days before planting.
Leave the papery skin on each clove.
Plant the largest cloves and use small interior cloves for cooking.
Step 3: Plant Cloves Pointed End Up
Place each clove with the flat root end down and pointed tip up.
| Climate | Planting Depth | Spacing |
|---|---|---|
| Cold winter | 7–10 cm | 15 cm |
| Mild winter | 5–7 cm | 15 cm |
| Rows | — | 30 cm apart |
Deep planting protects cloves from freeze-thaw cycles and prevents frost heaving.
Step 4: Mulch After Planting
Apply 10 to 15 centimeters of straw, shredded leaves, or pine needles after the ground begins to freeze.
Mulch protects cloves from temperature swings and suppresses winter weeds.
In spring, reduce the layer to 5 to 8 centimeters so soil warms faster.
Spring Garlic Care
Garlic begins rapid leaf growth as temperatures rise.
Each healthy leaf contributes to bulb size. Protect foliage from damage.
Weeding
Garlic competes poorly with weeds. Keep the bed weed-free, especially during April and May.
Watering
Provide 2.5 centimeters of water per week during active growth.
Stop watering two to three weeks before harvest so bulbs cure in drier soil.
Fertilizing Garlic
Garlic is a heavy feeder during spring.
Apply a nitrogen-rich organic fertilizer when shoots reach 10 centimeters, then again four weeks later.
Stop fertilizing after bulbs begin swelling in late spring. Late nitrogen delays maturity and reduces storage quality.
What Are Garlic Scapes?
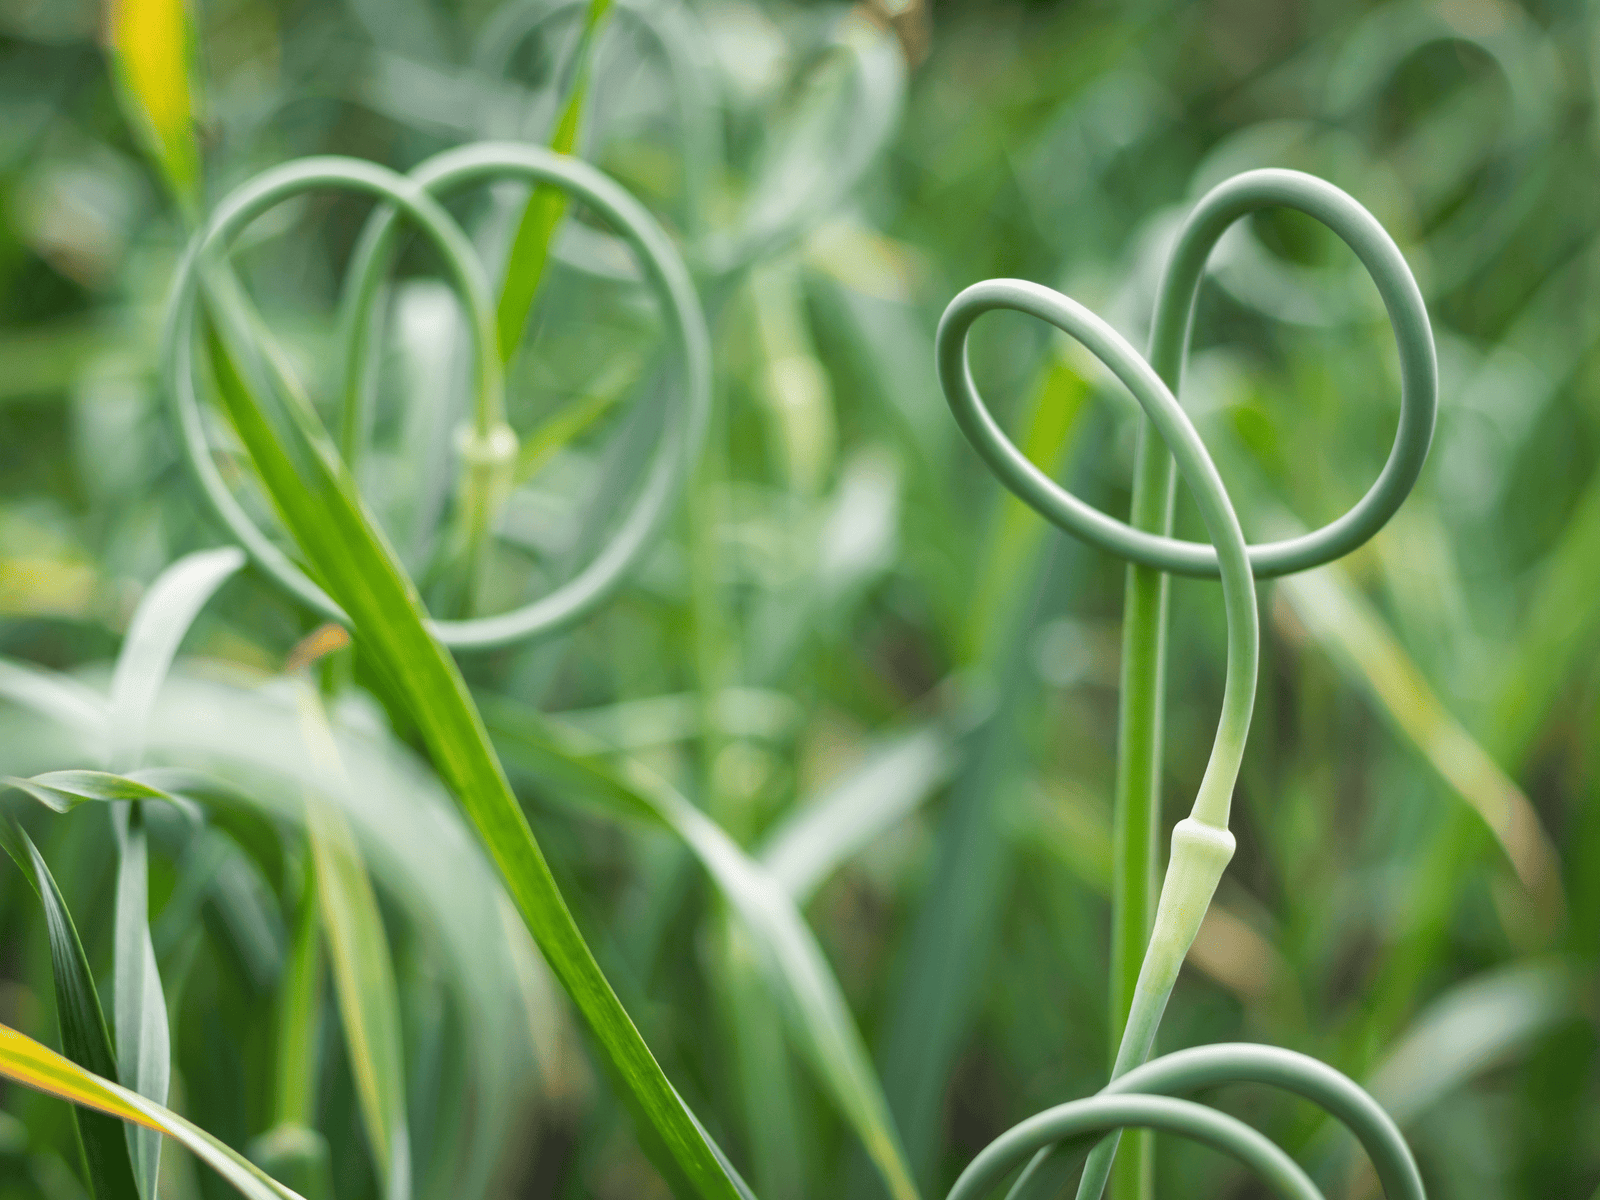
Hardneck garlic produces a curly flower stalk called a scape in late spring.
Remove scapes when they make one full curl. This directs energy toward bulb development.
Scapes are edible and taste like mild garlic. Use them in pesto, stir-fries, soups, or grilled dishes.
Common Garlic Pests
Onion maggots
White larvae tunnel into bulbs and cause plants to wilt. Rotate garlic and onions every three years.
Thrips
Tiny insects cause silver streaks on leaves. Spray with water or use insecticidal soap.
Bulb mites
Microscopic mites damage cloves in storage and soil. Plant certified disease-free garlic.
Common Garlic Diseases
White rot
A serious fungal disease that causes yellow leaves and white growth around bulbs.
White rot can survive in soil for many years. Do not plant garlic or onions in infected soil.
Rust
Orange spots develop on leaves during cool wet weather. Improve airflow and avoid overhead watering.
Basal rot
Bulbs rot from the bottom. Improve drainage and rotate crops.
Why Garlic Leaves Turn Yellow
Yellowing lower leaves near harvest is normal.
Early yellowing can result from:
- Nitrogen deficiency
- Overwatering
- Root rot
- Cold damage
- Onion maggots
Check timing and root-zone moisture before adding fertilizer.
Growing Garlic in Containers
Garlic grows well in deep containers.
Use a pot at least 25 centimeters deep and 30 centimeters wide.
Plant four to six cloves per 30-centimeter pot.
Use quality potting mix blended with compost.
Container garlic dries faster than garden beds, so check moisture weekly.
When to Harvest Garlic
Garlic is ready when the lower third of leaves turn brown while the upper leaves remain green.
This usually occurs in June or July.
Do not wait until all leaves are brown. Overmature bulbs split open and store poorly.
How to Harvest Garlic
- Stop watering two weeks before harvest.
- Choose a dry day.
- Loosen soil beside bulbs with a garden fork.
- Lift bulbs gently.
- Do not pull by the leaves.
- Brush off loose soil without washing.
Fresh garlic skins are delicate, so handle bulbs carefully.
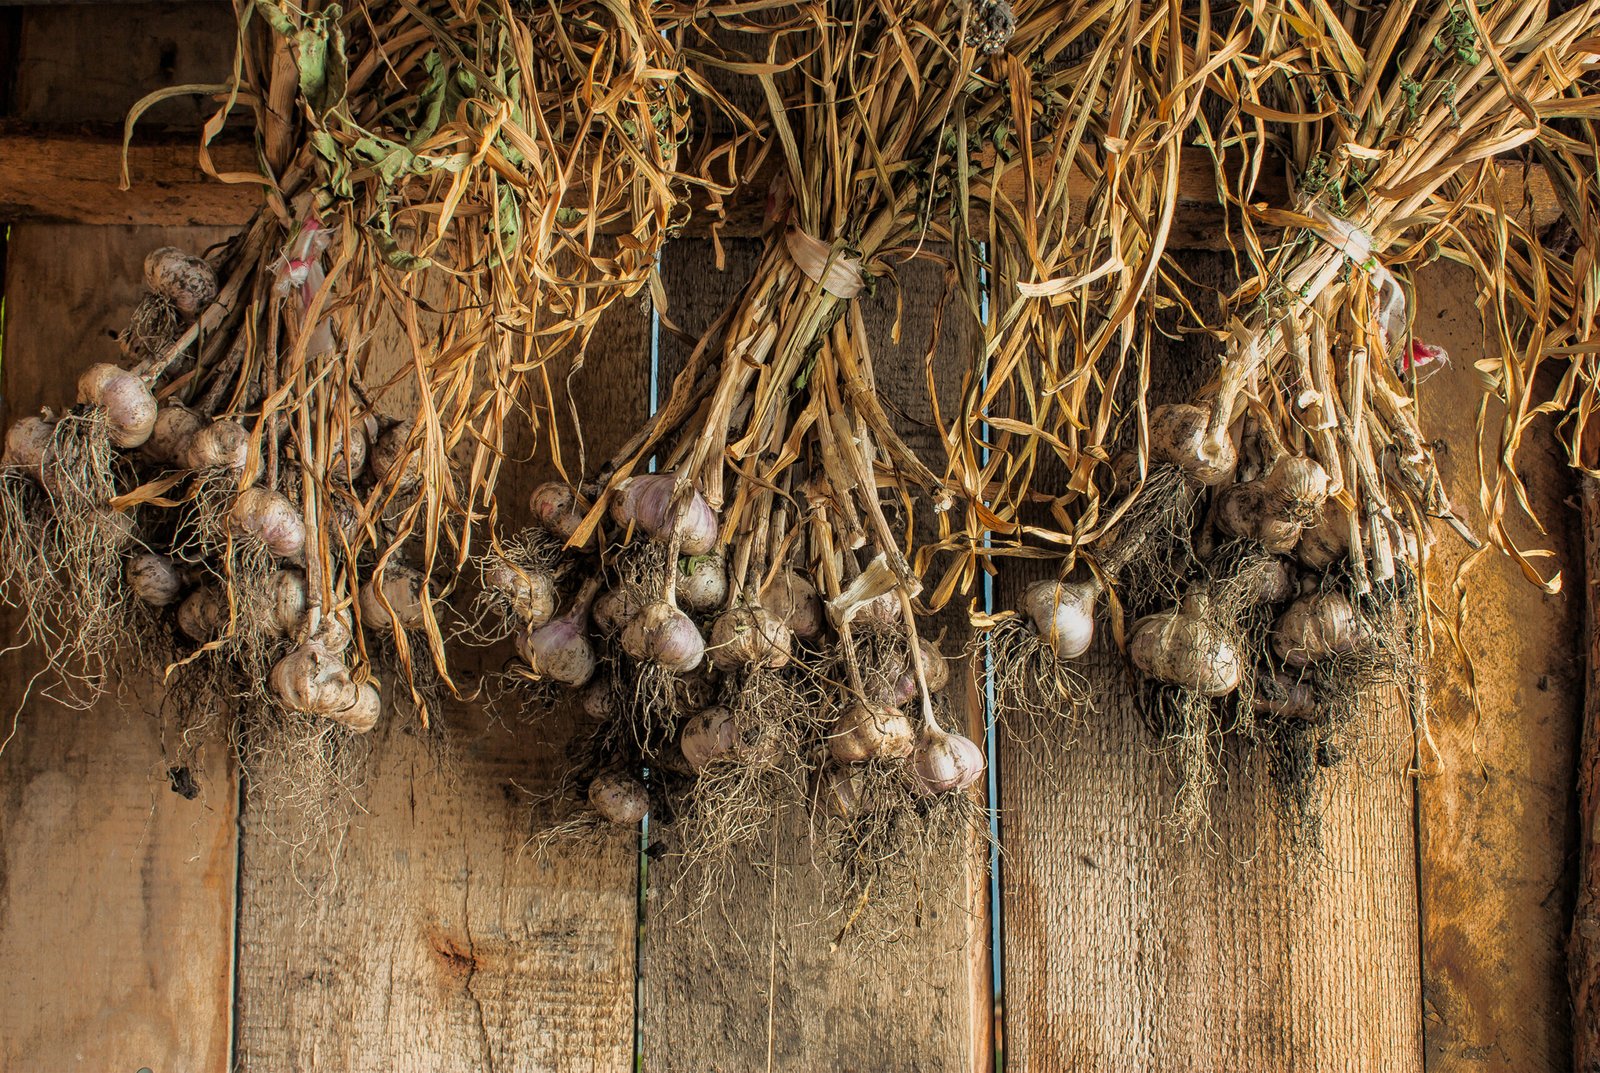
How to Cure Garlic
Curing dries the outer skins and prepares bulbs for storage.
- Tie 8 to 10 plants into bundles.
- Hang in a warm, dry, shaded place.
- Provide good airflow.
- Cure for 2 to 4 weeks.
- Trim roots to 1 centimeter.
- Cut stems 2.5 centimeters above bulbs.
Do not cure garlic in direct sun. Heat damages cloves.
Storing Garlic
Store cured bulbs in a cool, dry, dark location with good airflow.
Ideal temperature is 13–18°C (55–65°F).
Use mesh bags, baskets, or braids. Do not seal garlic in plastic bags.
Hardneck garlic stores four to six months. Softneck lasts eight to twelve months.
Saving Garlic for Next Year
Save the largest, healthiest bulbs from your harvest for planting.
Store them separately and plant in autumn.
Over several years, garlic adapts to local soil and climate, often producing larger bulbs.
Real-World Example: Growing Garlic in a 1.2-Meter Bed
A gardener plants 40 hardneck cloves in a 1.2-by-2.4-meter raised bed in October.
The cloves are spaced 15 centimeters apart and covered with 10 centimeters of straw.
In March, shoots emerge. The gardener applies blood meal and begins weekly watering.
Scapes are cut in May and used in pesto.
By late June, four lower leaves turn brown. The gardener harvests 38 large bulbs, cures them for three weeks, and saves the 10 largest for next season.
Common Garlic-Growing Mistakes
Planting grocery-store garlic
It may be treated to prevent sprouting or unsuitable for your climate.
Using tiny cloves
Small cloves produce small bulbs.
Planting too shallow
Cloves can freeze or heave from soil.
Overwatering before harvest
Wet soil causes bulb rot.
Waiting until all leaves are brown
Overmature bulbs split and store poorly.
Garlic Growing Checklist
- Choose hardneck or softneck type.
- Plant 4–6 weeks before ground freezes.
- Use large healthy cloves.
- Plant 5–10 cm deep.
- Space cloves 15 cm apart.
- Mulch for winter.
- Feed nitrogen in spring.
- Water consistently until June.
- Remove hardneck scapes.
- Harvest when lower third of leaves brown.
- Cure 2–4 weeks.
Frequently Asked Questions
Can I plant garlic in spring?
Yes, but bulbs are smaller because plants have less time to develop.
How deep should garlic be planted?
Plant cloves 5 to 10 centimeters deep, depending on winter severity.
Should I peel garlic cloves before planting?
No. Leave the papery skin on.
Why is my garlic small?
Common causes include late planting, small cloves, poor fertility, crowding, or drought stress.
Can garlic grow in shade?
It needs at least six hours of sun for large bulbs.
When should I stop watering garlic?
Stop two to three weeks before harvest when the lower leaves begin yellowing.
Seed Garlic vs. Grocery Garlic: Make the Choice Deliberately
Grocery-store garlic can sprout, but it gives you less information about variety, disease status, and climate adaptation. Certified seed garlic costs more because it is sold specifically for planting and is usually labeled by type. For a first crop, that reliability is useful.
If you do experiment with grocery garlic, choose firm untreated bulbs and keep that trial separate from your main planting. Do not plant cloves showing mold, basal damage, or unexplained discoloration. Saving money on planting stock is not worthwhile if a serious bulb disease is introduced to a permanent bed.
Understand the Cold Requirement
Garlic needs a period of cool conditions to divide properly into cloves. Hardneck varieties generally require more winter cold than softneck types. In warm-winter regions, gardeners sometimes pre-chill suitable seed garlic in a refrigerator before planting, but the timing and temperature should follow regional extension guidance and the supplier’s advice.
Do not freeze seed garlic, and do not store it beside fruits that produce high levels of ethylene if your supplier warns against it. The better solution is usually to buy a type proven in your climate.
Manage Winter Mulch in Spring
A deep winter mulch protects cloves from freeze-thaw cycles, but the same thick layer can slow soil warming in spring. Once severe freezes are unlikely, inspect the bed and loosen or reduce compacted mulch. Do not remove every piece if the soil is already drying rapidly.
Watch how shoots emerge. If leaves are trapped beneath wet matted material, gently open the mulch around them. Later in spring, a thinner layer helps conserve moisture and suppress weeds without burying the plants.
Use Leaf Count as a Harvest Clue
Each remaining green leaf corresponds roughly to a protective wrapper layer around the bulb. That is why harvesting while several leaves are still green matters. If you wait until every leaf is dead, the wrappers can deteriorate and cloves may separate in the soil.
Do not rely on a calendar date alone. Dig one test bulb when the lower leaves have browned. If cloves are well defined and the bulb has reached useful size, begin harvesting. If the bulb is still smooth and undeveloped, wait a little longer and check again.
Build a Better Curing Area
Curing needs airflow more than heat. A shaded porch, open shed, garage with good ventilation, or covered rack can work. Spread bulbs in a single layer or hang small bundles so air reaches all sides. Avoid a hot closed vehicle, direct afternoon sun, or a damp basement.
Do not wash harvested garlic before curing. Brush away loose dry soil after the outer skins have dried. Any bulb that was cut, bruised, or soft should be used first rather than stored with the best bulbs.
Save Planting Stock From the Best Bulbs
Choose planting bulbs at harvest time, not after months of storage when the best ones may have been eaten. Select large, healthy bulbs with complete wrappers and no disease symptoms. Label the variety and keep these bulbs separate.
At planting time, divide only the bulbs you need and plant the largest cloves. This creates a simple selection cycle: the plants that performed best in your garden become next year’s starting material.
Rotate Garlic With Unrelated Crops
Garlic shares pests and diseases with onions, leeks, shallots, and other alliums. If a bed develops white rot, basal rot, or repeated onion-maggot problems, moving garlic only a few centimeters within the same area will not help.
Rotate with unrelated vegetable families when space allows, and keep records of where alliums were grown. Rotation cannot eliminate every soilborne disease, but it reduces repeated buildup of many common problems.
Conclusion: Plant in Autumn, Harvest in Summer
Garlic rewards patience. Start with large healthy cloves, plant in loose soil before winter, and protect the bed with mulch.
Feed plants during rapid spring growth, keep weeds controlled, and water consistently until bulbs begin maturing.
Harvest when the lower third of leaves turn brown, then cure bulbs for several weeks. With proper storage, one autumn planting can supply garlic for most of the following year.