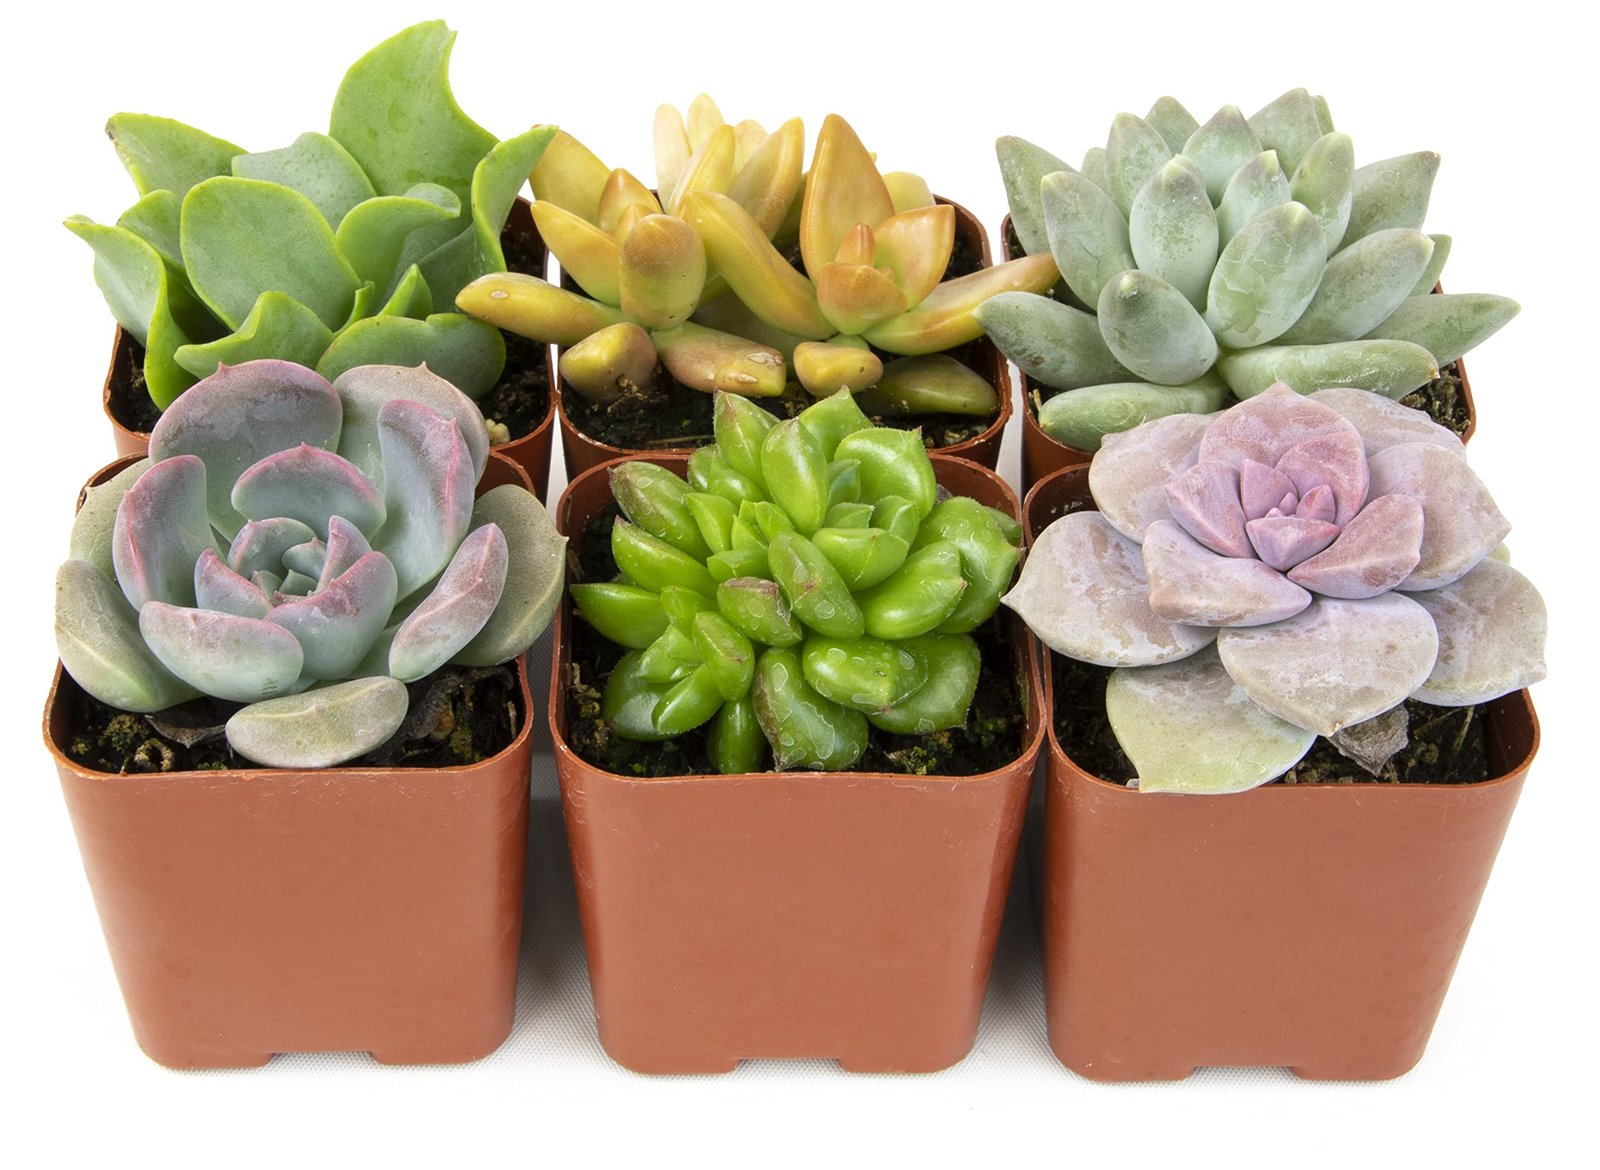
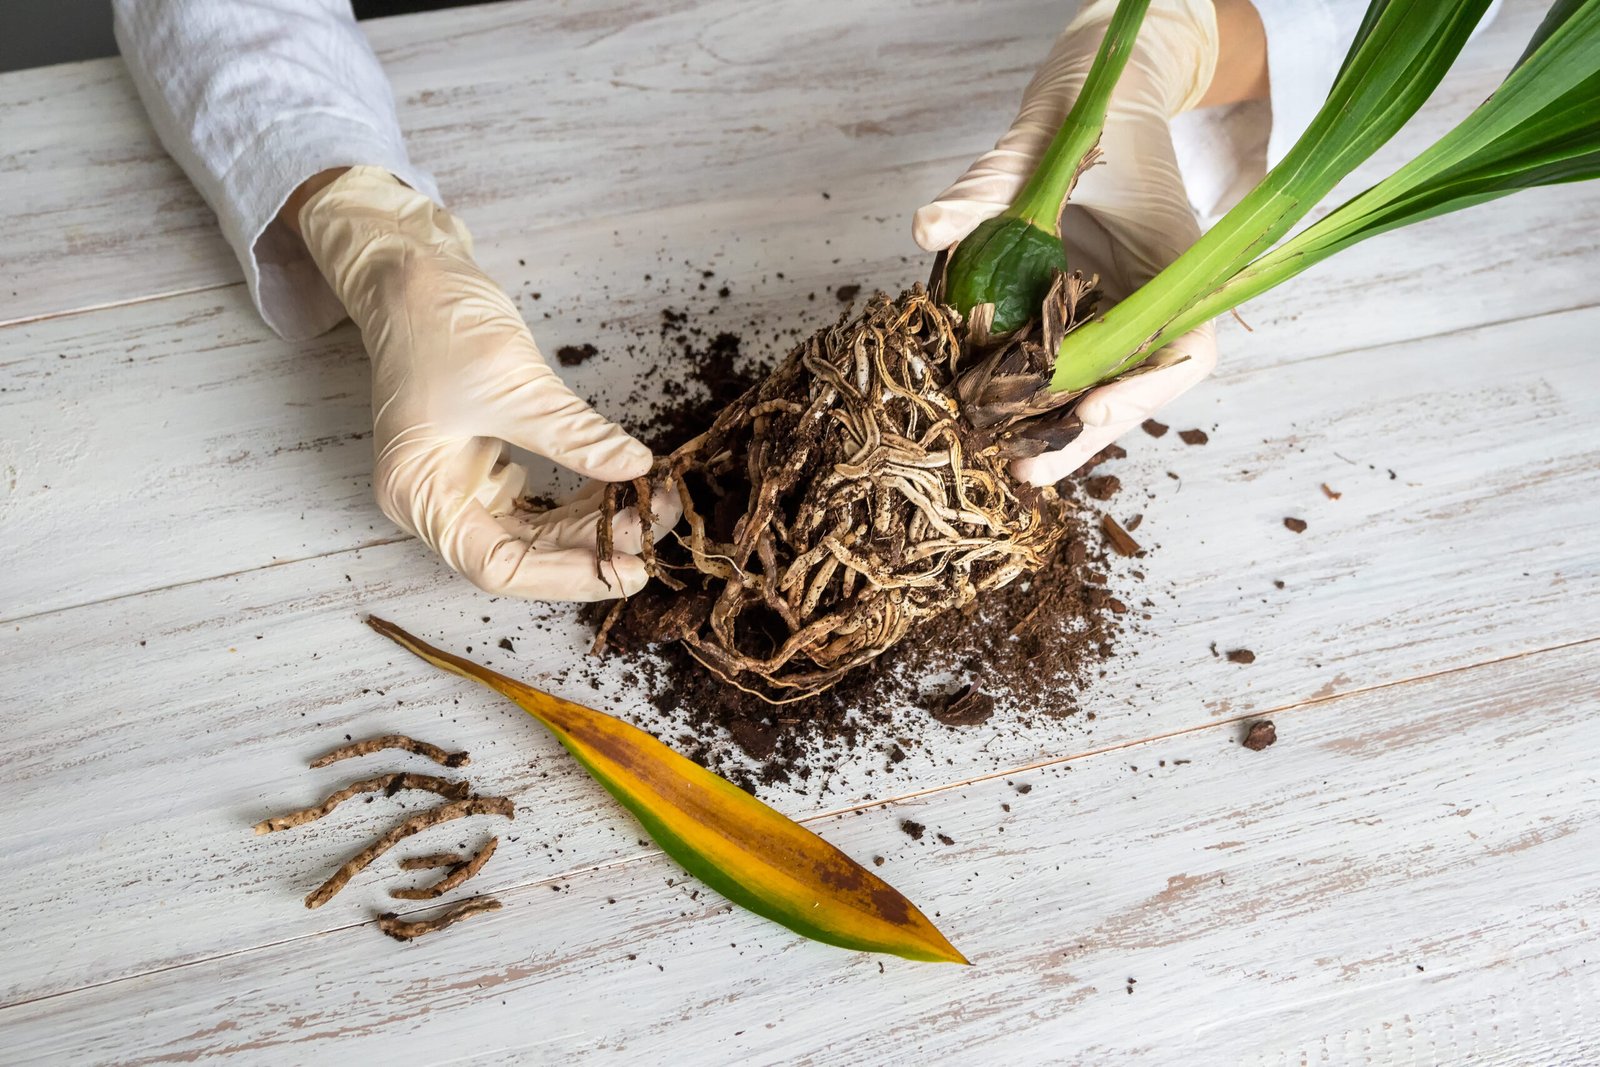
A houseplant can look thirsty even when its pot is full of wet soil. Leaves droop, growth slows, and lower foliage turns yellow. The natural reaction is often to add more water. If the roots are already damaged, that can make the problem worse.
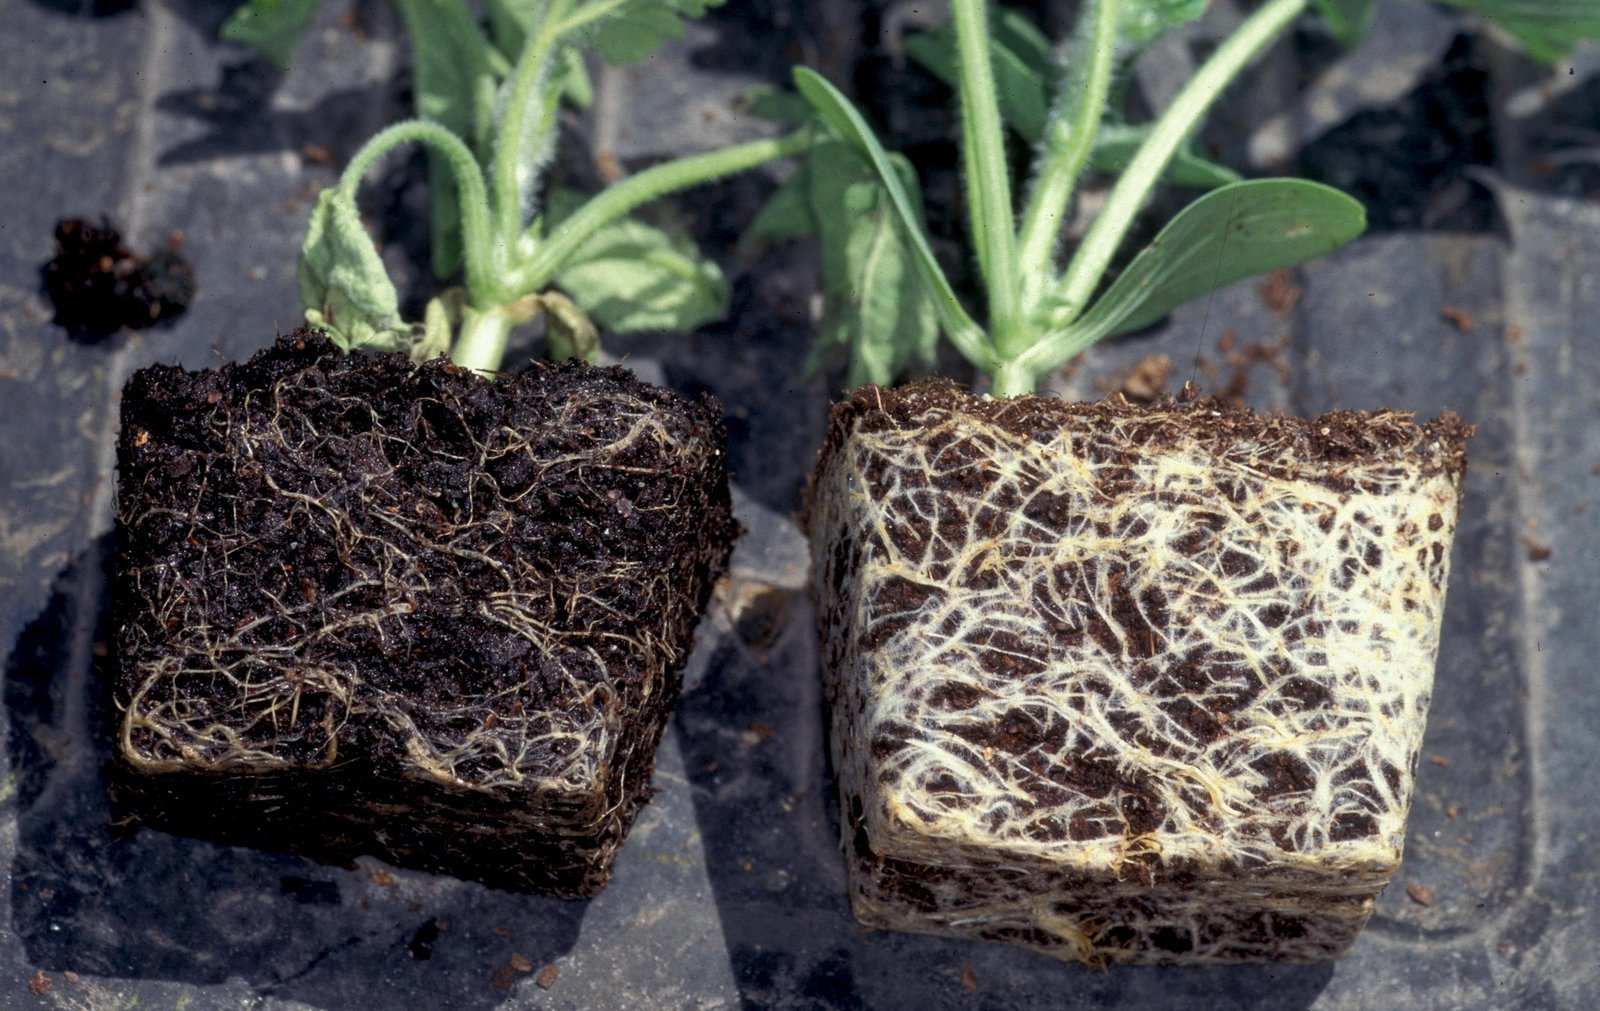
Root rot is not one single disease. It is a general term used when roots die and decay, often after prolonged wet conditions reduce oxygen around them and create an environment where harmful organisms can spread. The result is the same from the plant’s point of view: fewer healthy roots are available to absorb water and nutrients.
This guide explains how to recognize root rot in houseplants, how to inspect roots without causing unnecessary damage, how to repot a plant with a realistic chance of recovery, and how to prevent the conditions that caused the problem in the first place.
What Healthy Houseplant Roots Look Like
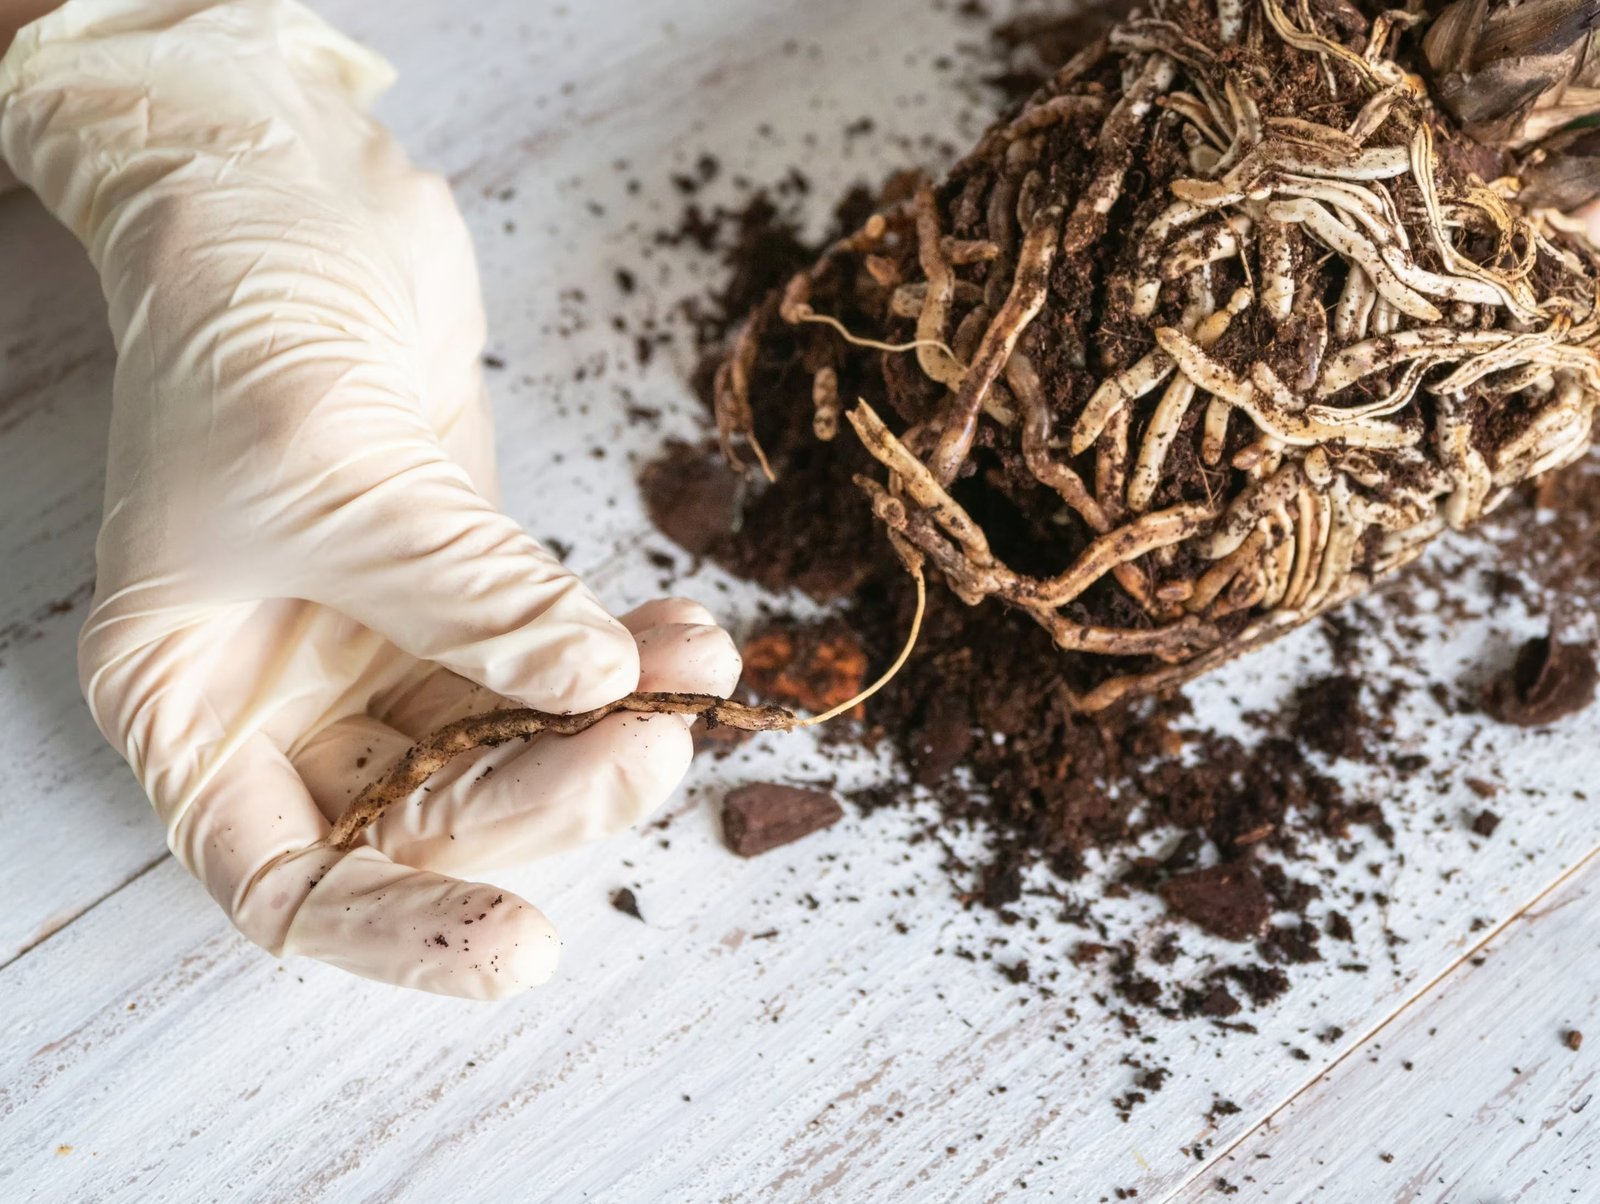
Healthy roots vary by species, but they are usually firm rather than mushy. Many are white, cream, tan, or light brown. Older roots may naturally become darker without being rotten.
Do not diagnose root rot by color alone. Texture and smell matter more. Healthy roots feel solid. Rotten roots are often soft, slimy, hollow, or easy to pull apart. Severely rotted roots may smell sour or unpleasant.
Common Signs of Root Rot Above the Soil
- Leaves wilt while the potting mix is still wet.
- Lower leaves turn yellow and drop.
- Growth stops during a normally active period.
- Stems near the soil line become soft or dark.
- The plant stays wet for much longer than it used to.
- Fungus gnats become common around constantly damp soil.
- A plant that used to need weekly watering now remains wet for two weeks or more.
These signs can have other causes. Low light, cold temperatures, nutrient problems, pests, and natural leaf aging can look similar. Root inspection gives the clearest answer.
Why Overwatering Is About Frequency and Drainage, Not Just Volume
“Overwatering” is often misunderstood as giving too much water at one time. In a pot with good drainage, watering thoroughly and letting excess drain is usually better than adding tiny amounts.
The real problem is often watering again before the root zone has dried enough for that plant. Other factors can keep the mix wet even when your watering schedule has not changed:
- Low winter light
- Cool room temperature
- An oversized pot
- Dense or broken-down potting mix
- A decorative cachepot holding drainage water
- A blocked drainage hole
- Reduced root mass after stress
Step 1: Stop Watering and Check the Pot
If the plant is wilting in wet soil, do not add more water automatically. Lift the inner pot out of any decorative cover and check whether water is standing at the bottom.
Make sure drainage holes are open. Smell the soil near the bottom if possible. A sour smell is a warning sign.
If the potting mix is only slightly damp and the plant otherwise looks stable, let it dry and monitor. If the soil is saturated and the plant is declining quickly, inspect the roots.
Step 2: Remove the Plant From the Pot Carefully
Work over a tray or sink. Support the base of the plant and slide the root ball out. If roots are stuck, squeeze a flexible pot or run a blunt tool around the inside edge rather than pulling hard on the stems.
Do not wash all soil away immediately. First look at the outer root ball. Note whether roots are firm, whether the bottom smells bad, and whether the mix is waterlogged.
Step 3: Separate Healthy Roots From Rotten Roots
| Feature | Healthy Root | Rotten Root |
|---|---|---|
| Texture | Firm | Soft, slimy, hollow |
| Smell | Earthy or neutral | Sour or decaying |
| Outer layer | Stays intact | May slide off easily |
| Color | White, tan, brown depending on plant | Often dark brown or black, but not always |
Use texture as the main guide. Some healthy roots are naturally dark.
Step 4: Trim Only Clearly Damaged Roots
Use clean scissors or pruners. Cut away roots that are unmistakably mushy, hollow, or decayed. Keep as much firm root tissue as possible.
Clean the tool between major cuts if the rot is severe. Discard badly contaminated old potting mix rather than saving it for another houseplant.
If nearly all roots are gone, recovery becomes uncertain. At that point, consider taking healthy stem cuttings if the species can be propagated that way.
Step 5: Choose a Pot That Matches the Remaining Roots
After root loss, the old pot may be too large. A small root system surrounded by a huge volume of wet potting mix dries slowly.
Choose a clean pot with drainage holes that is only slightly larger than the remaining healthy root mass. You can reuse the old pot if it is appropriately sized and thoroughly cleaned.
Step 6: Use Fresh, Airy Potting Mix
Use a mix suitable for the plant type. A tropical foliage plant, orchid, cactus, and African violet do not need the same substrate.
For many common foliage plants, a high-quality potting mix amended with coarse material such as perlite or bark can improve airflow. Do not add random materials without understanding how they affect water retention.
The Royal Horticultural Society houseplant growing guide emphasizes matching compost, light, temperature, and watering to the plant rather than using one routine for every houseplant.
Step 7: Repot at the Correct Depth
Place the plant at roughly the same depth it grew before unless species-specific guidance says otherwise. Do not bury the crown or stem simply because roots were removed.
Fill around the roots gently. Do not compress the mix hard. Lightly tap the pot to settle it and remove large air pockets.
Should You Water Immediately After Root-Rot Repotting?
This depends on how wet the roots were, how much root tissue was removed, and the plant type. For many tropical foliage plants, lightly moist fresh mix is useful, but you do not want to saturate the pot again.
If the new mix is already evenly moist, you may not need a full watering immediately. Succulents and cacti often benefit from a short dry recovery after damaged roots are trimmed.
Use plant-specific guidance when the species has special needs.
Step 8: Give the Plant Stable Recovery Conditions
A recovering plant needs light for photosynthesis, but not intense stress. Place it in bright indirect light appropriate for the species.
Avoid:
- Hot direct sun after repotting
- Cold drafts
- Heavy fertilizer
- Repeated moving
- Constantly wet soil
Let the plant focus on rebuilding roots.
Do Not Fertilize a Severely Stressed Plant
Fertilizer does not repair rotten roots. A damaged root system may be more sensitive to salts. Wait until you see stable new growth and the plant is using water normally again.
When you restart feeding, use the normal product rate for that plant or a lower concentration if appropriate.
How to Water After Root Rot
Throw away the old schedule. The root system is smaller now, so the plant may use water more slowly.
Check the potting mix before each watering. Depending on the plant, let the upper layer or a larger portion of the pot dry before watering again.
When it is time, water thoroughly enough that excess drains from the bottom, then empty the saucer or cachepot.
Why Root Rot Often Returns
Repotting only works if you fix the original conditions.
Pot too large
Large volumes of unused mix remain wet longer.
Low light
Plants use less water in low light. Move the plant to a brighter suitable location rather than keeping the same watering frequency.
Cachepot holds water
Always empty standing water after irrigation.
Dense old mix
Potting mix breaks down over time and may become compacted.
Watering by calendar
A weekly schedule ignores seasonal changes in plant water use.
Root Rot vs Simple Thirst
A thirsty plant in dry soil may wilt because roots cannot access enough water. A root-rotted plant may wilt because damaged roots cannot absorb water even though the soil is wet.
The key difference is soil moisture. Always check the root zone before reacting to wilt.
Root Rot vs Natural Yellow Leaves
One older lower leaf turning yellow is not an emergency. Plants regularly shed old foliage.
Root problems become more likely when several leaves yellow while the soil remains wet, growth slows, and the root ball smells or feels unhealthy.
Real-World Example: Saving an Overwatered Monstera
A monstera has been watered every Sunday for months. In summer it grew well, but in winter the room became darker and cooler. The owner continued the same schedule.
After several weeks, two lower leaves yellow and the plant wilts. The soil is still wet nine days after watering.
The owner removes the plant from its cachepot and finds standing water. Several outer roots are black and soft.
- They trim only the mushy roots.
- They clean the original nursery pot.
- They repot in a fresh airy mix.
- They move the plant closer to a bright window with indirect light.
- They stop watering by weekday and check the mix instead.
- They wait for new growth before fertilizing.
The plant loses one more old leaf but produces a new leaf several weeks later. Recovery is gradual, not immediate.
Can Hydrogen Peroxide Cure Root Rot?
Hydrogen peroxide is often recommended online, but it is not a complete solution. Strong concentrations can damage living root tissue. The essential treatment is removing clearly rotten roots, improving drainage, using clean mix, and fixing watering conditions.
If you use any chemical treatment, follow a reliable horticultural source and product directions. Do not assume household mixtures are harmless to roots.
What About Cinnamon?
Cinnamon is another common internet remedy. It may have some antimicrobial properties, but sprinkling cinnamon on roots does not replace proper drainage and sanitation.
Focus first on the conditions that caused the rot.
How to Prevent Root Rot
- Use pots with drainage holes.
- Empty saucers and cachepots after watering.
- Choose a pot size that matches the root system.
- Use a potting mix suited to the plant.
- Adjust watering with season and light.
- Check soil before watering.
- Give the plant appropriate light.
- Repot when mix becomes badly compacted.
- Do not leave roots standing in water.
- Quarantine new plants if disease or pests are suspected.
When the Plant Is Too Far Gone
If the entire root system is mushy and the stem base is black or collapsing, the plant may not recover as a whole.
Look for healthy upper stems. If the species propagates from cuttings, cut above the damaged tissue and start new plants from healthy nodes.
Discard severely diseased material and clean the pot before reuse.
Root-Rot Rescue Checklist
- Confirm the soil is staying abnormally wet.
- Remove the plant from its pot.
- Inspect root texture and smell.
- Trim only rotten roots.
- Use a clean, correctly sized pot.
- Repot in fresh appropriate mix.
- Provide stable light and temperature.
- Delay fertilizer.
- Water based on actual moisture.
- Watch for new root and leaf growth.
Frequently Asked Questions
Can a plant recover from root rot?
Yes, if enough healthy roots or propagatable stem tissue remain. Recovery depends on how advanced the damage is and whether the wet conditions are corrected.
Should I cut off yellow leaves?
Fully yellow leaves will not turn green again. You can remove them once they are mostly yellow, but do not strip off healthy leaves during recovery.
How long does recovery take?
It can take several weeks or longer. Root growth usually happens before dramatic new top growth.
Can root rot spread to other plants?
Some pathogens can spread through contaminated tools, shared water, or reused potting mix. Clean tools and do not reuse suspect soil.
Should I wash all soil from the roots?
Only if necessary to identify severe rot. Aggressive washing can damage fine healthy roots. Remove enough mix to see and trim affected areas.
Can I reuse the same pot?
Yes, if it is the right size and you clean and disinfect it appropriately before repotting.
Conclusion: Fix the Conditions, Not Just the Roots
Root rot is usually the result of a root zone staying wet and airless for too long. The rescue process starts by inspecting the roots, removing clearly decayed tissue, and repotting into fresh mix with good drainage.
The long-term solution is more important. Match pot size to the roots, give the plant suitable light, empty standing water, and stop watering by calendar.
A recovering houseplant may look worse before it looks better because damaged leaves cannot repair themselves. Watch for firmer growth, normal water use, and new leaves. Those are better signs of recovery than expecting the old foliage to become perfect again.