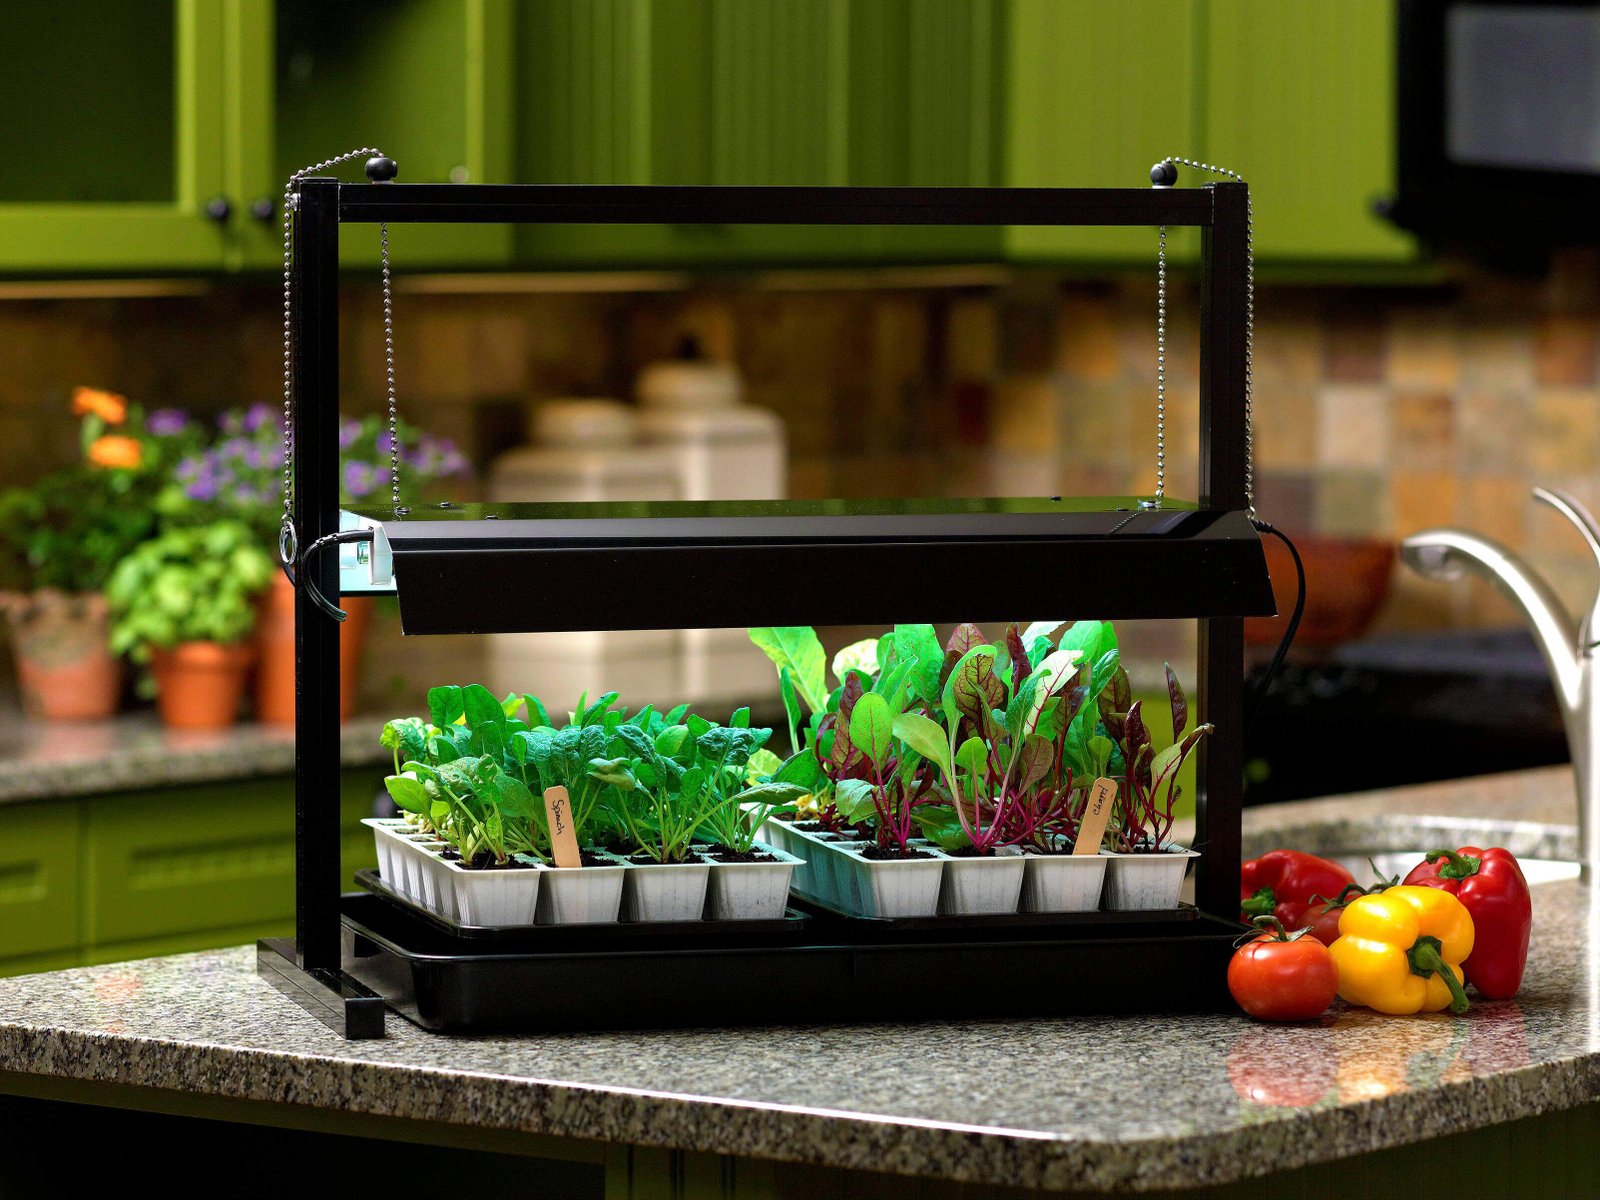
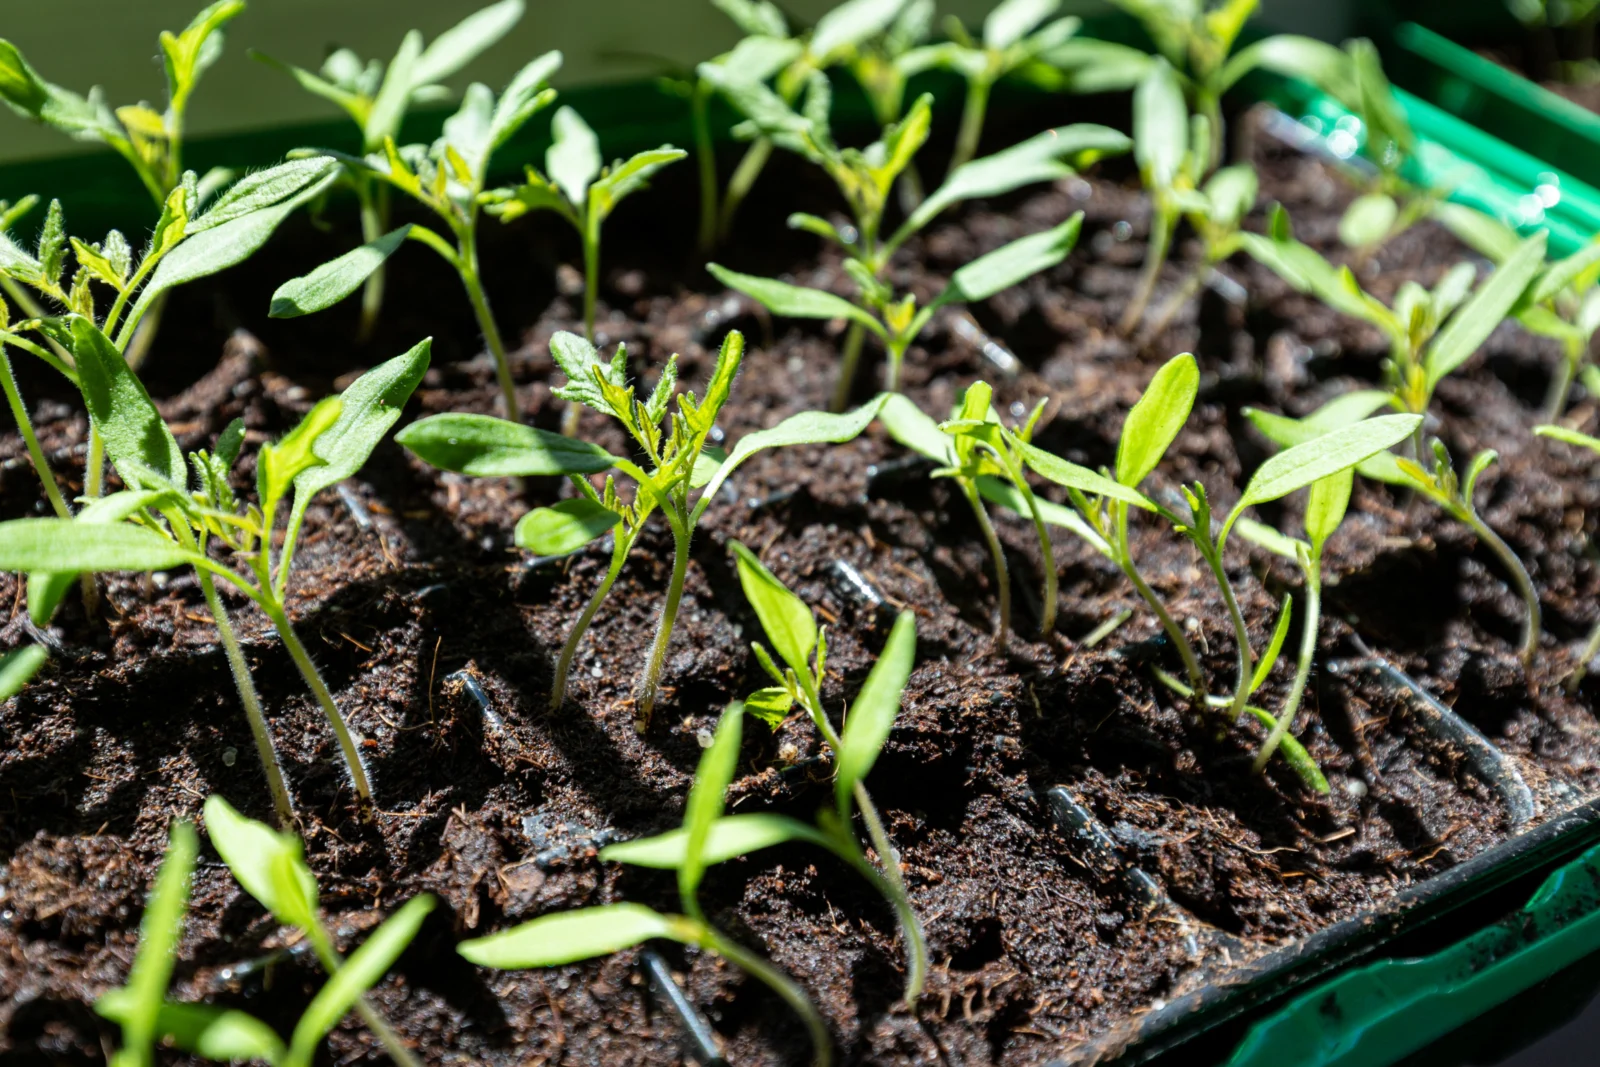
Starting seeds indoors gives you more control over the first weeks of a plant’s life. You can begin warm-season crops before outdoor soil is ready, grow varieties that local nurseries may not carry, and protect young seedlings from cold, heavy rain, slugs, and sudden weather changes.
The difficult part is not getting a seed to sprout. The difficult part is raising a compact, healthy seedling that can survive the move outdoors. Weak light, excess water, cold potting mix, crowded cells, and a rushed transplant can turn a promising tray into stretched or stressed plants.
This guide explains how to start seeds indoors step by step, how to know when seedlings need more space, and how to harden off seedlings before planting them in the garden. The process is simple when you manage four things well: timing, light, moisture, and gradual change.
Which Seeds Are Worth Starting Indoors?
Indoor seed starting is most useful for crops and flowers that need a long growing season or benefit from being transplanted. Tomatoes, peppers, eggplants, many brassicas, and numerous annual flowers are common examples.
Some plants are usually easier to sow directly outdoors because they grow fast or dislike root disturbance. Carrots, radishes, peas, beans, and many root crops often fall into this group, though local climate and growing method can change the choice.
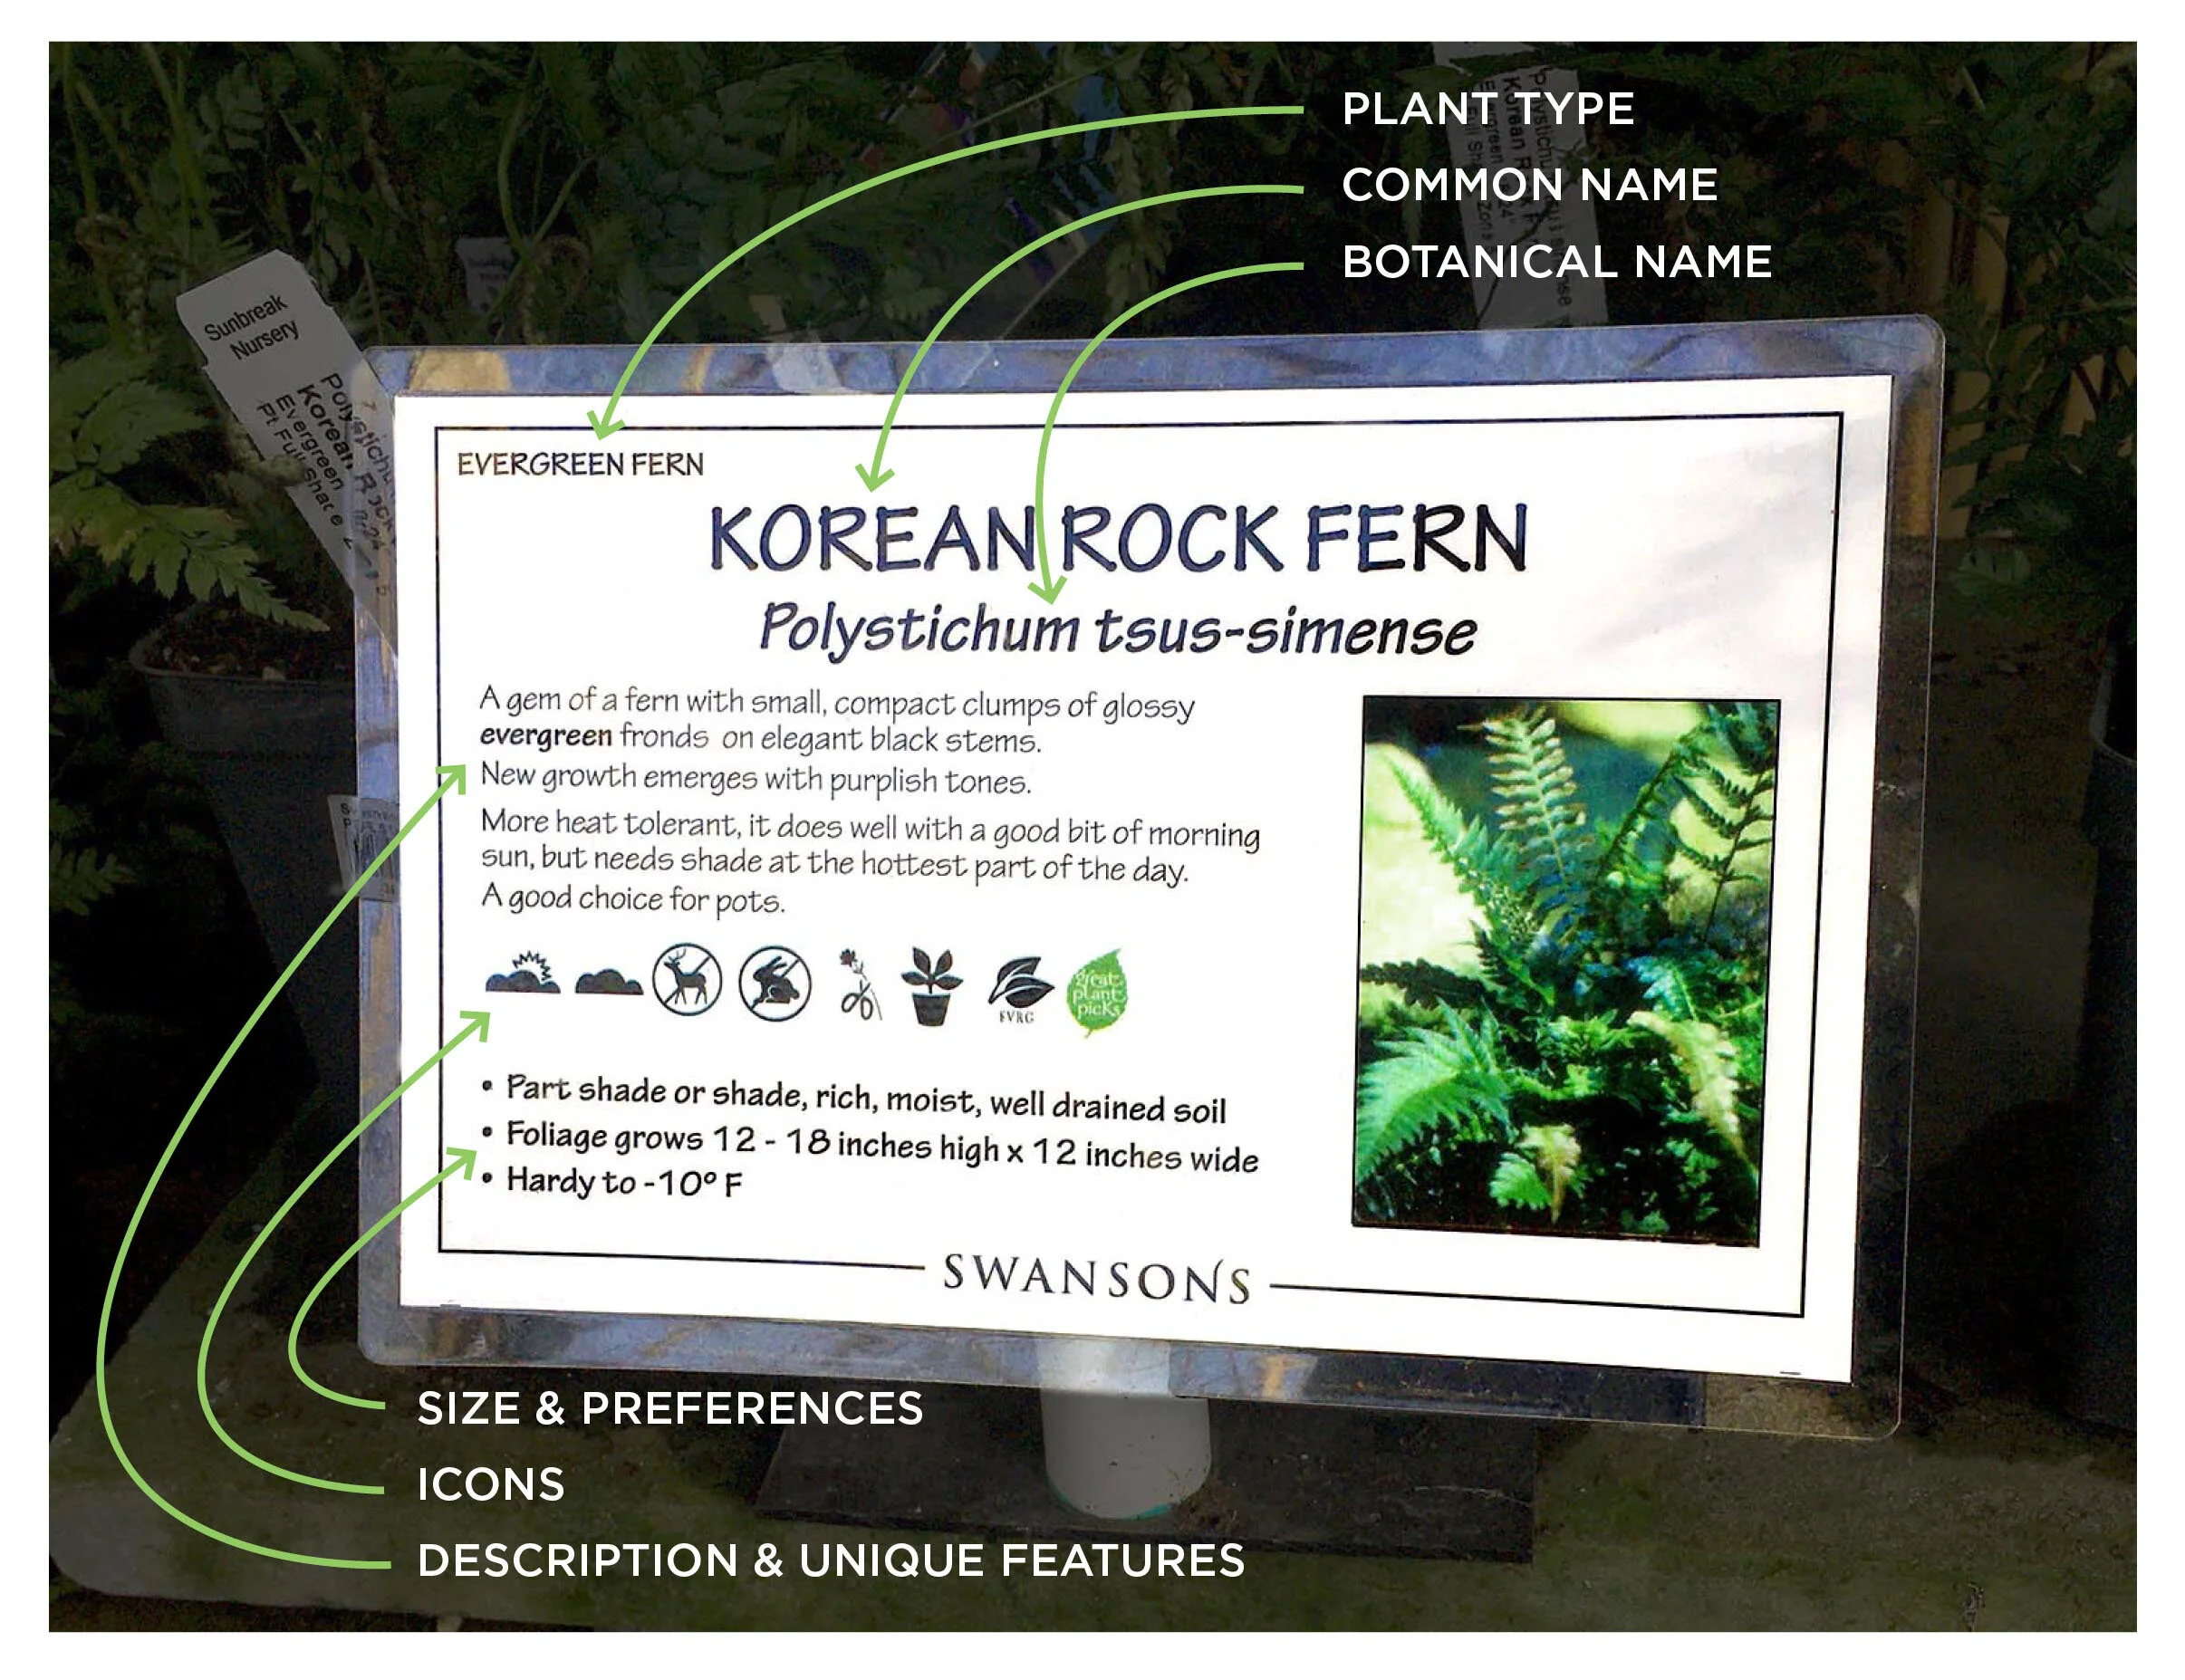
Always read the seed packet. A good packet tells you whether indoor sowing is recommended, how deeply to sow, expected germination time, and when to transplant.
Step 1: Work Backward From Your Planting Date
Starting too early can be as troublesome as starting too late. A seedling kept indoors for too long may become root-bound, tall, and difficult to manage.
First estimate the safe outdoor planting period for the crop. Then count backward using the seed packet recommendation. A packet that says “start indoors 6 to 8 weeks before the last expected frost” gives you a practical window rather than one exact day.
If you garden in the United States, the USDA Plant Hardiness Zone Map helps describe average extreme winter temperatures, but it does not provide your exact last frost date. Local climate records and extension guidance are better for frost timing.
Remember that peppers may need an earlier start than fast-growing lettuce. Do not sow every crop on the same weekend only because the seed tray is available.
Step 2: Use a Clean, Fine Seed-Starting Mix
Garden soil is usually too heavy for small indoor containers. It may compact, drain poorly, or contain weed seeds and organisms that become troublesome in warm indoor conditions.
Use a seed-starting mix or a fine, light potting mix designed for germination. It should hold moisture while still allowing air around young roots.
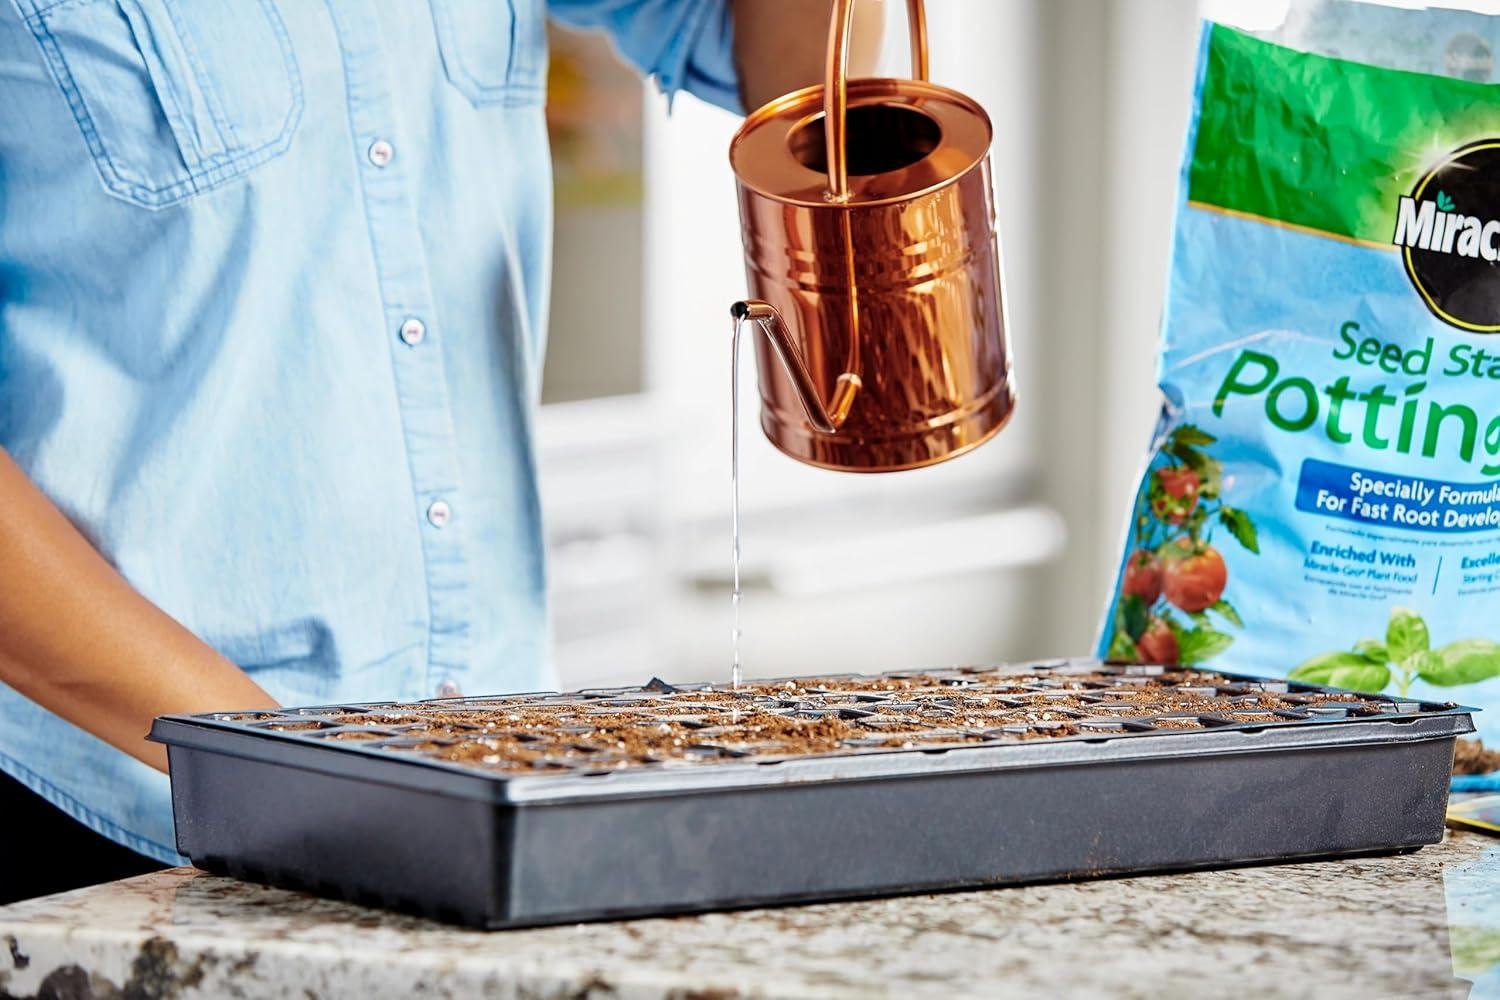
Before filling cells, moisten the mix. It should feel evenly damp but not drip when squeezed. Pre-moistening is easier than trying to saturate dry mix after tiny seeds are already in place.
Step 3: Choose Containers With Drainage
You can use cell trays, small pots, soil blocks, or clean reused containers. Whatever you choose, drainage holes are essential.
- Cell trays save space and make it easy to start many plants.
- Small individual pots reduce root disturbance during transplanting.
- Reusable rigid trays last longer than very thin disposable plastic.
- Reused food containers can work if they are clean and have drainage.
Place containers in a tray that catches drainage water. Do not let the pots sit in standing water for long periods.
Step 4: Sow at the Correct Depth
Seed depth matters. Seeds planted too deeply may use their stored energy before reaching the surface. Seeds left too exposed can dry out.
Follow the packet. A common starting rule is to plant a seed around two to three times as deep as its diameter, but very small seeds may need only a light covering or surface sowing.
Label each tray immediately. Include the variety and sowing date. Do not trust your memory after several trays are growing.
Step 5: Manage Moisture Without Keeping the Mix Soggy
Seeds need moisture to germinate, but saturated mix contains less air. The goal is consistent dampness, not constant wetness.
After sowing, water gently. A fine spray or careful bottom watering can prevent small seeds from being washed out of position. Clear humidity covers can slow drying during germination, but remove or vent them after seedlings emerge so airflow improves.
How to know when to water
Look at the surface color, feel the weight of the tray, and touch the mix. Water before cells become completely dry, but avoid adding water on a rigid schedule.
Step 6: Give Seedlings Strong Light Immediately
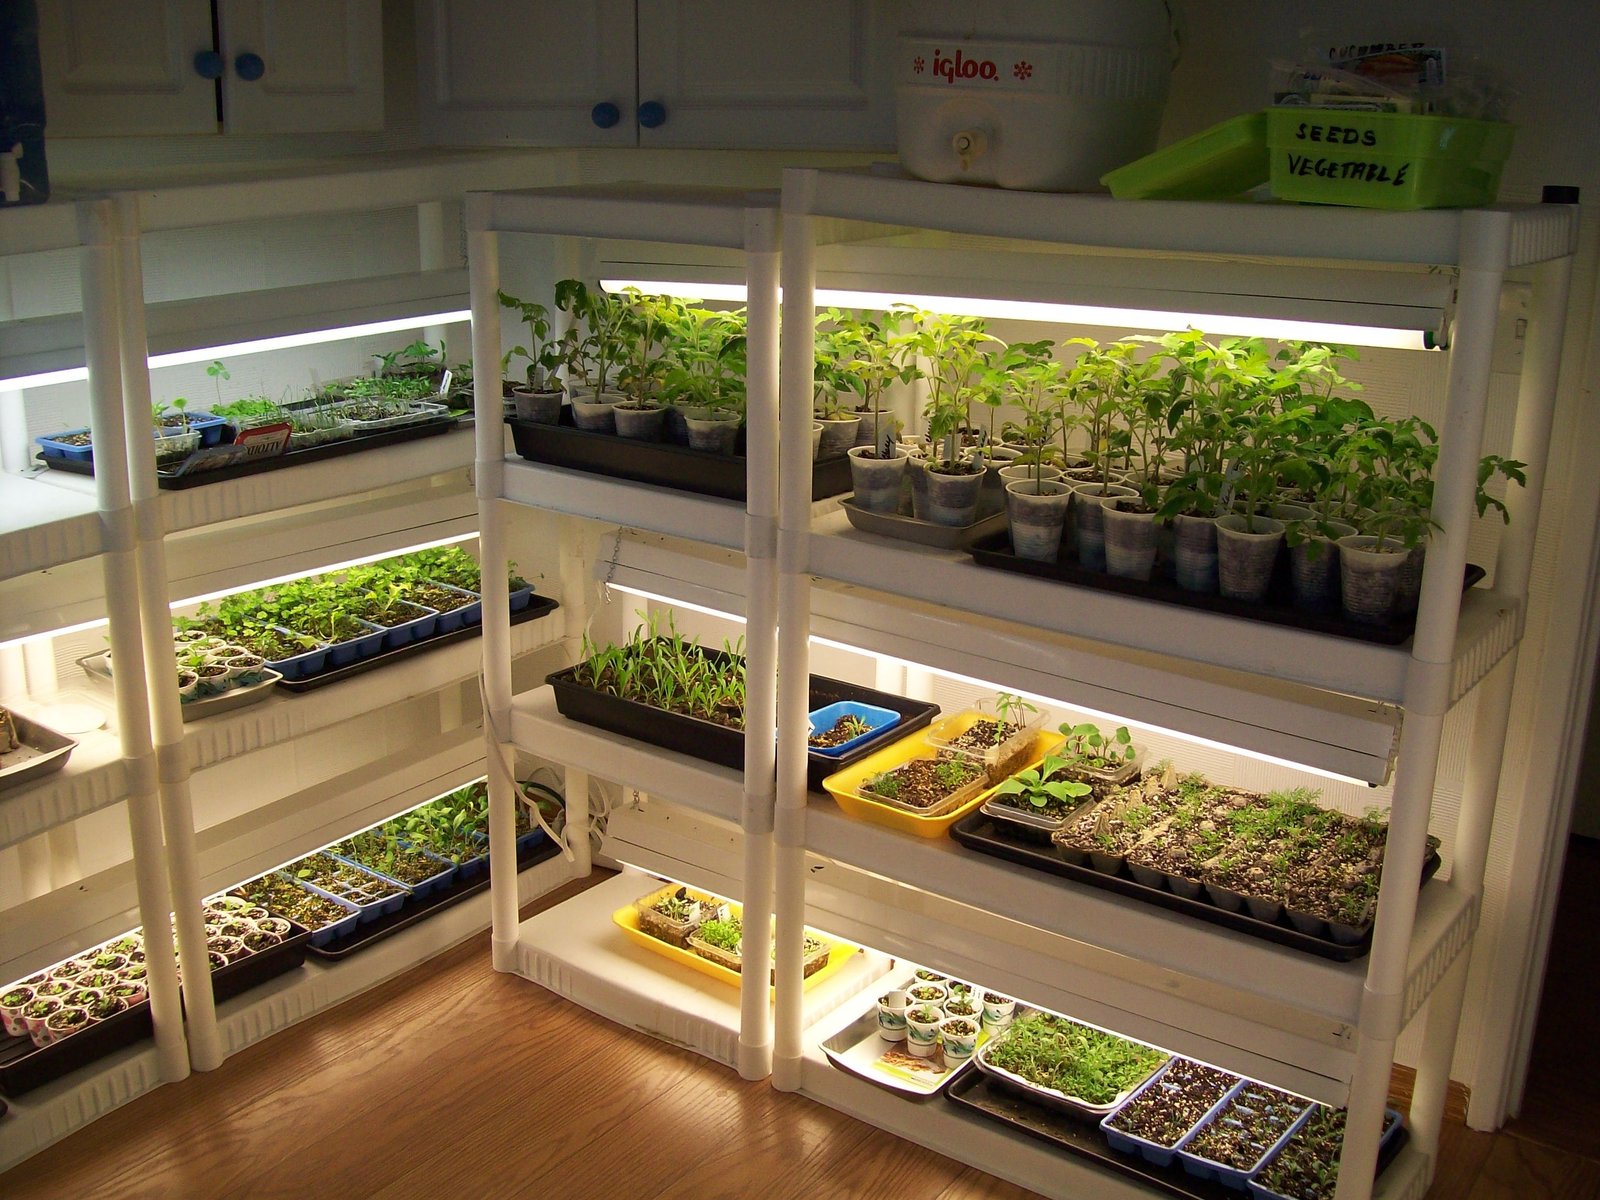
Weak light is one of the most common causes of leggy seedlings. A bright window may look sunny to you but still provide limited light, especially in winter.
If seedlings lean, stretch, develop long thin stems, or fall toward the window, they need stronger or more evenly distributed light.
Grow lights can provide consistent light. Position them according to the manufacturer’s instructions because different fixtures vary in intensity and heat. Raise the fixture as seedlings grow rather than letting leaves touch hot lamps.
A simple timer helps maintain a regular day-night cycle. Seedlings need darkness too; continuous light is not necessary.
Step 7: Keep Temperature Appropriate for the Crop
Warmth affects germination speed. Peppers often germinate better in warmer conditions than cool-season lettuce. Once seedlings emerge, many plants grow better with good light and moderate temperatures rather than excessive warmth.
A heat mat can help with slow, warmth-loving seeds, but it should not automatically remain under every tray for the entire seedling stage. Remove or reduce bottom heat when the crop no longer needs it.
Step 8: Thin Crowded Seedlings Early
If several seedlings grow in one small cell, they compete for light, water, and root space. Keep the strongest one unless the crop is intended to grow in a cluster.
Instead of pulling unwanted seedlings and disturbing roots, snip them at soil level with clean scissors.
Thinning feels wasteful, but one healthy seedling is more useful than four weak plants competing in the same tiny space.
Step 9: Start Gentle Air Movement
Outdoor plants experience moving air. Indoor seedlings often grow in still conditions. Gentle air movement can reduce stagnant humidity and encourage sturdier stems.
A small fan on a low setting can help, but do not blast seedlings continuously at close range. The leaves should move lightly, not whip around.
Good spacing between trays also improves airflow.
When Seedlings Need to Be Potted Up
Seedlings may outgrow small cells before outdoor conditions are safe. Signs include:
- Roots circling densely around the cell.
- The plant dries much faster than before.
- Growth slows despite good light and care.
- Leaves crowd neighboring plants.
- The seedling becomes top-heavy.
Move the plant into a slightly larger container with suitable potting mix. Avoid jumping from a tiny cell into a huge pot because excess unused mix can stay wet for too long.
Feeding Indoor Seedlings
Seed-starting mixes may contain little fertilizer. Once seedlings develop true leaves and are actively growing, they may need light feeding depending on the mix.
Use a fertilizer intended for seedlings or container plants and follow the product label. More is not better. Overfeeding can damage roots and create overly soft growth.
If the mix already contains fertilizer, delay extra feeding until the label or plant growth suggests it is needed.
What Are True Leaves?
The first leaves that appear are often seed leaves, also called cotyledons. They may look very different from the mature plant. True leaves appear next and resemble the normal foliage of the species.
True leaves are a useful sign that the seedling has moved beyond the earliest germination stage. Many thinning, feeding, and potting decisions become easier after they develop.
Hardening Off Seedlings: The Step You Should Not Skip
Indoor seedlings grow in protected conditions. Outdoor life brings stronger sunlight, wind, larger temperature swings, and faster moisture loss. Moving them outside permanently in one step can cause leaf scorch, wilting, or growth shock.
Hardening off means introducing those conditions gradually.
A Practical 7- to 10-Day Hardening-Off Plan
| Day | Exposure | What to Watch |
|---|---|---|
| 1–2 | 1–2 hours in sheltered shade | Wilting, strong wind |
| 3–4 | Several hours, gentle morning sun | Leaf scorch |
| 5–6 | Longer outdoor period | Drying containers |
| 7–8 | Most of the day outdoors | Temperature changes |
| 9–10 | Full normal daytime conditions | Readiness for planting |
This is a framework, not a strict calendar. If weather turns hot, windy, cold, or stormy, slow down. Hardening off is about increasing exposure without causing severe stress.
Start with shade, not full sun
Even sun-loving plants can burn when moved from indoor lights straight into intense outdoor sun. Begin in bright shade or a sheltered position and add direct sun gradually.
Watch water closely
Small pots can dry much faster outdoors because of wind and sun. Check them more often during hardening off.
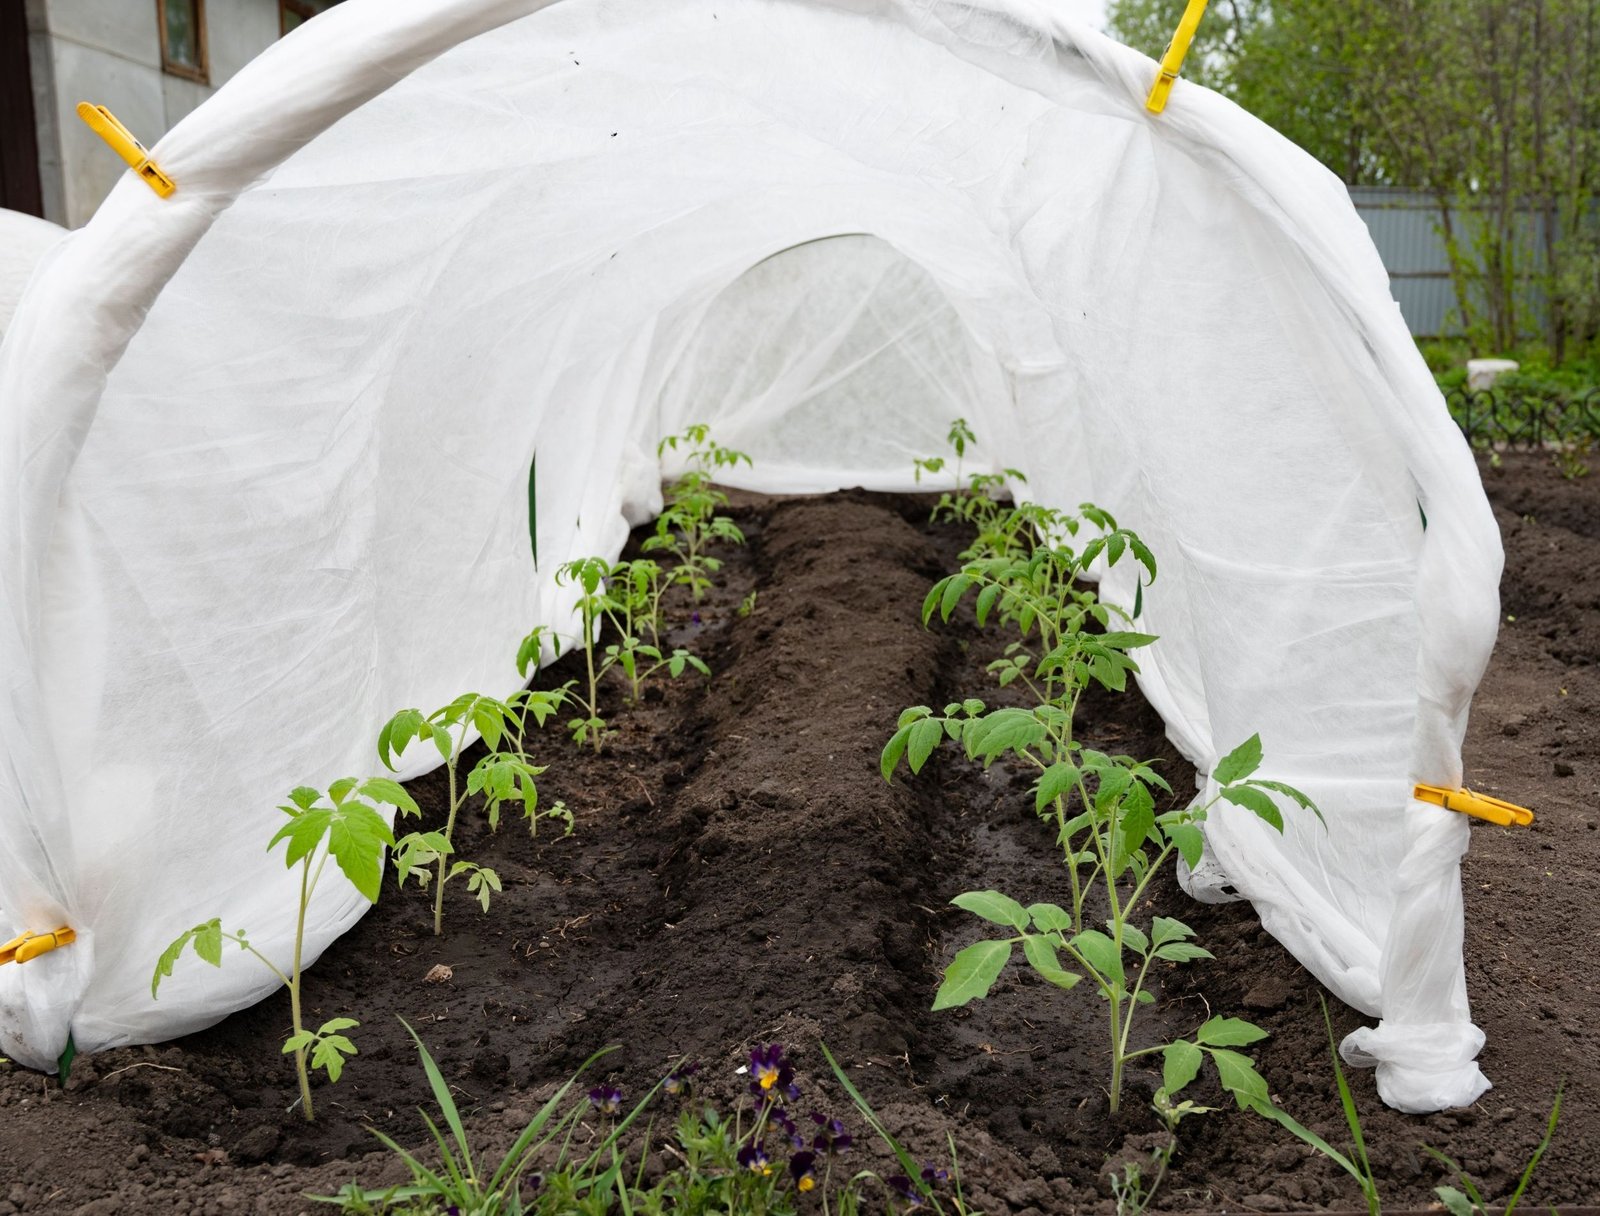
Protect from cold nights
Do not leave warm-season seedlings outdoors overnight if temperatures are below what the crop can tolerate.
How to Transplant Seedlings Into the Garden
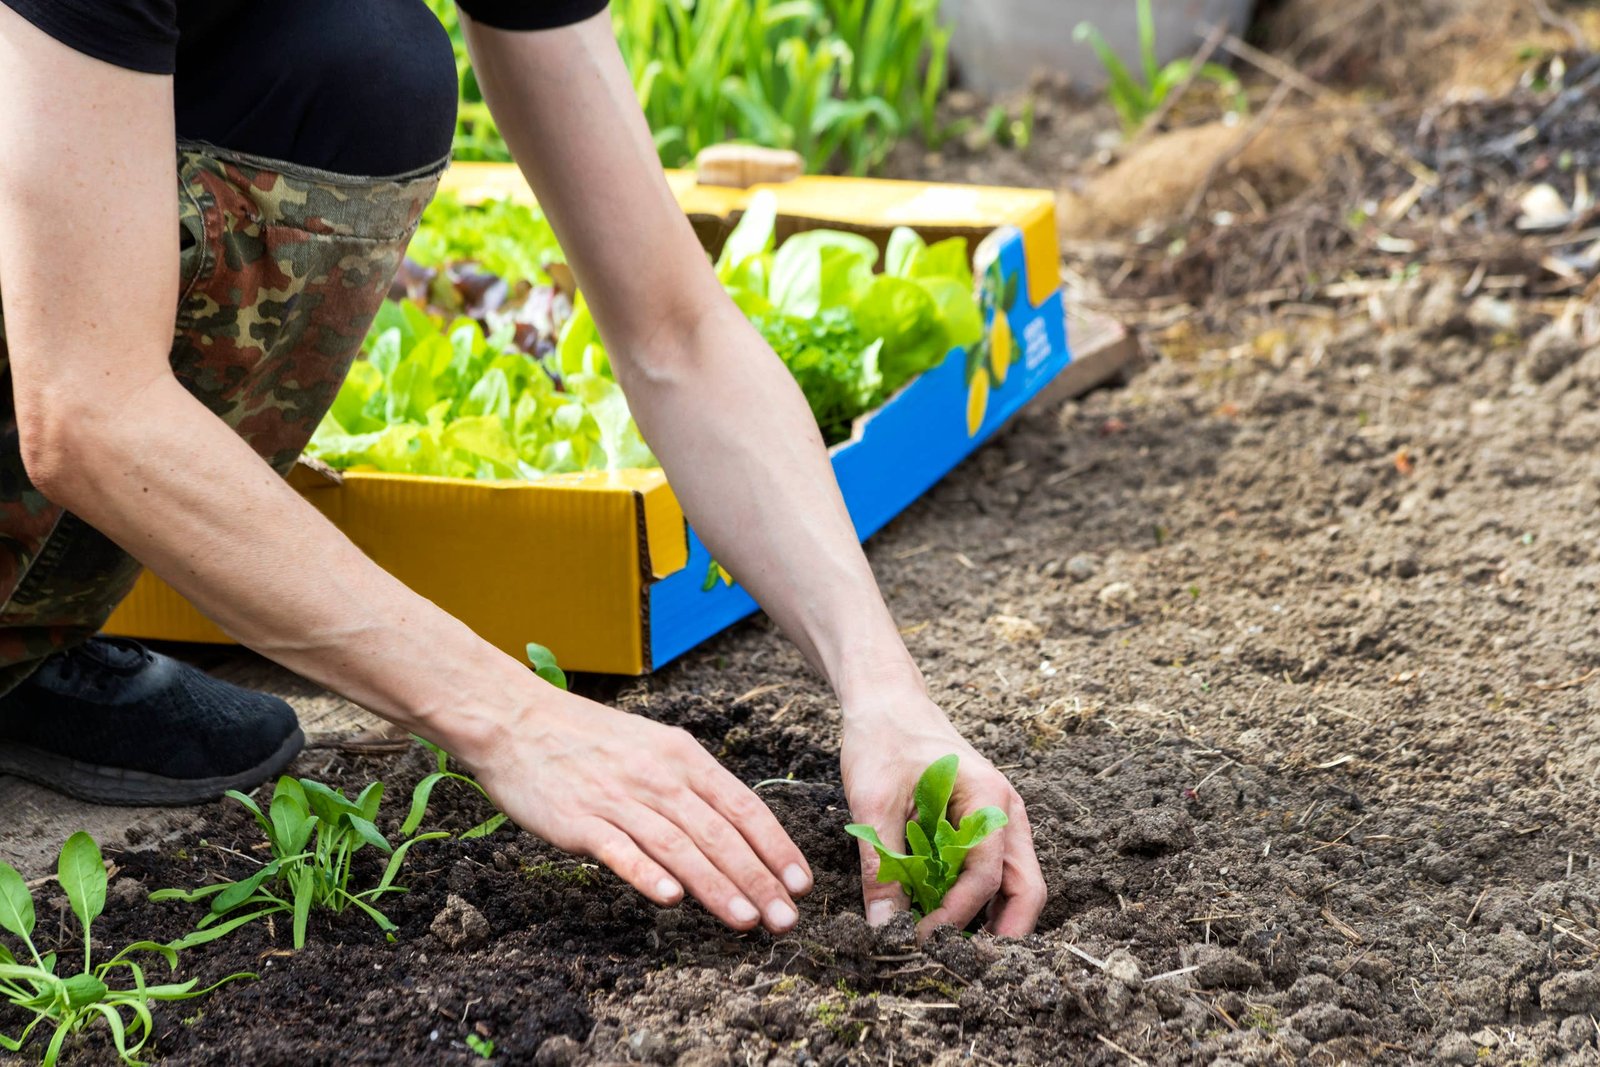
Choose a calm, mild day if possible. Late afternoon can be useful because plants have several cooler hours before the next strong sun.
- Water the seedlings before transplanting so the root ball is moist.
- Prepare the planting hole before removing the seedling from its pot.
- Handle the plant by the root ball or leaves rather than squeezing the stem.
- Set it at the correct depth for the species.
- Firm soil gently around the roots.
- Water thoroughly to settle the soil.
- Add light mulch once the plant is established, keeping mulch away from the stem.
Some crops, such as tomatoes, can form roots along buried stems and are often planted deeper. Others should remain at the same depth they grew in the pot. Check crop-specific guidance.
Real-World Example: Starting Peppers for a Short Growing Season
A gardener has a last expected spring frost in early May and wants to grow peppers that need a long warm season. The packet recommends indoor sowing eight to ten weeks before transplanting.
They sow in late February, use a heat mat only for germination, and place seedlings under a grow light as soon as they emerge. At the true-leaf stage, the plants receive a light fertilizer. Several seedlings are moved into larger pots in April.
One week before outdoor planting, the gardener starts hardening off in a sheltered shaded area. The seedlings gradually receive more morning sun and wind exposure. A cold front arrives on day five, so they return indoors for two nights. The gardener resumes hardening off rather than planting by the original calendar date.
This flexible timing produces stronger plants than forcing the transplant during bad weather.
Common Indoor Seed-Starting Problems
Leggy seedlings
Usually caused by inadequate light, excessive warmth, or crowded plants. Improve light intensity and spacing.
Green algae on the soil
This often signals a surface that stays very wet. Improve airflow and watering habits.
Seedlings collapse at the soil line
This can be associated with damping-off diseases. Use clean containers, fresh mix, good airflow, and avoid saturated conditions.
Leaves turn pale
Possible causes include low nutrients, excess water, root problems, or inadequate light. Diagnose the growing conditions before adding fertilizer.
Seeds do not germinate
Check seed age, temperature, moisture, planting depth, and expected germination time. Some species naturally take much longer than others.
Seed-Starting Checklist
- Choose crops that benefit from indoor starting.
- Calculate the sowing date from the outdoor planting window.
- Use clean containers with drainage.
- Pre-moisten a fine seed-starting mix.
- Sow at the packet depth.
- Label every variety.
- Provide strong light after emergence.
- Water based on moisture, not habit.
- Thin crowded seedlings.
- Pot up plants that outgrow cells.
- Harden off gradually.
- Delay transplanting during severe weather.
Frequently Asked Questions
Can I start seeds in regular potting soil?
You can use a fine, good-quality potting mix for some larger seeds, but a dedicated seed-starting mix is often easier for tiny seeds because it is lighter and more uniform.
How many seeds should I put in each cell?
One or two is enough for many fresh seeds. If germination is uncertain, sow extra and thin later. Follow the packet for crops commonly grown in clusters.
How close should grow lights be?
It depends on the fixture. LED bars, fluorescent lights, and high-intensity horticultural lights differ greatly. Follow the manufacturer’s distance recommendation and watch for stretching or heat stress.
Can seedlings stay outside overnight while hardening off?
Only after they have adjusted and nighttime temperatures are safe for that crop. Warm-season plants can be damaged by cold nights even if daytime weather is pleasant.
What if seedlings wilt during hardening off?
Move them to shelter, check moisture, and reduce exposure. Resume more slowly after they recover.
Should I fertilize seeds before they sprout?
Usually no. Seeds contain stored energy for germination. Feeding is more relevant after true leaves appear and the seedling is actively growing.
Conclusion: Grow Strong Seedlings by Making Changes Gradually
Successful indoor seed starting is less about special equipment and more about steady conditions. Start at the right time, use a light mix, provide strong light, keep moisture balanced, and give seedlings enough space.
The final step is just as important as germination. Harden plants off slowly so sunlight, wind, and temperature changes do not arrive all at once. If the weather turns harsh, adjust the schedule instead of forcing the transplant date.
When seedlings enter the garden compact, well rooted, and already adapted to outdoor conditions, they spend less time recovering and more time growing. That makes the extra work indoors worthwhile.