A garden can fail even when the plants are healthy at the nursery. The problem often starts before planting. Beds may sit in deep afternoon shade. Tall crops may block smaller ones. Paths may be too narrow to use. A hose may not reach the far corner. Plants may be crowded because the garden looked empty on day one.
A good garden layout solves these problems on paper first. You do not need landscape design software or a large budget. You need a few measurements, several hours of sunlight observation, a simple plan for movement, and realistic spacing based on mature plant size.
This guide shows you how to plan a garden layout that works in real life. You will learn how to map sunlight, divide the site into useful zones, place beds and paths, plan for water, avoid common layout mistakes, and build a design that can change as your garden grows.
Start With the Site, Not the Plant List
It is tempting to begin with a shopping list of flowers, herbs, vegetables, and shrubs. A better first step is to understand the space. Every garden has limits. Those limits include light, soil, wind, drainage, access, and available time.
Walk the area slowly and write down what you notice. Look for buildings, walls, fences, mature trees, air-conditioning units, utility access, gates, drains, downspouts, and places where people already walk. These fixed features will shape the garden more than any design trend.
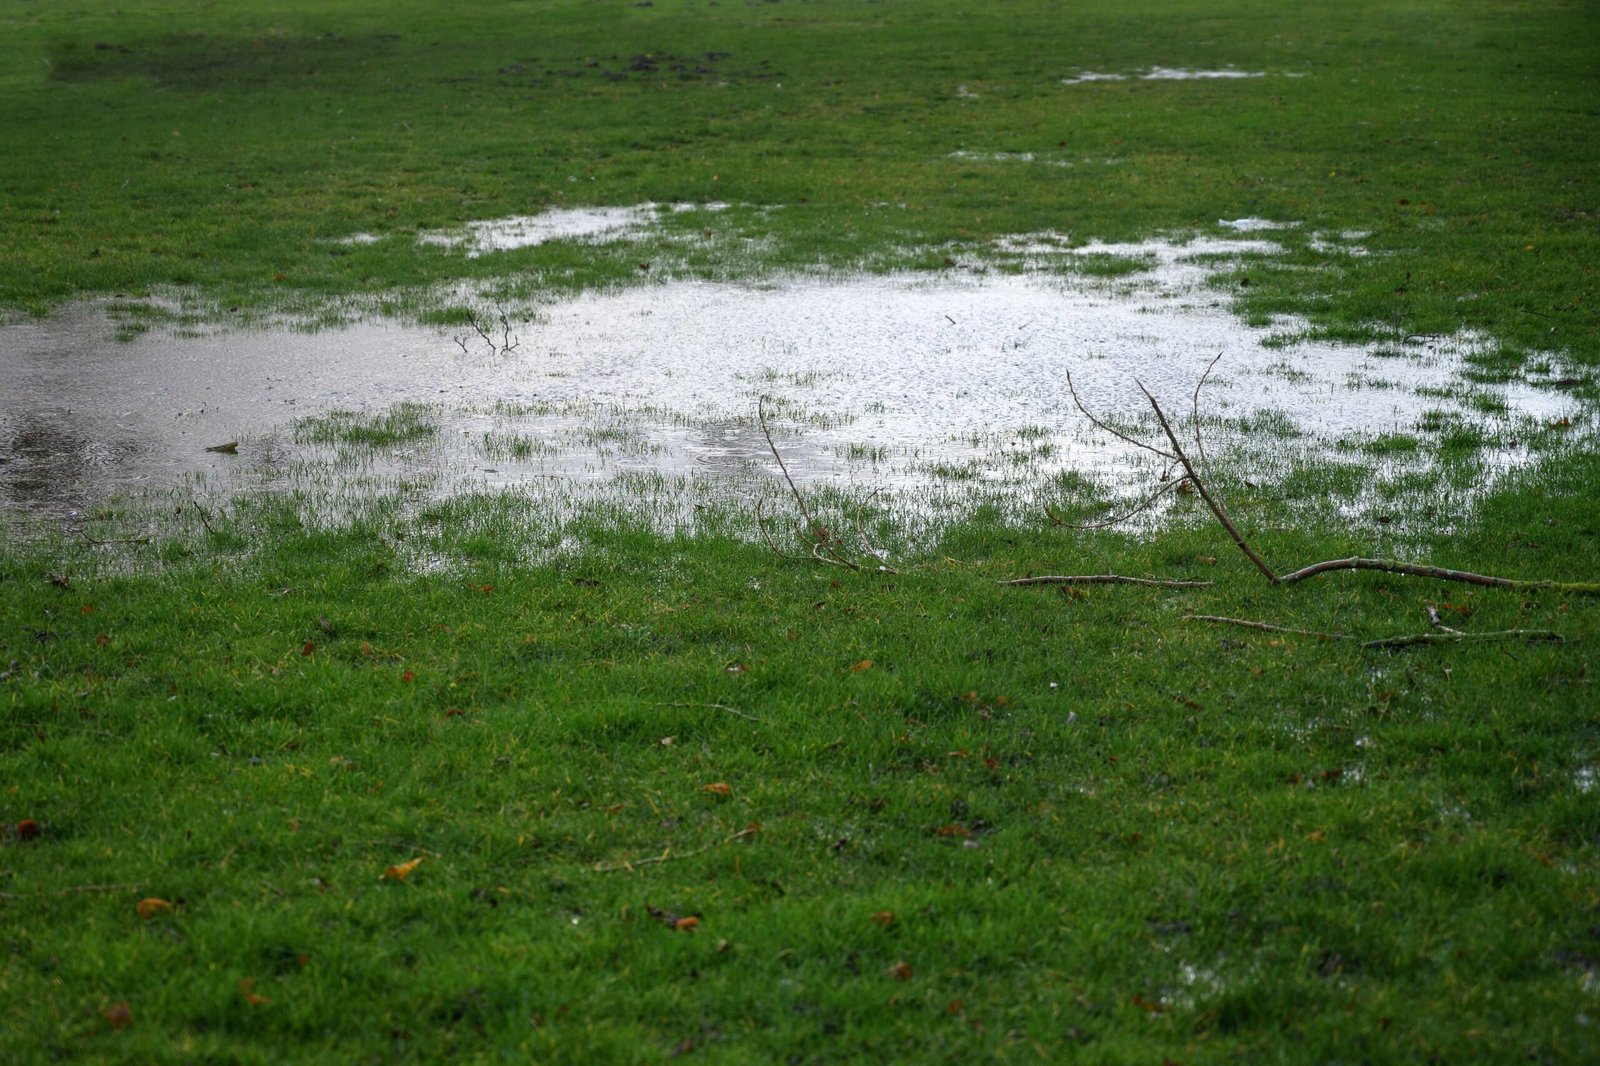
Also note where water collects after rain and where the soil dries first. A low corner that stays wet should not be treated like a hot strip beside a south-facing wall.
Step 1: Measure the Garden Accurately
You can create a useful plan with graph paper, a notebook, or a basic drawing app. Measure the full length and width of the area. Then add fixed objects.
- House walls and doors
- Fences and gates
- Trees and large shrubs
- Existing beds
- Patios, sheds, decks, and paths
- Outdoor taps and irrigation points
- Downspouts and drainage outlets
- Utility covers or access zones that must remain clear
Use one simple scale, such as one square on paper for 30 centimeters or one foot. Exact drafting is not required. The goal is to understand proportion and avoid planning a two-meter-wide bed in a space that is only 1.4 meters wide.
Step 2: Map Sunlight Before Choosing Plant Locations
Sunlight is one of the most important parts of garden planning. A space that looks sunny at noon may be shaded for most of the morning. A fence may cast a long winter shadow but almost none in summer.
Check the garden several times during the day. A simple observation schedule is:
- Check around 8 a.m.
- Check around 11 a.m.
- Check around 2 p.m.
- Check around 5 p.m.
Mark each area as sunny, partly shaded, or mostly shaded. Repeat the exercise in another season if possible because sun angle changes through the year.
The USDA Plant Hardiness Zone Map is useful for understanding winter temperature limits in the United States, but hardiness zone does not tell you how much light a bed receives. Treat hardiness and sunlight as separate planning factors.
What full sun really means
Many food crops and sun-loving flowers perform best with about six or more hours of direct sun. However, six hours of cool morning sun is different from six hours of harsh late-afternoon sun. In hot climates, some plants benefit from afternoon protection.
Use shade instead of fighting it
A shaded part of the garden is not wasted space. It may suit leafy greens in warm weather, woodland-style ornamentals, seating, compost storage, a potting bench, or moisture-loving plants. Good layout planning gives each condition a purpose.
Step 3: Decide What the Garden Must Do
Write down your priorities before drawing beds. A garden can have several jobs, but not every square meter can do everything at once.
| Goal | Layout Priority | Useful Feature |
|---|---|---|
| Grow vegetables | Sun and easy harvesting | Accessible beds with clear paths |
| Relax outdoors | Comfort and privacy | Seating zone with shade |
| Grow flowers | Season-long display | Layered beds viewed from key areas |
| Support pollinators | Flower continuity | Groups of flowering plants |
| Reduce maintenance | Simple access | Mulched beds and fewer narrow strips |
| Garden with children | Safe movement | Wide paths and easy crops |
If your main goal is food production, do not give the sunniest area to a decorative shed. If your main goal is outdoor living, do not place all seating beside the compost bin simply because that corner was empty.
Step 4: Plan Paths Before Beds
Paths are often treated as leftover space. That creates awkward gardens. Plan movement first, then fit beds around it.
You should be able to reach plants without stepping on cultivated soil. Foot traffic compacts soil and can damage roots. A path also needs enough space for the way you actually garden.
- For simple walking access, a narrow path may be enough.
- For carrying buckets, allow more elbow room.
- For wheelbarrow access, use a wider main path.
- For mobility aids, surfaces should be firm, level, and wide enough for turning where needed.
A useful rule is to make the main path wider than minor paths. Do not create a maze of tiny routes. Fewer, well-placed paths usually make the garden feel larger and easier to maintain.
Step 5: Keep Beds Within Comfortable Reach
A bed that is too wide becomes difficult to weed, harvest, and plant. If you can approach a bed from both sides, a width around 1.0 to 1.2 meters is comfortable for many people. If you can reach it from only one side, make it narrower.
Your own reach matters more than a fixed number. Test before building. Place an object on the ground, stand where the path will be, and see whether you can comfortably reach it without leaning or stepping into the bed.
Step 6: Plan for Mature Plant Size
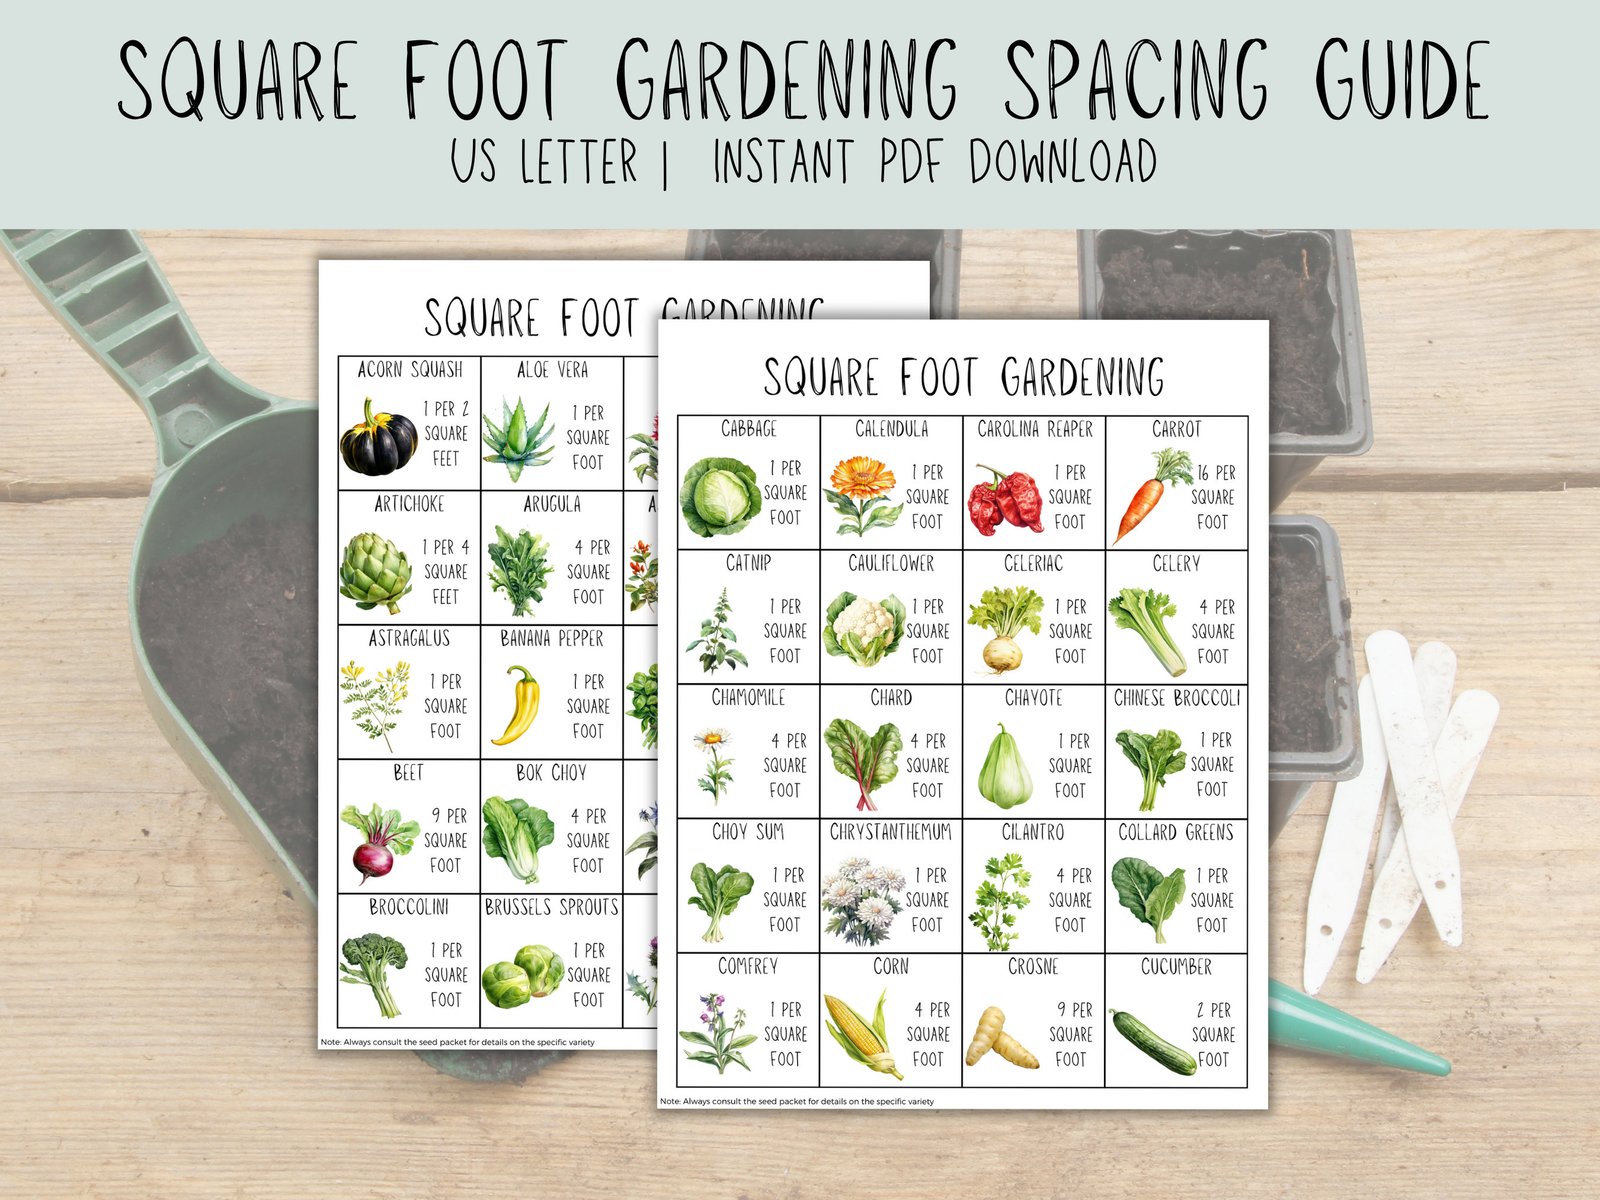
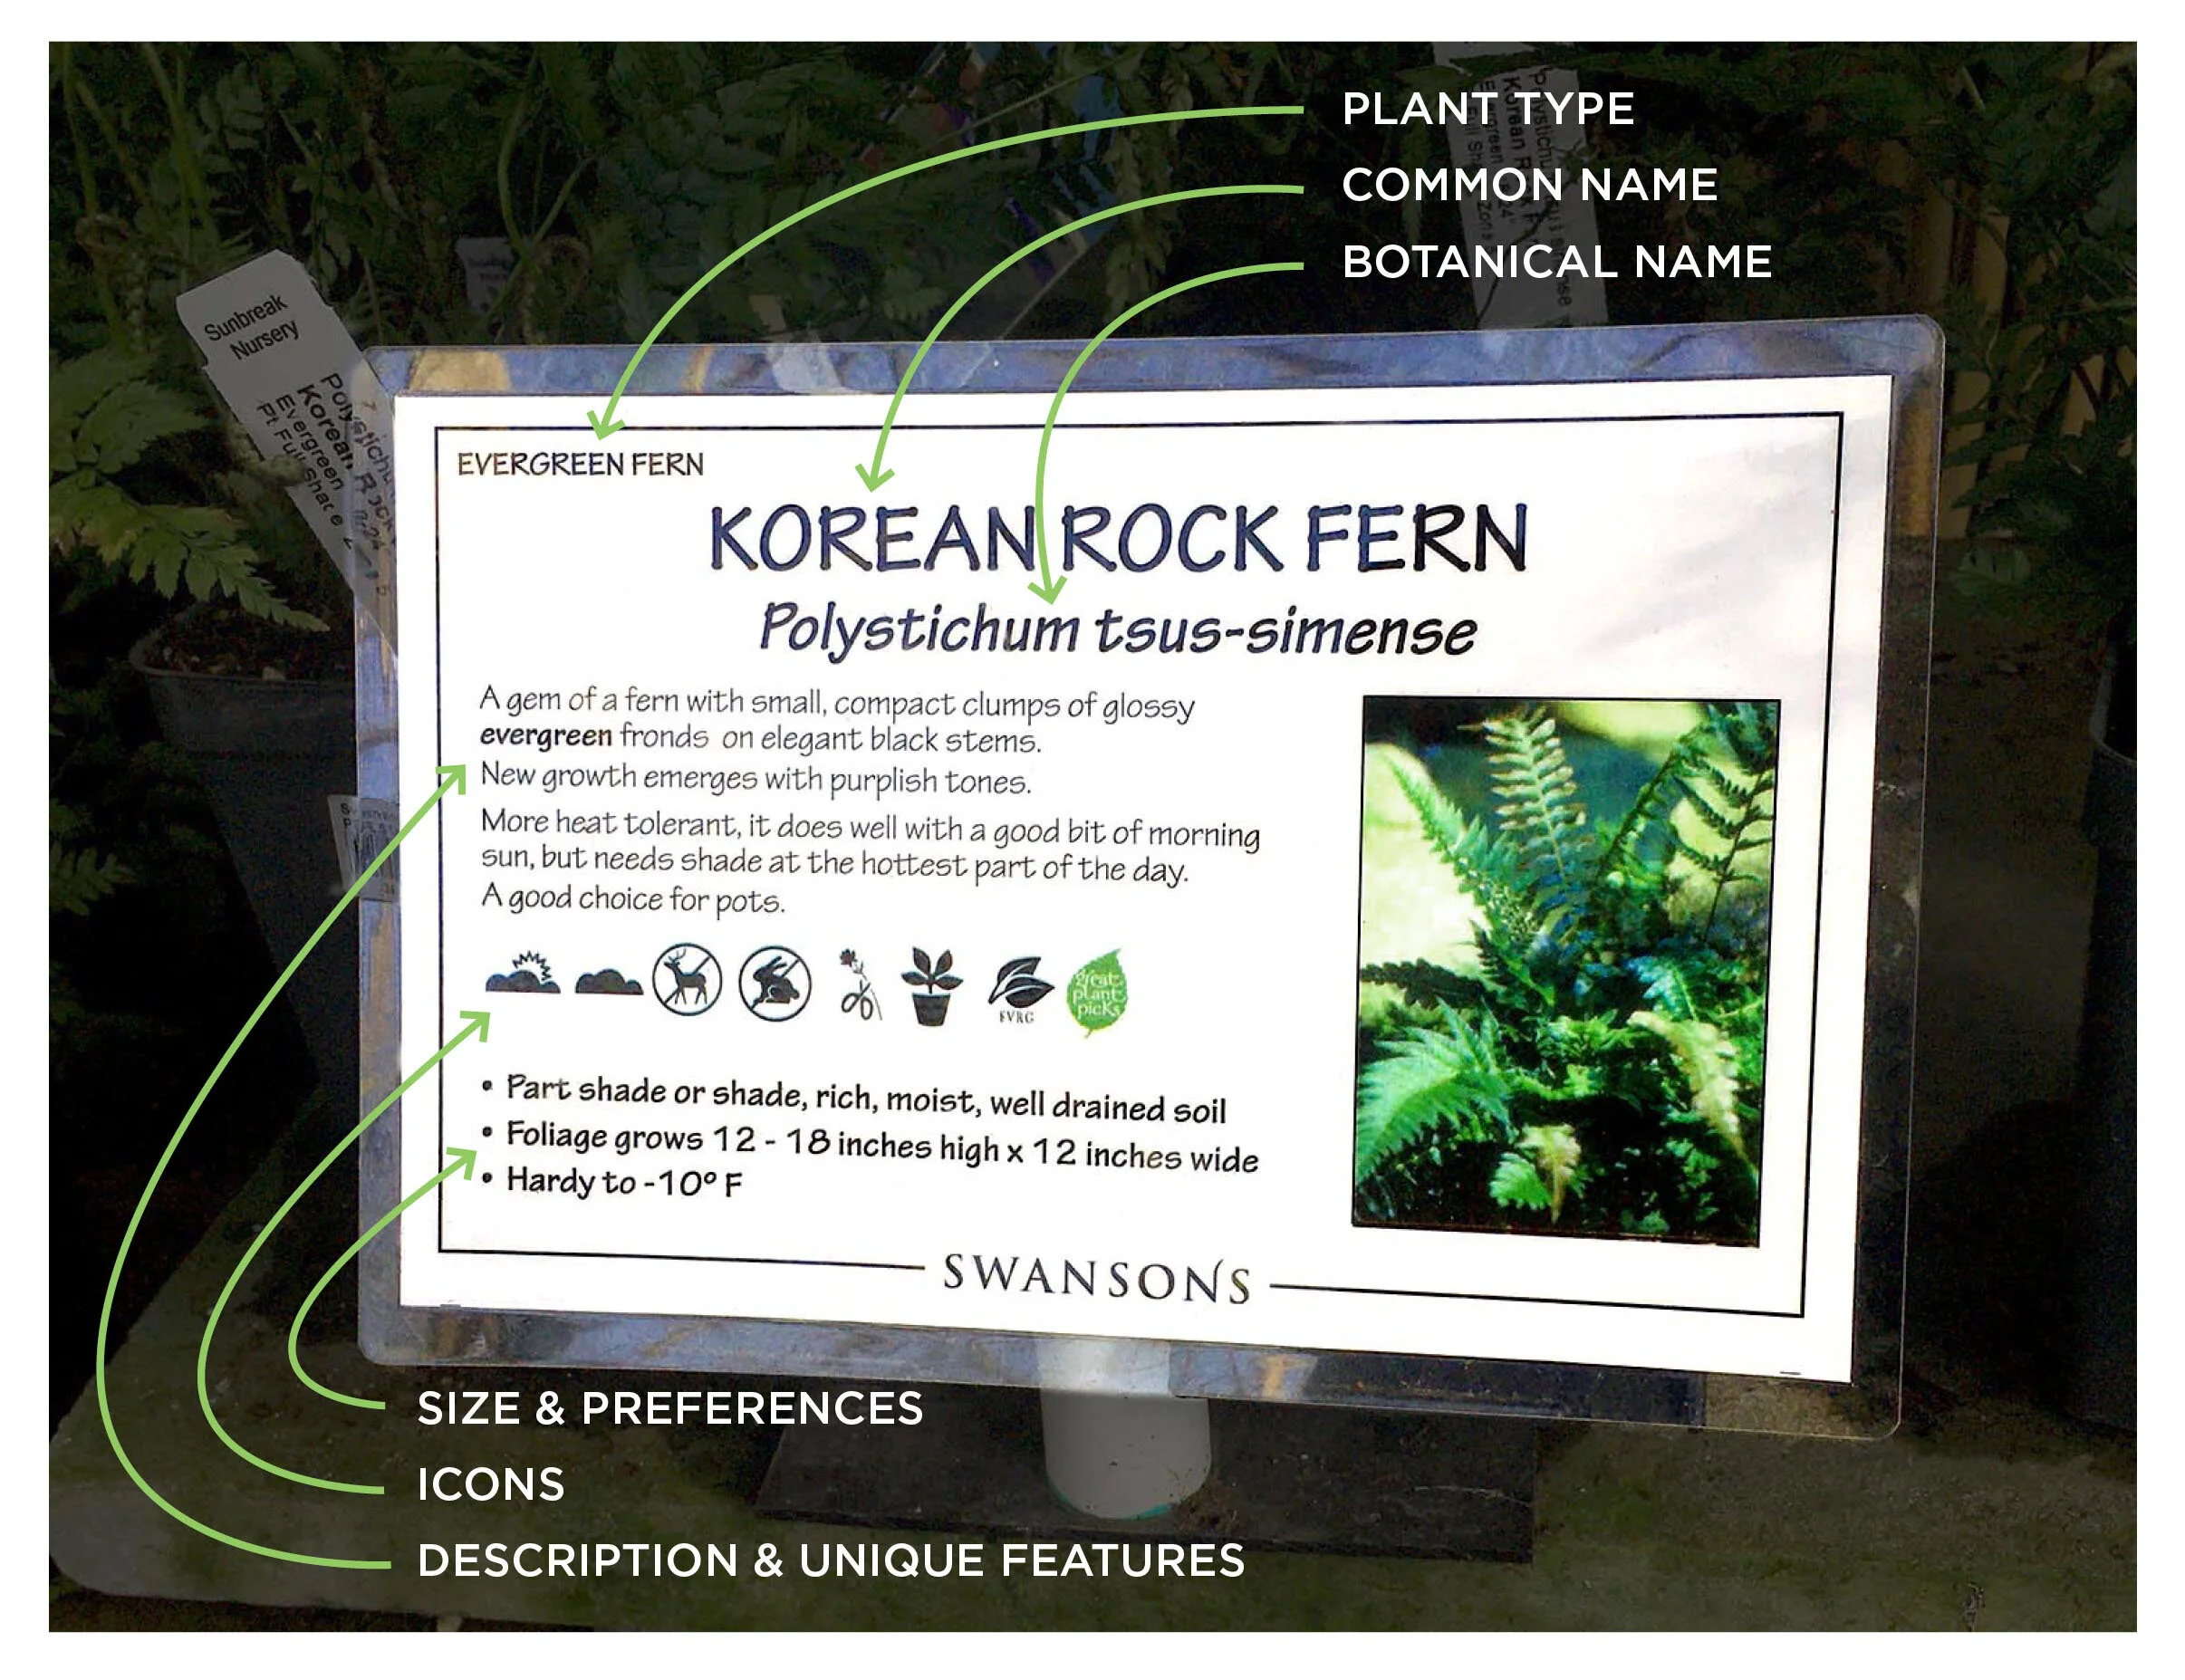
Young plants make a new garden look empty. That can tempt you to overplant. Check the mature height and spread on reliable plant labels or nursery information.
Think in three dimensions:
- Height: Will a tall plant shade something behind it?
- Width: Will two shrubs eventually overlap a path?
- Root area: Will a large tree compete strongly with a nearby bed?
Place taller plants where their shade will do the least harm. In many northern-hemisphere vegetable gardens, tall crops are commonly placed toward the north side so they are less likely to shade lower crops. Local sun direction and structures still matter, so observe your site rather than following this as an absolute rule.
Step 7: Create Simple Garden Zones
Zoning makes maintenance easier because plants with similar needs can share an area. You might create:
- A high-water vegetable zone near the tap
- A lower-water perennial zone farther away
- A potting and storage zone near the shed
- A shaded seating zone
- A pollinator strip along a sunny edge
- A nursery area for seedlings and new plants
The EPA WaterSense outdoor guidance supports grouping landscape plants by water needs. This is practical even in a small home garden. It reduces the chance that drought-tolerant plants receive the same watering schedule as thirsty vegetables.
Step 8: Plan Water Access Before Planting
Imagine watering the garden in midsummer. Can the hose reach every bed without dragging across delicate plants? Is there a safe place for a watering can? Would a drip line cross a walkway?
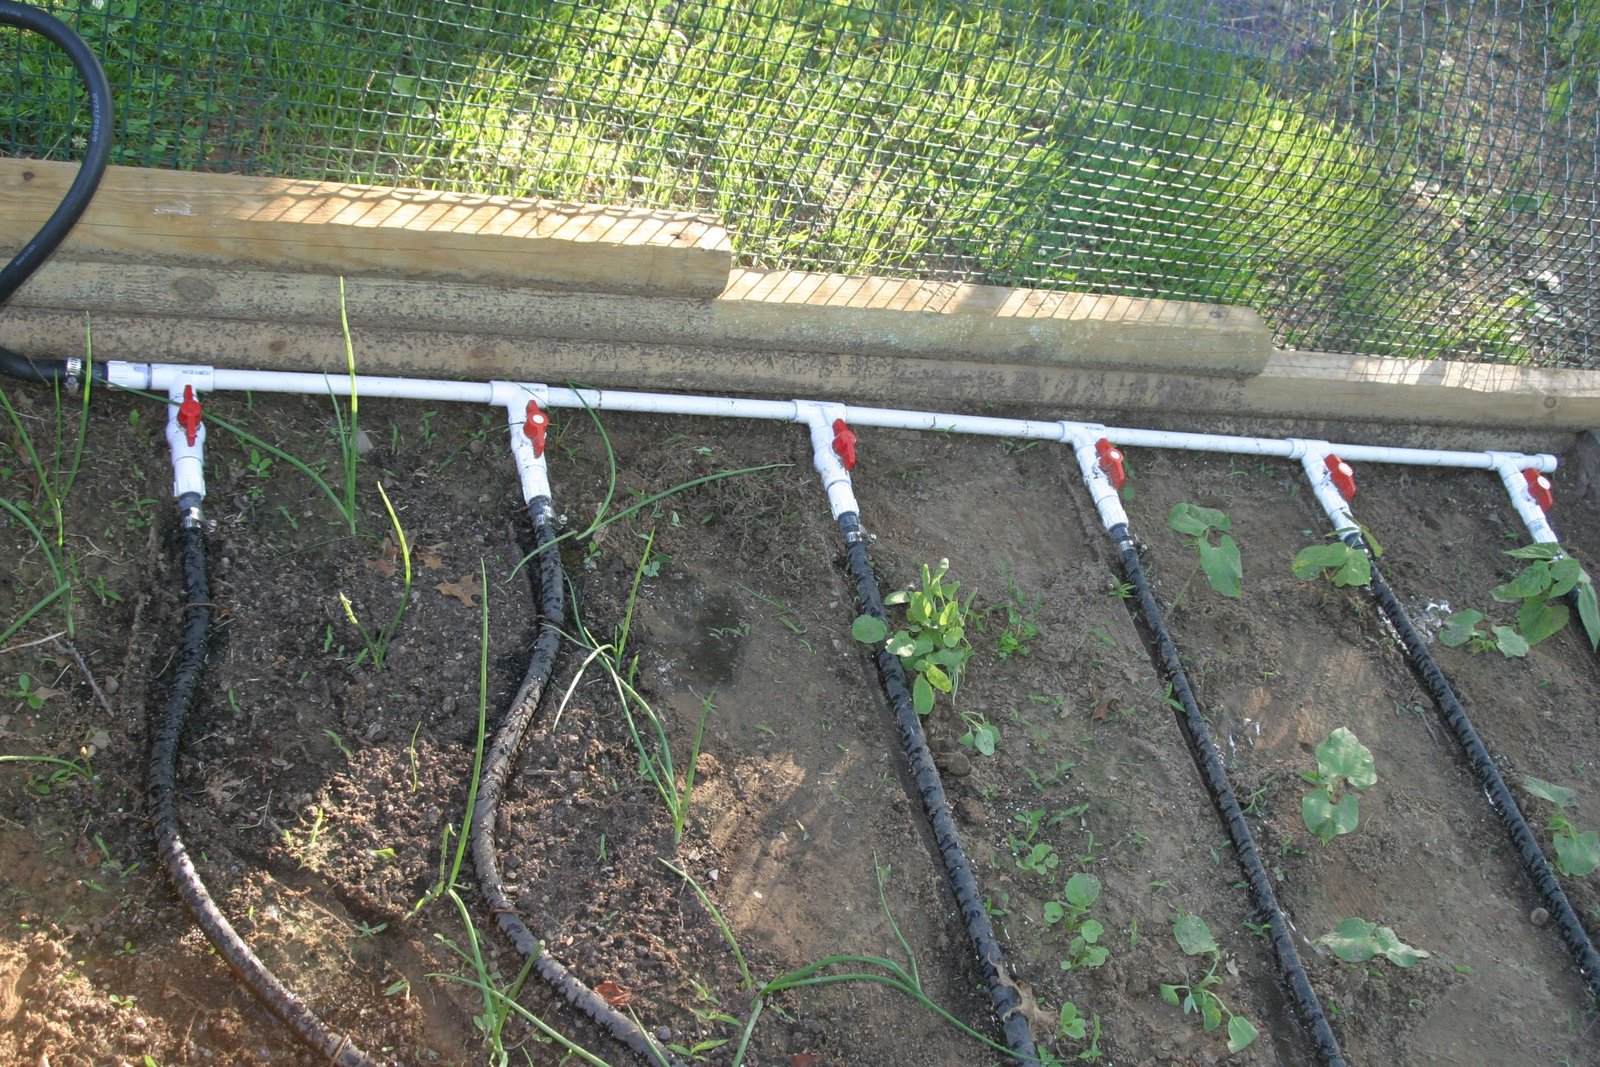
Put high-maintenance containers and seedling areas closer to water. If you plan drip irrigation, identify a route for the main line before beds are full.
A good layout also allows you to inspect irrigation. Avoid burying every connector under permanent structures. You will eventually need to repair a leak or clean an emitter.
Step 9: Protect Important Microclimates
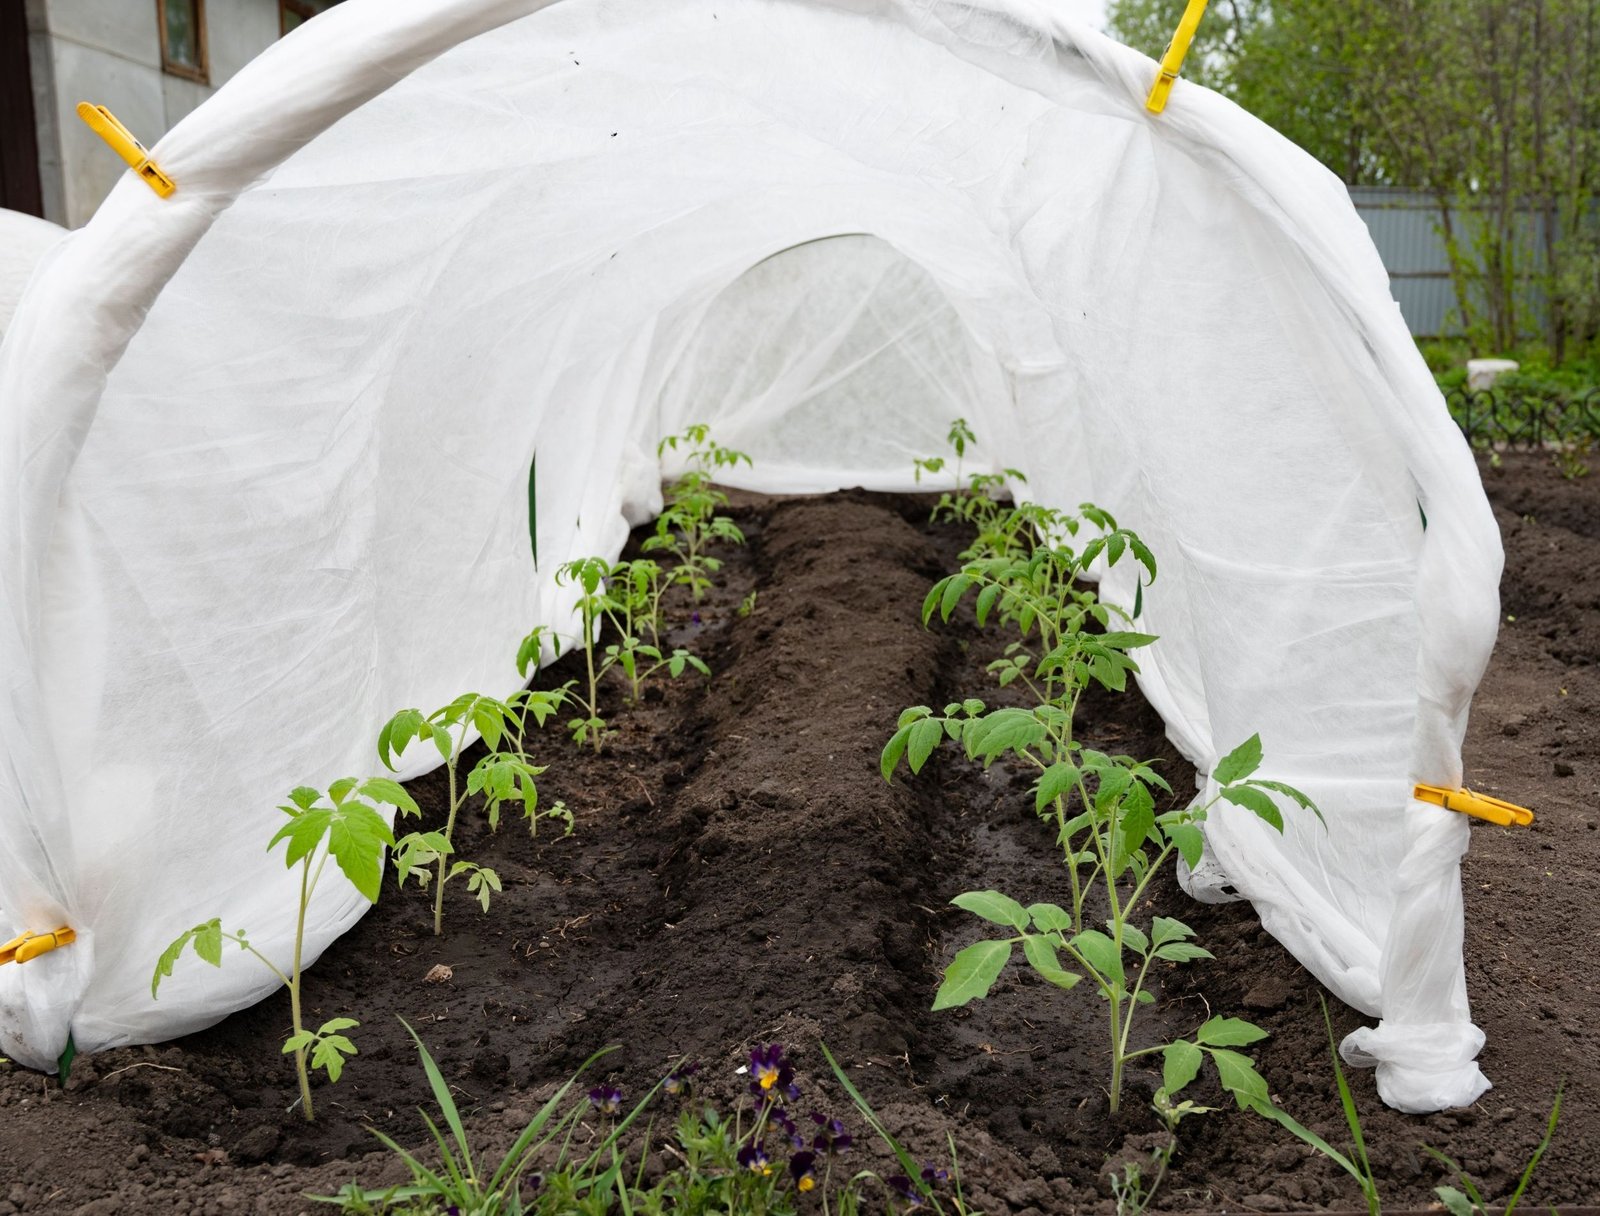
A microclimate is a small area with conditions that differ from the rest of the garden. Walls, slopes, paving, fences, and trees create them.
Warm wall
A sunny masonry wall can store heat and create a warmer planting zone. It can help heat-loving plants but may also dry soil quickly.
Wind tunnel
A narrow gap between buildings can increase wind speed. Tall, soft plants may need support or a different location.
Low frost pocket
Cold air can settle in low areas. If one corner repeatedly freezes first, avoid placing the most frost-sensitive plants there.
Reflective paving
Pale walls and paved surfaces can increase heat and light around plants. Use this to your advantage, but watch for stress during hot weather.
A Real-World Layout Example
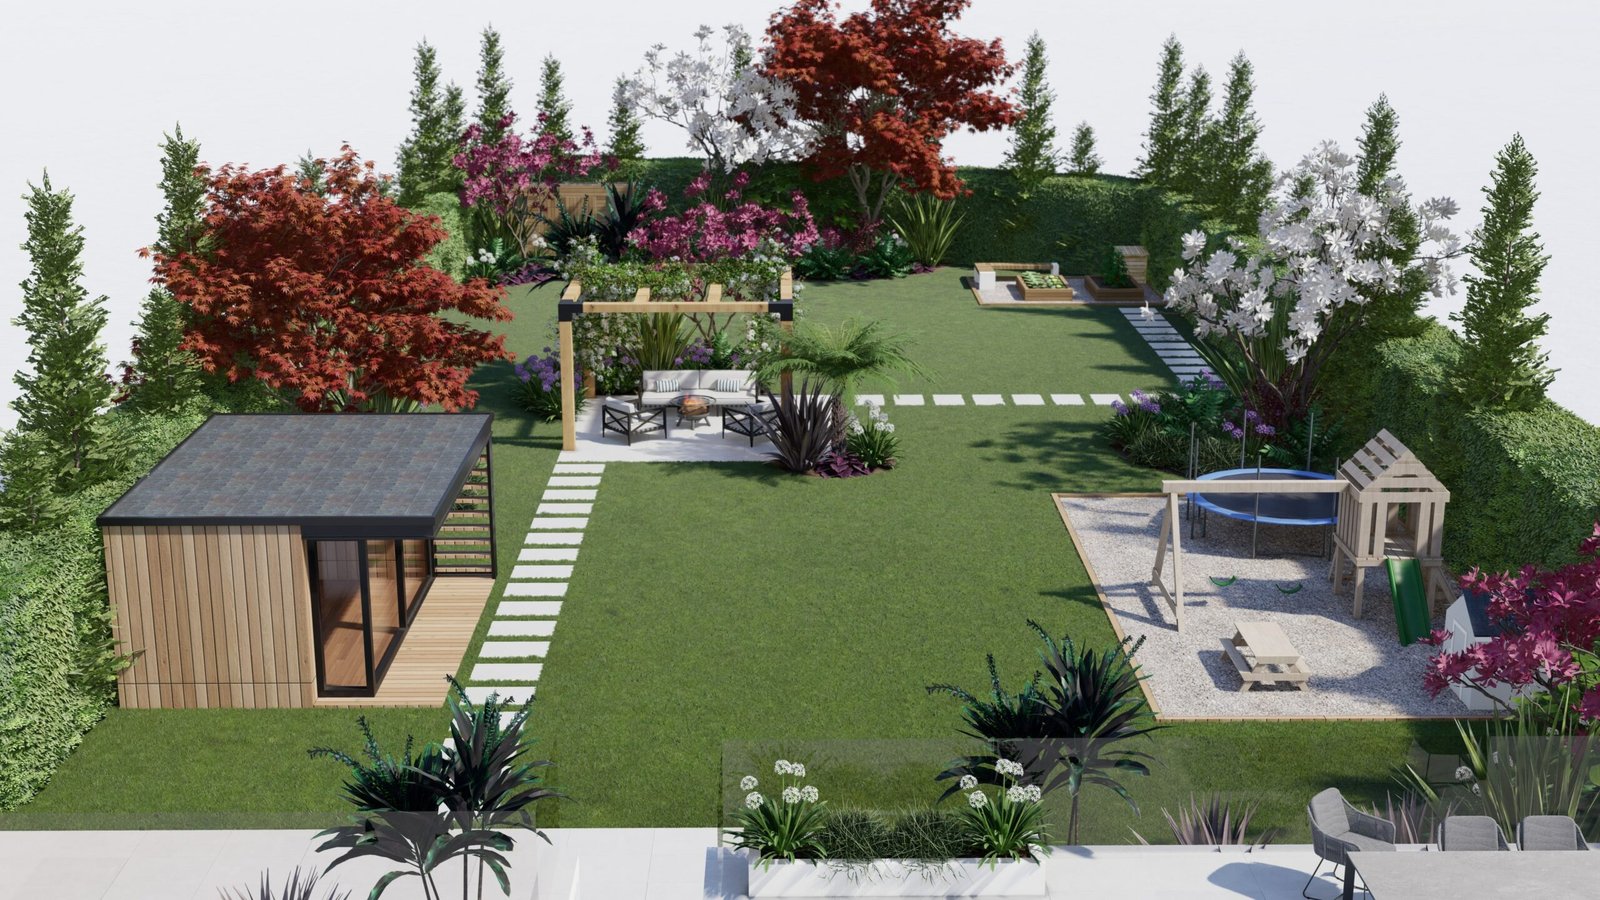
Imagine a rectangular backyard that measures 8 meters by 12 meters. The house is on the south side. A large tree shades the northwest corner. The outdoor tap is near the kitchen door.
The owner wants vegetables, herbs, flowers, and a small sitting area.
A practical layout could work like this:
- Place the main vegetable beds in the central sunny area.
- Run one wide path from the kitchen door through the beds.
- Place frequently used herbs near the kitchen.
- Use the shaded tree corner for seating and shade-tolerant plants.
- Place tall trellised crops toward the side where they will not block the main sun path.
- Keep a narrow working area near the tap for watering cans and hose storage.
- Add a flowering strip along the fence without making it so deep that pruning becomes difficult.
Notice that the layout follows daily use. Herbs are close to the kitchen. Water-intensive crops are close to water. Shade becomes a seating feature instead of a problem.
Common Garden Layout Mistakes
Making every bed a different shape
Curves can look attractive, but many tiny irregular beds create extra edging and awkward maintenance. Use complex shapes only where they improve the space.
Ignoring access to the back of beds
A beautiful border against a fence may become impossible to weed if it is too deep. Make sure you can reach every area safely.
Planting trees too close to structures
Check mature spread and local guidance before planting large woody plants near buildings, drains, or utilities.
Designing only for the first season
Perennials and shrubs expand. Leave room for maturity and create temporary interest with annuals or containers rather than permanent overcrowding.
Forgetting storage
Tools, soil bags, hoses, stakes, and pots need a place. A small storage zone can prevent the entire garden from becoming cluttered.
Quick Garden Layout Checklist
- Measure the whole site.
- Mark buildings, fences, trees, taps, and drains.
- Observe sunlight at several times of day.
- Identify wet, dry, windy, hot, and shaded areas.
- Write down your top three garden goals.
- Draw paths before drawing beds.
- Keep beds within comfortable reach.
- Check mature plant size.
- Group plants with similar water needs.
- Plan hose and irrigation access.
- Keep utilities accessible.
- Leave some space for future changes.
Frequently Asked Questions
What is the best shape for a garden bed?
There is no single best shape. Rectangular beds are easy to measure, irrigate, and cover. Curved beds can work well around patios or landscape features. Choose a shape that gives good access and fits the site rather than choosing it only for appearance.
Should vegetable rows run north to south?
North-to-south rows can help distribute light in some situations, but buildings, slopes, wind, and your actual sun path may matter more. If your site forces a different direction, focus on preventing tall crops from shading smaller ones for long periods.
How much path space should a garden have?
Enough for comfortable movement and maintenance. A very small garden may use compact paths, while a garden used with a wheelbarrow or mobility aid needs more space. Test the width before making permanent edges.
Should I fill every empty area with plants?
No. Empty space can provide airflow, access, visual rest, and room for mature growth. New gardens often look sparse because plants have not reached full size.
Where should I put a compost area?
Choose a place that is easy enough to reach that you will use it, but not where it blocks important movement. A partly shaded location with access to water can be practical. Follow local rules for composting and waste storage.
How can I plan a garden if I rent my home?
Use reversible choices such as containers, grow bags, freestanding trellises, and movable seating. Avoid permanent construction unless your landlord approves it.
Conclusion: Design for Daily Use, Not Just the First Photo
A strong garden layout begins with observation. Measure the space, map the sun, notice drainage and wind, and decide how you need to move through the area. Then place beds, paths, water access, and plants around those real conditions.
Keep the plan flexible. Gardens change as trees grow, seasons shift, and your interests develop. Leave room to adjust rather than trying to make the first plan permanent.
Before buying plants, spend one more day walking through the proposed layout. Pretend you are watering, harvesting, carrying compost, pruning a shrub, and moving a wheelbarrow. If those tasks feel easy on paper and on the ground, you are building a garden that is likely to stay useful for years.