How to Start a Vegetable
How to Start a Vegetable Garden from Scratch
Want to grow your own food but don’t know where to start? This complete beginner’s guide shows you exactly how to start a vegetable garden from scratch — step by step, no experience needed.
Growing your own vegetables is one of the most rewarding things you can do at home. Fresh tomatoes still warm from the sun. Salads you picked 10 minutes ago. Herbs that actually taste like herbs.
But if you’ve never gardened before, it can feel overwhelming. Where do you start? What do you grow? What if everything dies?
Don’t worry. This guide will walk you through everything you need to know to start a vegetable garden from scratch — even if you have a small space, a tight budget, and zero experience.
Let’s dig in.
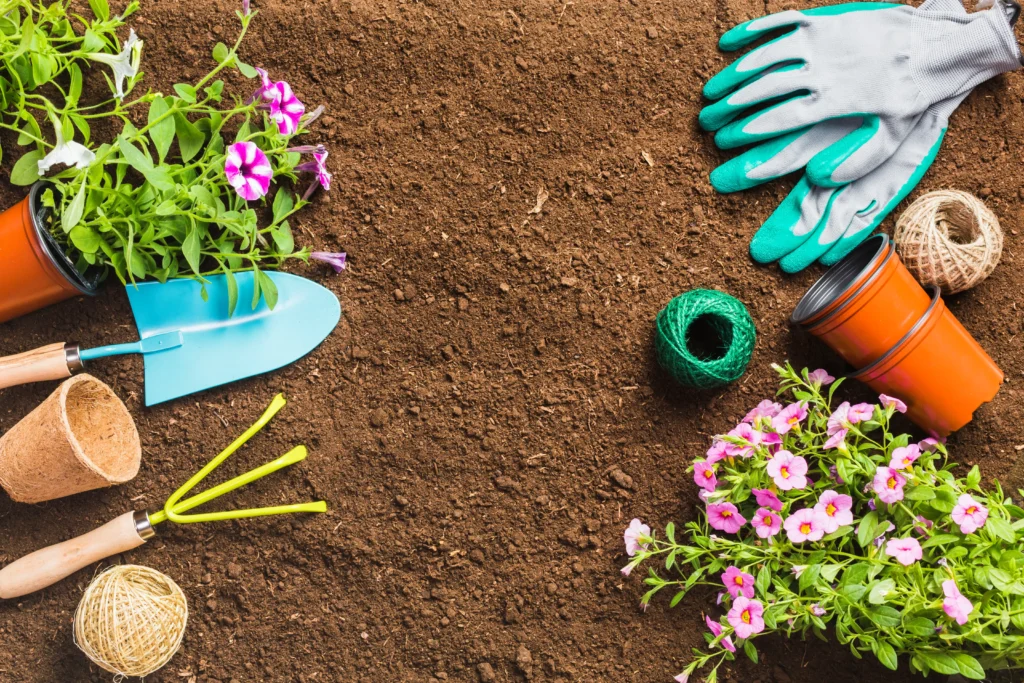
Table of Contents
- Why grow your own vegetables?
- Choose the right location
- Decide on your garden type
- Pick the right vegetables to start with
- Prepare your soil
- Plant your seeds or seedlings
- Water the right way
- Feed your plants
- Deal with pests naturally
- Harvest at the right time
- Common beginner mistakes to avoid
- Your first vegetable garden checklist
1. Why Grow Your Own Vegetables? {#why-grow}
Before we get into the how, let’s talk about the why — because understanding the benefits will keep you motivated when things get tricky.
You save money. A single tomato plant can produce 10–20 pounds of fruit over a season. A packet of seeds costs less than a dollar. The math is hard to argue with.
You eat better food. Store-bought vegetables are often harvested before they’re ripe and travel hundreds of miles before reaching your plate. Home-grown produce is picked at peak ripeness — and the difference in flavor is dramatic.
It’s good for the planet. Growing your own food reduces packaging waste, food miles, and the use of commercial pesticides. Even a small garden is a genuinely eco-friendly act.
It’s good for your mental health. Spending time in a garden, nurturing plants, and watching things grow has been shown to reduce stress and anxiety. There’s a reason so many people call gardening “therapy.”
2. Choose the Right Location {#location}
The most important decision you’ll make as a beginner is where to put your garden. Get this right, and everything else becomes much easier.
Sunlight is everything
Vegetables need sunlight — most of them need at least 6 hours of direct sun per day. Before you decide where to garden, spend a day observing your outdoor space. Notice which areas get full sun, which get partial shade, and which stay in the shade most of the day.
- Full sun (6+ hours): Best for tomatoes, peppers, squash, cucumbers, beans
- Partial sun (3–6 hours): Works for leafy greens, herbs, peas, radishes
- Shade (under 3 hours): Very few edible plants thrive here — stick to some herbs
If you have a south-facing yard or balcony, you’re in luck. North-facing spaces will be more limited in what you can grow.
Access to water
You’ll be watering your garden regularly, so make sure your chosen spot is close to a water source. Dragging a hose across the garden every day gets old fast — and inconsistent watering is one of the top reasons beginner gardens fail.
Avoid these spots
- Under large trees (root competition and shade)
- Low-lying areas that collect standing water
- Spots with poor drainage where soil stays soggy
3. Decide on Your Garden Type {#garden-type}
There’s no single “right” way to build a vegetable garden. The best type depends on your space, budget, and goals.
In-ground garden beds
The classic approach — you simply dig up a patch of existing ground and plant directly into it. This works well if you have a decent-sized yard with good soil, but it requires more initial effort to prepare the ground.
Best for: Larger spaces, growing in good natural soil, lower budget
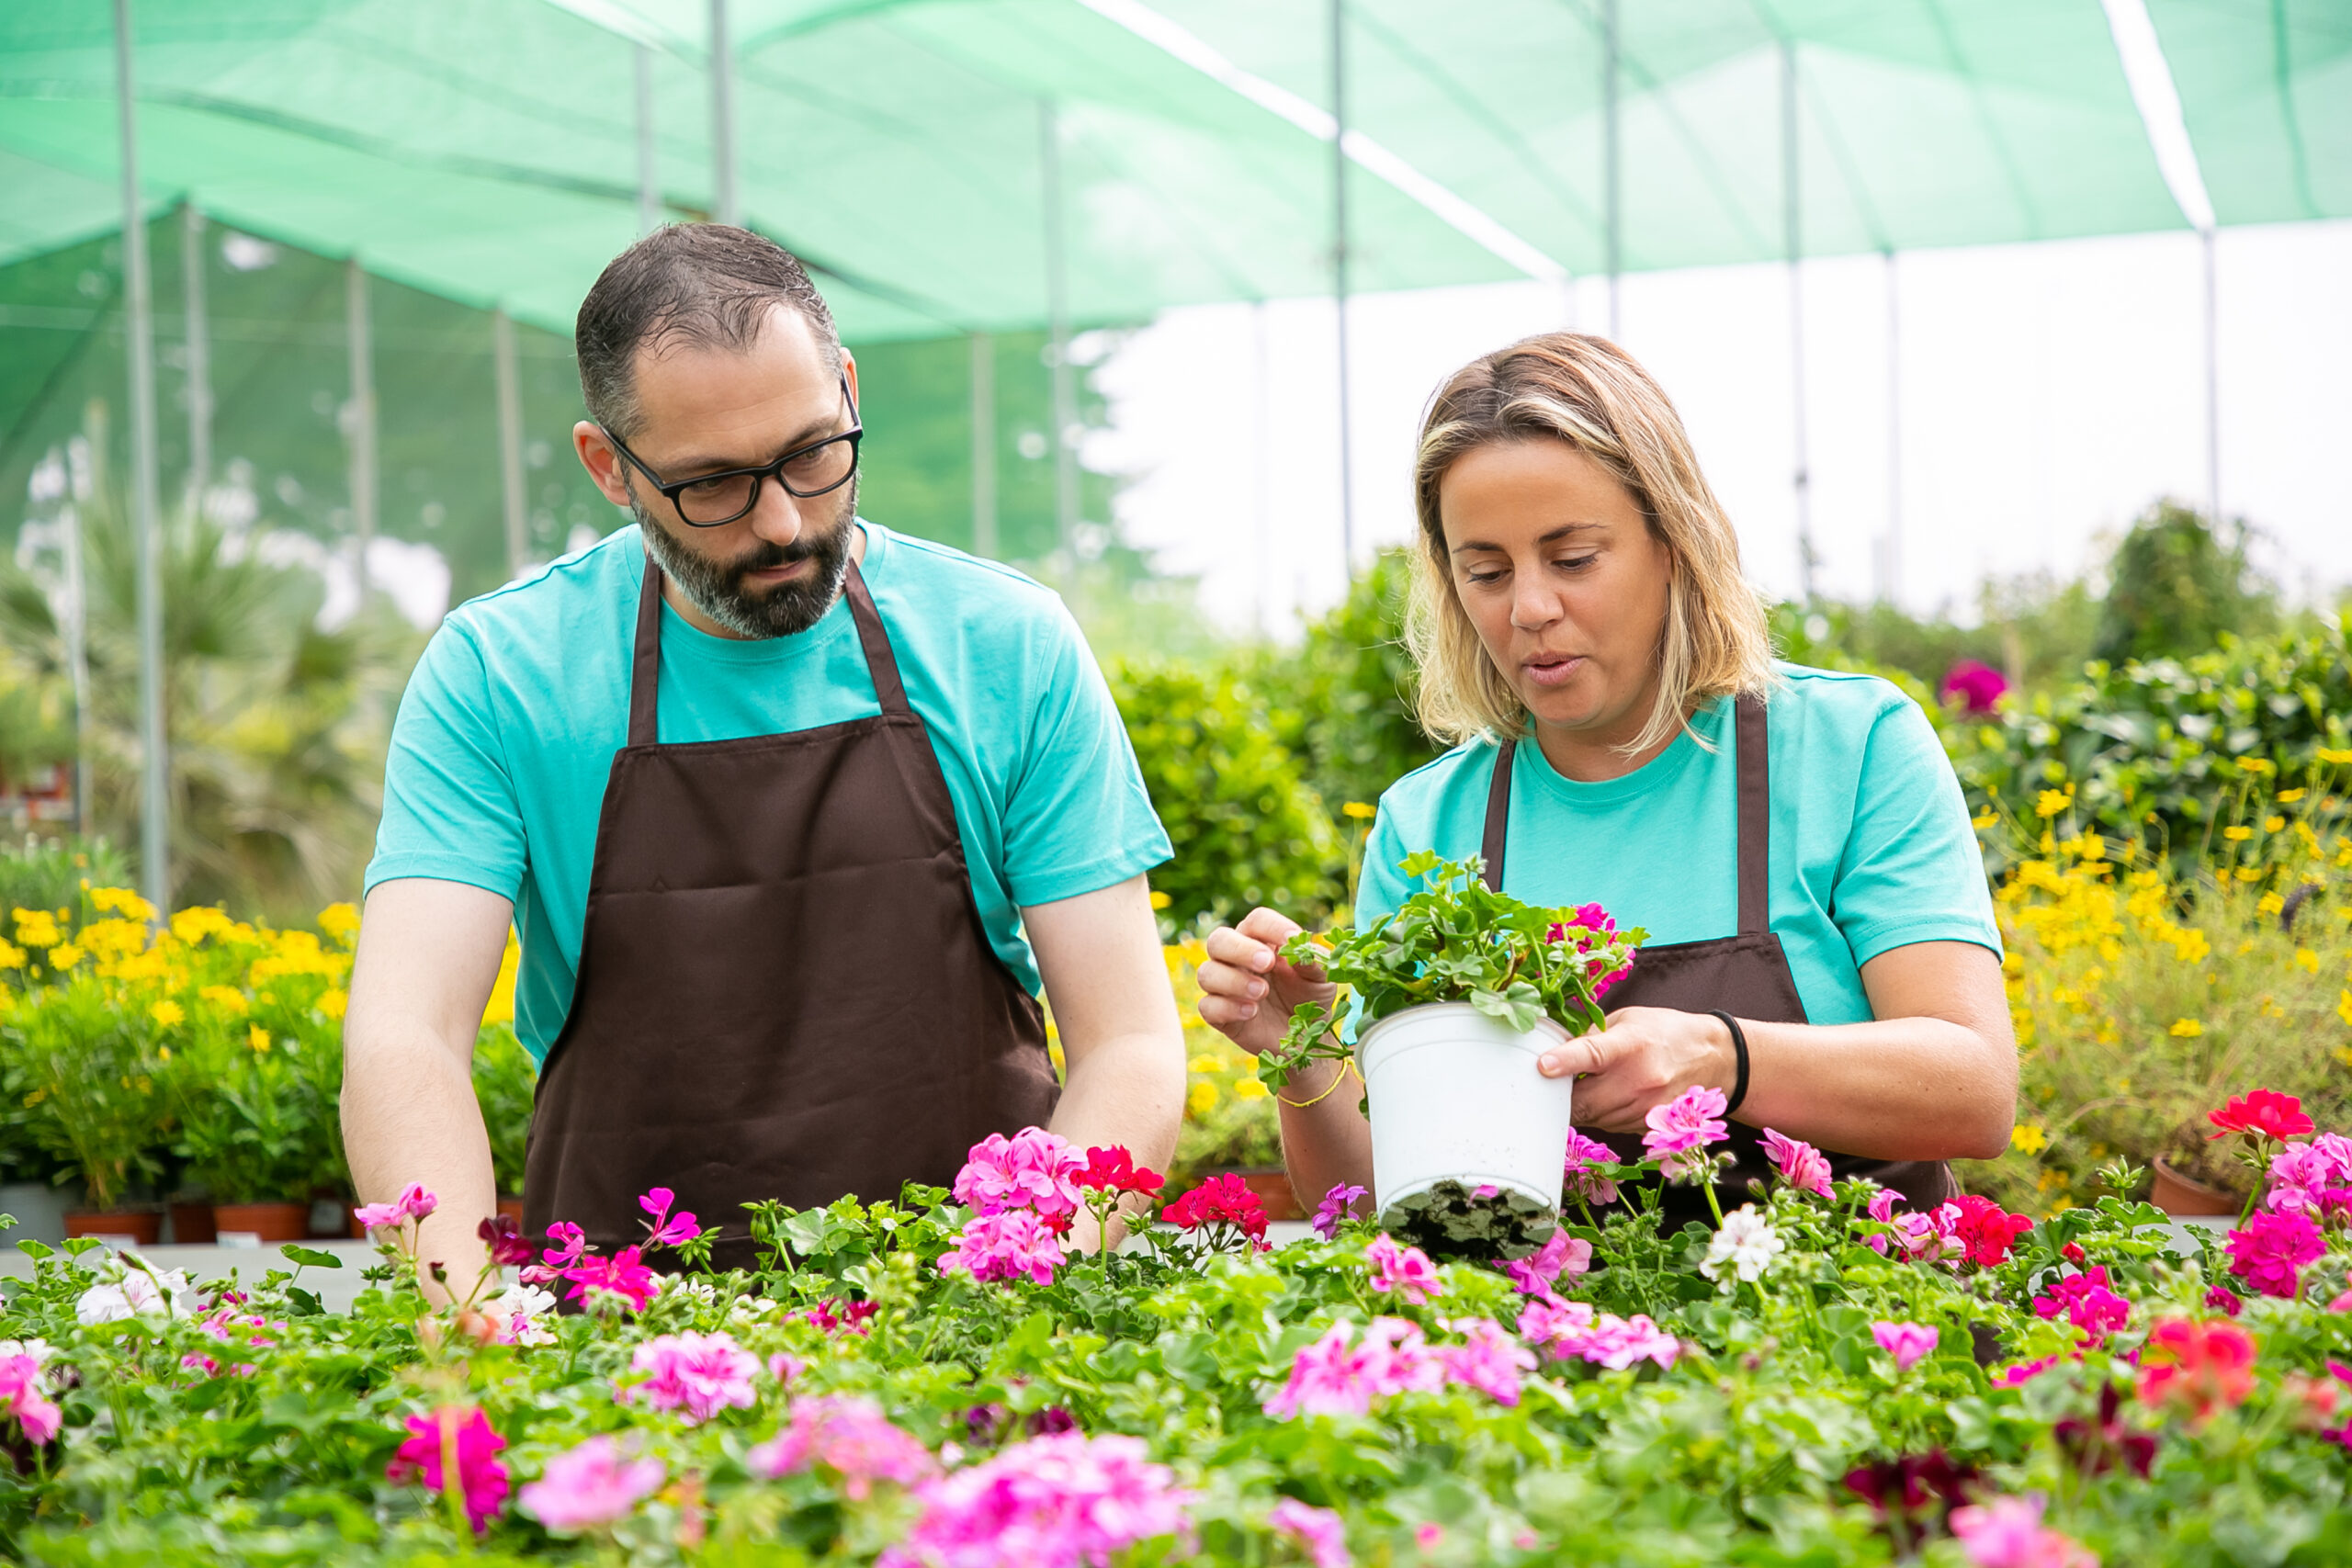
Raised bed gardens
A raised bed is a frame (usually made of wood) filled with a mix of soil and compost, sitting on top of the ground. Raised beds are hugely popular with beginners for good reason:
- Excellent drainage
- Fewer weeds
- You control the soil quality completely
- Easier on your back (less bending)
- Warms up faster in spring
You can buy a raised bed kit or build your own with untreated lumber. A good starter size is 4 feet wide by 8 feet long — wide enough to reach the middle from either side, long enough to fit a variety of crops.
Best for: Most beginners, smaller yards, areas with poor native soil
Container gardening
If you have a balcony, patio, or no outdoor space at all, containers are your friend. Almost any vegetable can be grown in a pot if the container is large enough. Tomatoes, herbs, lettuce, radishes, and peppers all do well in containers.
The key rule: bigger is better. Small pots dry out too quickly and restrict root growth. Aim for at least 5 gallons for most vegetables; tomatoes and peppers need 10–15 gallons.
Best for: Balconies, patios, renters, small spaces
4. Pick the Right Vegetables to Start With {#vegetables}
As a beginner, the most important thing is to choose vegetables that are forgiving, fast-growing, and rewarding. Nothing kills gardening enthusiasm faster than planting difficult crops and watching them struggle.
The best vegetables for beginners
Lettuce and salad greens — Incredibly fast (ready in as little as 30 days), can be grown in partial shade, and you can harvest outer leaves continuously without pulling the whole plant. Perfect for containers.
Radishes — The fastest vegetable you can grow. Some varieties are ready to eat in just 3 weeks. Great for filling gaps between slower-growing crops.
Zucchini (courgette) — Notoriously productive. One or two plants will produce more zucchini than you know what to do with. They’re also very forgiving of beginner mistakes.
Green beans — Easy to grow, don’t need much fertilizer, and produce prolifically. Bush beans are easier than climbing varieties for beginners.
Cherry tomatoes — More forgiving than large beefsteak varieties and produce fruit faster. Choose a compact variety like Tumbling Tom or Sweet 100 for containers.
Herbs — Basil, mint, chives, and parsley are almost impossible to kill and get used constantly in the kitchen. Start with herbs and you’ll feel like a successful gardener immediately.
Peas — Love cool weather, grow quickly, and kids especially love picking them straight from the pod.
Vegetables to avoid in your first year
- Corn (needs a lot of space and is rarely worth it for a small garden)
- Watermelon and pumpkin (sprawling vines that take over)
- Celery (requires very specific conditions and takes months)
- Cauliflower (sensitive and tricky)
5. Prepare Your Soil {#soil}
Here’s the truth that most gardening beginners don’t realize until too late: your soil is more important than your seeds.
Healthy soil = healthy plants. Poor soil = struggling plants, no matter how carefully you water and tend them.
What good garden soil looks like
Good vegetable garden soil should be:
- Dark and rich in color
- Loose and crumbly — not compacted or clay-like
- Full of organic matter — you should be able to see bits of decomposed leaves and compost
- Well-draining — water should soak in, not pool on the surface
How to improve your soil
If you’re starting with poor or compacted soil, the single best thing you can do is add compost. Compost is decomposed organic matter — kitchen scraps, garden waste — that has broken down into a rich, dark, crumbly material that improves nearly every aspect of soil health.
For in-ground beds: Dig down 10–12 inches and mix in 2–3 inches of compost throughout. Repeat each growing season.
For raised beds: Use a mix of about 60% topsoil, 30% compost, and 10% perlite or coarse sand for drainage. Many garden centers sell pre-mixed “raised bed soil” that works well.
For containers: Never use garden soil in pots — it compacts badly. Use a quality potting mix designed for vegetables.
Check your soil pH
Vegetables generally prefer a slightly acidic soil with a pH between 6.0 and 7.0. You can buy a simple soil pH test kit at any garden center for a few dollars. If your soil is too acidic (below 6.0), add garden lime. If it’s too alkaline (above 7.0), add sulfur or more compost.
6. Plant Your Seeds or Seedlings {#planting}
Now for the fun part — actually getting plants in the ground.
Seeds vs. seedlings
Seeds are cheaper and give you more variety. Some vegetables — like beans, peas, radishes, carrots, and beets — actually prefer to be sown directly into the ground rather than transplanted.
Seedlings (young plants you buy from a garden center) give you a head start. They’re ideal for tomatoes, peppers, and aubergines, which need a long growing season and benefit from being started indoors weeks before the last frost.
For your first garden, a mix of both works well. Buy tomato and pepper seedlings, and direct-sow beans, peas, lettuce, and radishes.
When to plant
Timing depends on your climate and what you’re growing, but the key concept every beginner needs to know is your last frost date.
A frost date is the average date of the last freezing temperature in spring. Planting warm-season crops like tomatoes and peppers before this date risks losing them to frost. Cool-season crops like lettuce and peas can actually handle light frost and should be planted earlier.
Search “last frost date [your city]” to find yours, then use it as your planting guide.
How to sow seeds
- Make a small hole or shallow groove (called a “drill”) in your prepared soil at the depth specified on your seed packet — usually 2–3 times the diameter of the seed
- Drop in 2–3 seeds per hole (to account for any that don’t germinate)
- Cover gently with soil and firm down lightly
- Water gently with a watering can fitted with a rose head (to avoid washing seeds away)
- Keep the soil consistently moist until seeds germinate
Once seedlings appear, thin them out so the strongest plant per hole remains. It feels brutal to pull out healthy seedlings, but crowded plants compete for nutrients and produce less.
Spacing matters
Always check the spacing guidance on your seed packet or plant label. Crowding is one of the most common beginner mistakes. Plants that are too close together:
- Compete for water, light, and nutrients
- Have poor airflow, which encourages disease
- Produce smaller harvests
7. Water the Right Way {#watering}
Watering seems simple, but most beginner gardeners either overwater or underwater — and both cause problems.
The golden rule of watering
Water deeply and less frequently rather than a little bit every day. Deep watering encourages roots to grow down into the soil, making plants more resilient. Shallow daily watering keeps roots near the surface where they’re vulnerable to heat and drought.
For most vegetable gardens, aim to give your plants about 1 inch of water per week (from rain and/or manual watering). In hot weather or containers, you may need more.
How to tell if your plants need water
Don’t rely on a schedule — check the soil. Push your finger about an inch into the soil. If it feels dry at that depth, it’s time to water. If it still feels moist, wait another day.
Best time to water
Water in the morning if possible. This gives foliage time to dry out during the day, reducing the risk of fungal diseases. Evening watering can leave plants wet overnight, which encourages problems.
Water at the base, not the leaves
Always direct water to the soil at the base of plants, not onto the leaves. Wet foliage encourages disease and can cause leaf scorch in bright sunlight.
Consider a soaker hose or drip system
Once you’re more established, a soaker hose or drip irrigation system is a game-changer. It delivers water slowly and directly to the root zone, reduces evaporation, and saves you the daily task of hand-watering. Many systems can be connected to a simple timer for complete automation.
8. Feed Your Plants {#feeding}
Your soil provides nutrition, but as the growing season progresses — especially in containers and raised beds — your plants will need supplemental feeding.
Understanding fertilizer basics
Fertilizers contain three main nutrients, always listed in this order on the packaging: N-P-K (Nitrogen, Phosphorus, Potassium).
- Nitrogen (N) promotes leafy green growth
- Phosphorus (P) supports roots and flowering
- Potassium (K) supports overall plant health and fruit development
For a general vegetable garden, a balanced fertilizer (equal N-P-K numbers, like 10-10-10) works well. For fruiting crops like tomatoes, switch to a lower-nitrogen, higher-potassium feed once flowers appear — too much nitrogen at this stage produces lush foliage but fewer fruits.
Organic fertilizer options
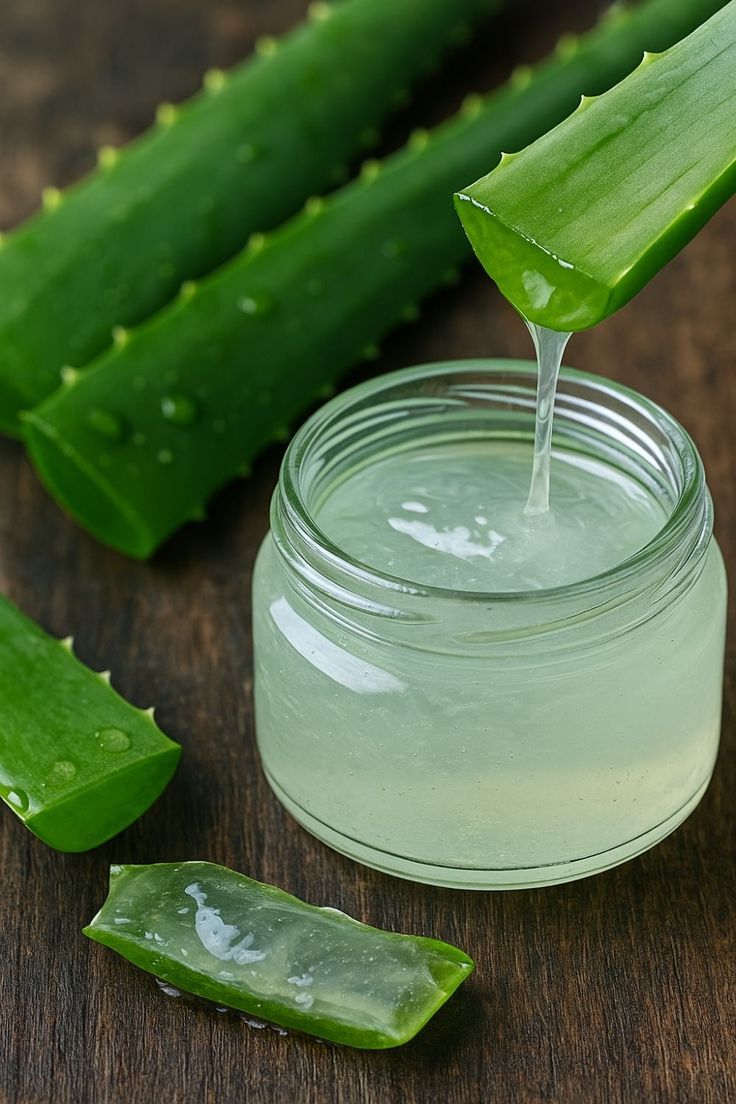
If you want to keep things eco-friendly (which fits perfectly with the ethos of this site!), these organic options are excellent:
- Compost — the best all-round soil improver and slow-release fertilizer
- Worm castings — incredibly rich in nutrients, gentle on plants
- Seaweed extract — great for potassium and trace minerals, particularly good for fruiting crops
- Fish emulsion — high in nitrogen, perfect for leafy greens
How often to feed
For most vegetables, feeding every 2–4 weeks during the growing season is plenty. Container plants need more frequent feeding (every 1–2 weeks) because nutrients wash out with regular watering.
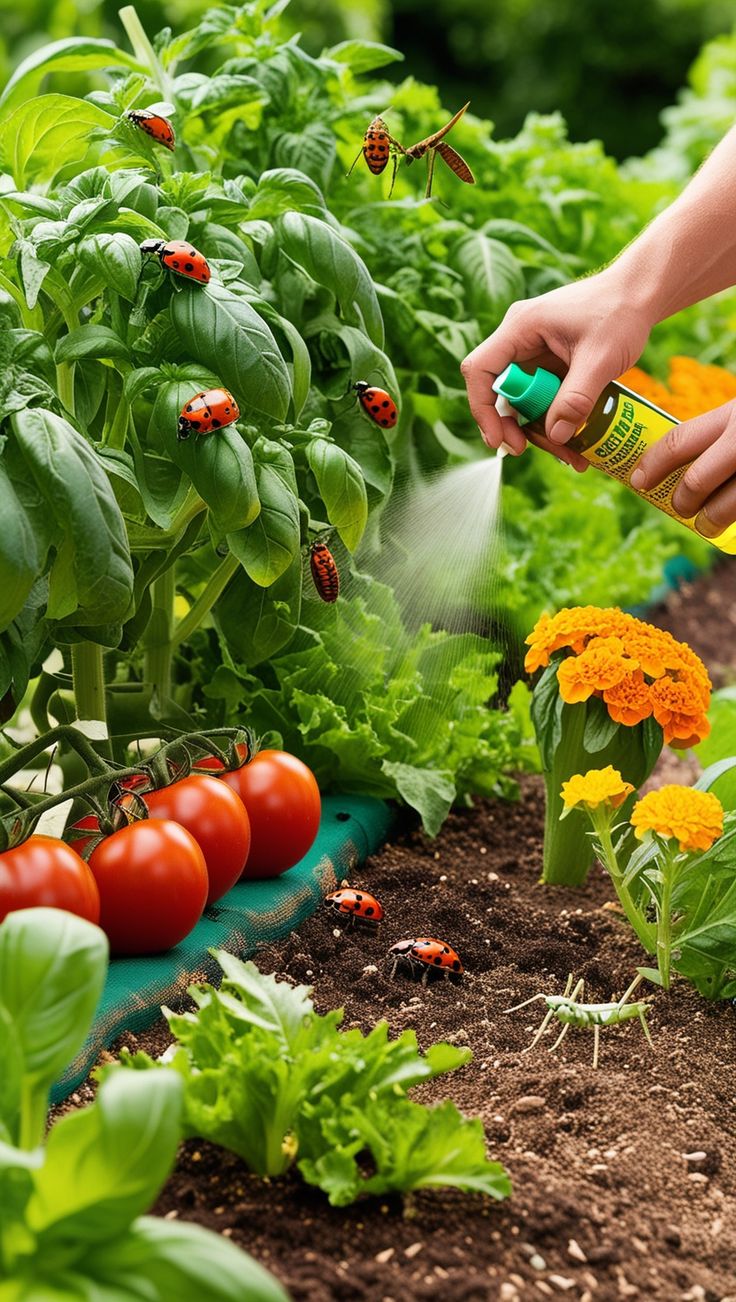
9. Deal with Pests Naturally {#pests}
Every garden has pests. Rather than reaching for chemical sprays (which harm beneficial insects like bees and ladybugs), there are plenty of effective natural approaches.
Prevention first
The best pest control is prevention:
- Choose disease-resistant varieties — seed packets often note this
- Rotate your crops — don’t grow the same family of vegetable in the same spot year after year
- Keep the garden tidy — remove dead leaves and debris where pests hide and breed
- Water at the base — as mentioned, wet foliage invites disease
Common pests and natural solutions
Aphids — Tiny, soft-bodied insects that cluster on new growth. Blast them off with a strong jet of water, or spray with a diluted solution of water and a few drops of dish soap.
Slugs and snails — The bane of every beginner gardener. Try copper tape around containers (they dislike the mild electrical charge), crushed eggshells around plants, or beer traps (they’re attracted to beer and drown).
Caterpillars — Hand-pick them off plants in the early morning. Cover brassicas (cabbages, kale, broccoli) with fine netting to prevent butterflies laying eggs.
Whitefly — Use yellow sticky traps to catch them, or introduce natural predators like parasitic wasps (available from garden suppliers).
Encourage natural predators
Ladybugs, lacewings, ground beetles, and birds all eat common garden pests. Attract them by:
- Planting flowers alongside your vegetables (marigolds are particularly good)
- Leaving a small dish of water in the garden
- Avoiding all chemical pesticides
10. Harvest at the Right Time {#harvest}
This is where all your hard work pays off — and where many beginners make a surprising mistake: leaving vegetables on the plant too long.
Harvest regularly
The most important rule of harvesting is to pick frequently. Most vegetables — particularly beans, zucchini, and salad leaves — signal to the plant to keep producing. Leave them too long, and the plant thinks its job is done and slows down.
Check your garden every 1–2 days once plants start producing. Pick vegetables slightly before they reach their maximum size for the best flavor.
Harvest timing by vegetable
- Lettuce and greens: Harvest outer leaves continuously; harvest the whole plant before it “bolts” (goes to seed and turns bitter)
- Zucchini: Best at 15–20cm long. Giants are watery and seedy — if you find one hiding under a leaf, use it for baking
- Tomatoes: Pick when fully colored and slightly soft to the touch. Cherry tomatoes should practically fall into your hand
- Green beans: Harvest when pods are firm and snap cleanly; before the seeds inside swell and show through the pod
- Peas: Pick as soon as the pods feel full and plump — taste one to check sweetness
- Radishes: Check size by brushing aside the soil; harvest as soon as they’re large enough (they go woody if left too long)
- Herbs: Harvest little and often. Pinch off flowers as soon as they appear (this is called deadheading) to keep the plant producing leaves
11. Common Beginner Mistakes to Avoid {#mistakes}
Learning from other people’s mistakes is far less painful than making them yourself. Here are the most common errors first-time gardeners make:
Starting too big. The excitement of starting a garden often leads beginners to plant far more than they can manage. A small, well-tended garden is infinitely more successful than a large, neglected one. Start with a 4×4 foot raised bed or a few containers, and expand once you know what you’re doing.
Planting too close together. As discussed earlier — always follow spacing guidelines. It feels wasteful when plants are small, but they grow fast and crowding causes real problems.
Inconsistent watering. Plants prefer consistent moisture to boom-and-bust watering. Irregular watering causes problems like blossom end rot in tomatoes and splitting in carrots.
Ignoring the soil. Buying cheap compost or skipping soil preparation and then wondering why plants don’t thrive. Invest in good soil from the start.
Giving up after one failure. Every gardener, no matter how experienced, loses plants sometimes. Bad weather, unexpected pests, an unexplained mystery failure — it happens to everyone. Note what went wrong, adjust for next time, and keep going.
Not labeling plants. It sounds trivial until you have 6 varieties of seedlings that all look identical. Label everything from day one.
12. Your First Vegetable Garden Checklist {#checklist}
Use this checklist to make sure you’ve covered all the bases before your first seeds go in the ground:
Location and setup
- [ ] Identified a spot with at least 6 hours of daily sunlight
- [ ] Decided on garden type (in-ground, raised bed, or containers)
- [ ] Have access to a water source nearby
Soil
- [ ] Soil is loose, well-draining, and rich in organic matter
- [ ] Added compost or quality potting mix
- [ ] Checked (and adjusted if needed) soil pH
Planting
- [ ] Chosen beginner-friendly vegetables
- [ ] Checked last frost date for your area
- [ ] Have seeds and/or seedlings ready
- [ ] Understand spacing requirements for each crop
Tools
- [ ] Trowel or hand fork
- [ ] Watering can with rose head (or garden hose)
- [ ] Plant labels and marker pen
- [ ] Gloves
Ongoing care
- [ ] Plan for regular watering (check soil moisture daily)
- [ ] Fertilizer sourced (compost, organic feed, or balanced granular)
- [ ] Basic pest prevention in place (netting, copper tape, etc.)
- [ ] Committed to checking the garden every day or two
Final Thoughts
Starting a vegetable garden from scratch is genuinely one of the most satisfying things you can do. The combination of fresh air, physical activity, patience, and the genuine magic of watching something you planted grow into food you can eat — there’s really nothing quite like it.
You don’t need a huge garden. You don’t need expensive tools. You don’t need years of experience. You just need to start.
Pick a sunny spot, fill a container or raised bed with good compost-rich soil, plant a few seeds, and water them consistently. That’s it. Everything else you’ll learn as you go.
And when you pick your first tomato still warm from the vine, or snip your first handful of salad leaves for dinner — you’ll understand why millions of people around the world are completely, unashamedly obsessed with growing their own food.
Happy gardening.